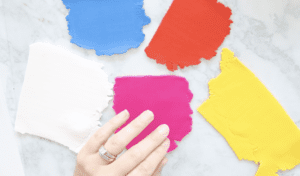
 Learning how to mix your own clay colors is an essential skill if you are going to sell polymer clay earrings. The colors out of the packages are not very interesting and are very limited. Today I am going to share with you how to mix your own clay colors.
Polymer Clay Color Mixing Recipes Free
The clay earring craze has taken the world by storm. It’s been amazing to see so many people enjoying this fun art. Some of the more skilled artists are making full time incomes by selling their clay earring creations online via Etsy or Instagram.
When I uploaded my very first DIY clay earrings video to youtube, I had no idea it would go viral so quickly.
But after making a couple of videos using the clay right out of the package, I quickly realized that my options were very limited and unless I wanted to make purple, pink, blue or white earrings – I needed to start figuring out how to mix my own custom polymer clay colors.
Mixing clay colors has quite the learning curve, so I’ll be explaining exactly how I do it, in this tutorial.
Choosing Good Clay
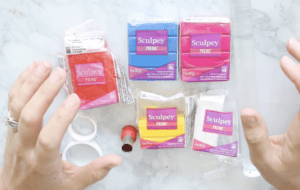
Not all clay is created equal. I have found that the sculpey brand gives me the best and most consistent results. I tried the off brand clay and it was really hard and difficult to mold and roll out. You can buy a really big multi-pack of sculpey clay on amazon for super cheap, like this, but if you want certain colors you can grab those at your local craft store, my favorite place to buy clay is at Michael’s.
My favorite clays to work with are sculpey premo and sculpey souffle. Souffle is the softest and easiest to work with, but premo comes in at a close second.
I would advise stearing clear of sculpey III, it’s difficult to work with and cracks often after baking.
Color Theory
Most of us have some basic color theory knowledge from our school years. So the same principles apply here. If you want a shade of green, a good place to start is yellow and blue. Looking for deeper green? Trying adding black a little at a time. You can find basic color theory charts online if you just google it.
I have found that the best way to mix colors is just trying it out. I always mix for the first time using very small circles of clay, that way if the colors turns out to be a bust, I haven’t wasted much clay.
If trial and error aren’t your thing, I have some very inexpensive color recipe bundles in my etsy shop. You get an instant pdf download and it walks you through the steps of mixing tons of different colors.
How To Mix Polymer Clay Colors
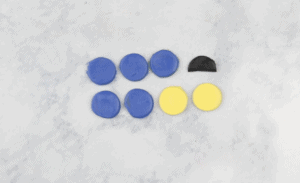
The first thing you need to do is decide the size of the cutter you will use to cut all your pieces. It needs to be the same cutter every time so you get the same results each time.
For instance, I always use this circular cutter you see with the above shapes cut out. And I always roll out my clay to the same thickness, the number “6” on my pasta machine.
So for this particular color recipe, I am using 5 parts blue, 2 parts yellow and 1/2 part black.
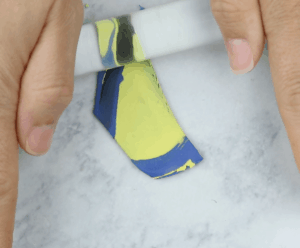
Mix your colors together with an acrylic roller or a pasta machine. 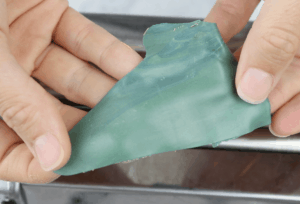
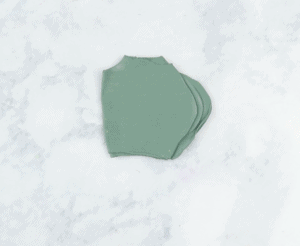
And keep mixing until you can’t see any individual colors in the clay.
Polymer Clay Color Recipes
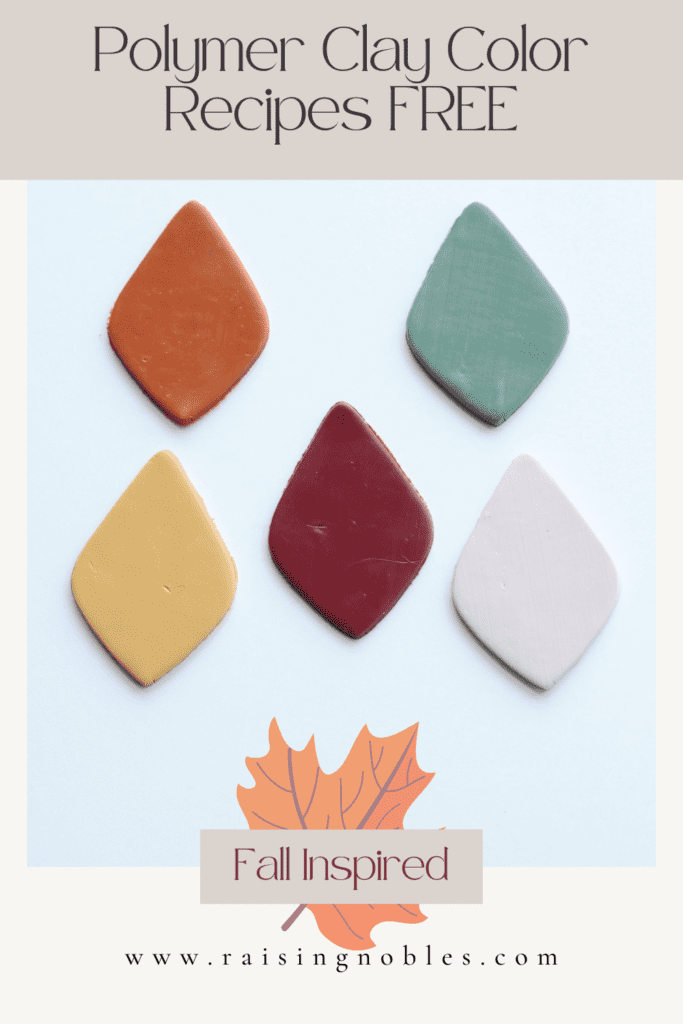
Colors needed for these polymer clay color recipes: Sculpey Premo, cadmium red, cadmium yellow, cobalt blue, white, fuchsia and black.
Wine Clay Color Recipe
- 1/2 blue
- 2 red
- 1/4 white(optional to lighten up the deep burgundy color)
Mustard Clay Color Recipe
- 2 1/2 yellow
- 1/8 blue
- 1/2 fuchsia
- 2 white
Burnt Orange Clay Color Recipe
- 5 1/2 yellow
- 1/4 blue
- 1 1/2 red
Forest Green Clay Color Recipe
- 2 1/4 blue
- 2 yellow
- 1 fuchsia
- 2 white
- pinch of black(optional, just makes it a deeper shade of green)
Creamy Off White Clay Color Recipe
- make green by mixing equal parts yellow + blue, then mix the green with an equal part of red and that will make brown.
- Use 5 parts white and mix with small amounts of the brown color slowly, adding more to deepen the color.
I wanted to create an easier way to share all of the best resources and links with my fellow polymer clay earring artists. So without further ado, let’s get right into my MASSIVE resource list of only the best and most well-loved tools and supplies for making polymer clay earrings.
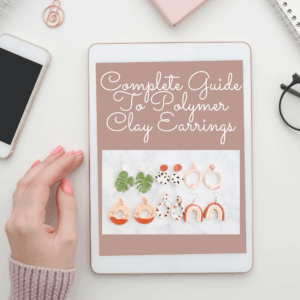
The Complete Guide To Polymer Clay Earrings.
In this complete guide to polymer clay earrings I will be walking you through the steps to make your best earrings yet. I share the best clay for earrings, the best tools and techniques. Whether you want to make these earrings to sell, or just as a hobby, this eBook is for you!
This eBook has 25 pages of my best tips, tools and links to get you started making polymer clay earrings right away!
 Etsy Success 2021 – No Fuss Guide For Etsy Success
In this complete guide to getting started on Etsy, I will share my best tips and tricks for opening a successful Etsy shop. I have personally seen the potential Etsy has to offer work-from-home entrepreneurs like you and me and I want to share what I have learned over the last 7 years.
This is a great place to start if you want to start earning an income from your polymer clay earrings.
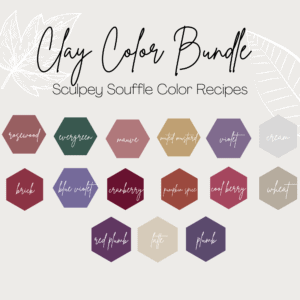 Clay Color Recipes
If you want your earrings to stand out, you need to be mixing your own colors. Creating color recipes takes a lot of time and can be pretty frustrating – I’m making it super simple for you by providing you with my very best polymer clay color recipes
 Customizable Earring Cards
These earring display cards will set your shop apart and really create a beautiful experience for your buyer. These earring cards were designed with the small jewelry shop owner in mind.
 Polymer Clay Earring Tutorial Video
The most comprehensive polymer clay earring tutorial on the internet. I cover all of the FAQS from polymer clay artists everywhere. It’s a long video, but worth watching. I’ve got TONS of tips and tricks and tricks a lot of other artists aren’t willing to share.
This video is LONG, because I cover EVERYTHING there is to know about making polymer clay earrings: 1. Best Clays 2.Conditioning Clay 3.Best Clay Cutters 4.Drilling Holes 5.Adhering Backs6. Baking Clay Earrings 6.Sanding 7.Assembling With Jump Rings and so much more.
Absolute Must-Haves For Polymer Clay Earring Artists
If you don’t know why you need these items or what they are used for, I encourage you to watch my polymer clay video linked just above.
This post may contain affiliate links, which means I make a small commission at no extra cost to you. As an Amazon Associate, I earn from qualifying purchases.
Clay:
Tools:
- Acrylic Roller Set
- Clay Tools
- Favorite Amazon Clay Cutters
- Clay Cutters by ThreeDGeek on Etsy
- Clay Cutters by RoClayCo
- Jump Rings
- Earring Posts
- Earring Pliers
- Bake n Bond
- Oven Thermometer
- Oven, your regular house oven works great
Helpful Polymer Clay Tools – But Not Necessary
- Pasta Machine, I have this one and love it, but people also love:
- Atlas 150 Pasta Machine this one costs more, is heavier duty and lasts a little longer. So depending on your goals, you can choose the cheaper one or the one that may last you a lot longer.
- Tissue blades for easily removing clay from surfaces
- Ceramic Tile from hardware store
- More clay cutters, like these and these
- Silk Screens for cool designs Use KRISTINFAN10 for 10% off your order of silk screens
- Sanding/Buffing tool
- Safe Gloss/Glaze
- Non Stick Silicone Mat for Applying Sealer or Resin
- Polycrylic Sealer
