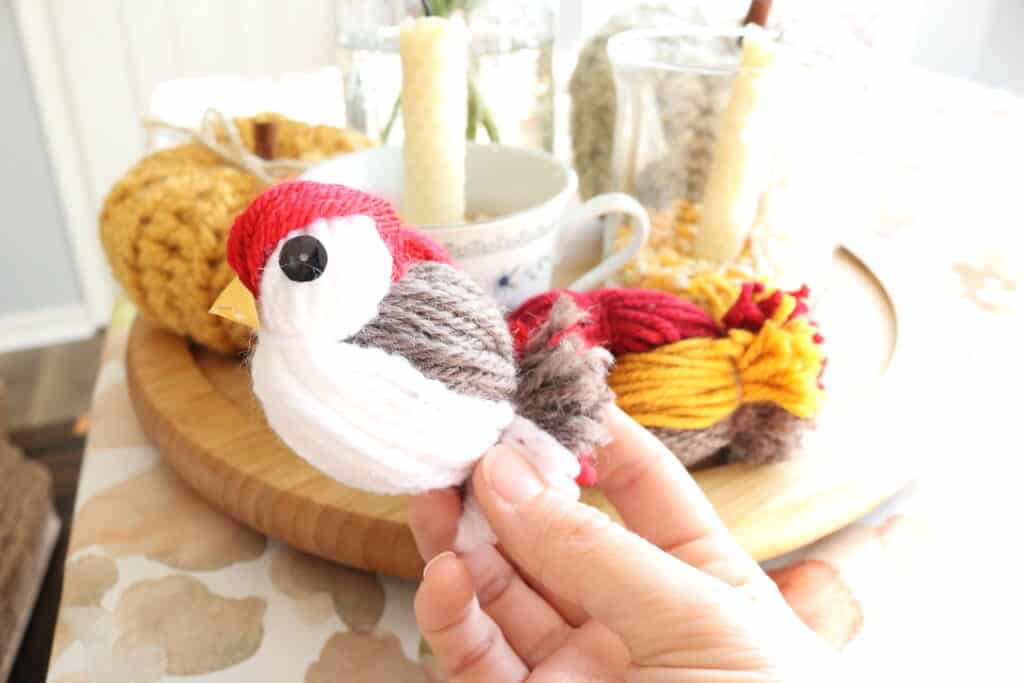
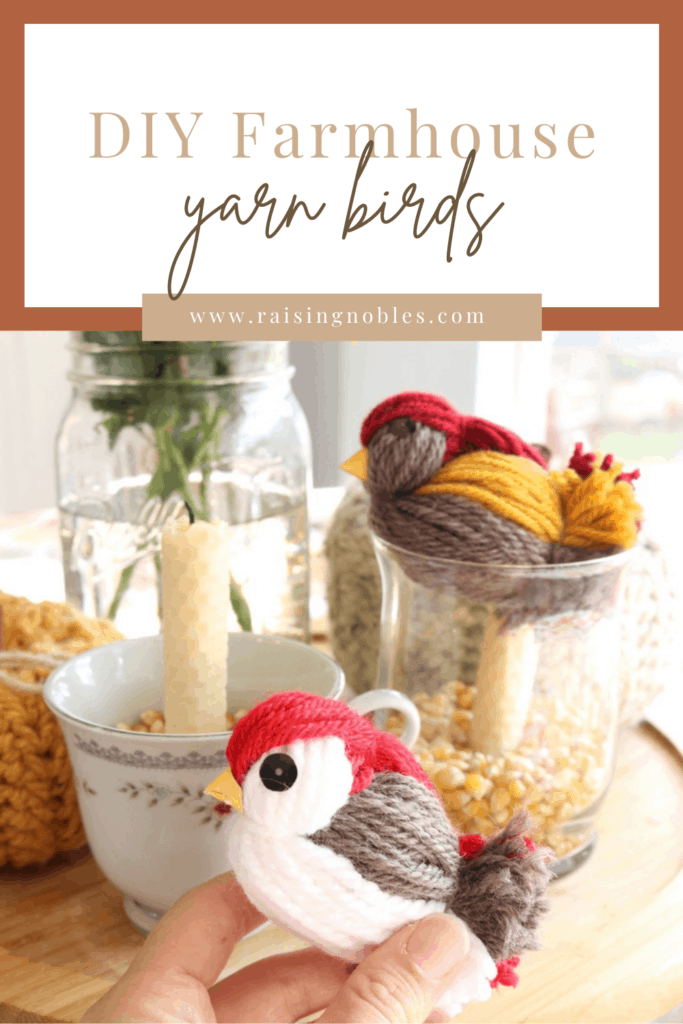
This DIY farmhouse decor tutorial is featuring these cute yarn birds. I think they are so sweet and such a fun way to bring nature into your farmhouse decor.
How To Make A Yarn Bird
This DIY is super simple! Even my 5 year olds made these with me. I think these would make lovely Christmas ornaments. They would also look great in holiday wreaths or on wrapped presents.
There is no limit to the colors and uses these sweet little yarn birds can offer.
Supplies For DIY Farmhouse Decor
- 3 colors of yarn
- black beads, sequins or black clay for eyes
- orange paper or felt for beak
- Hot glue gun
- scissors
- Yarn Bird PATTERN, here
- Cardboard for tracing the pattern onto
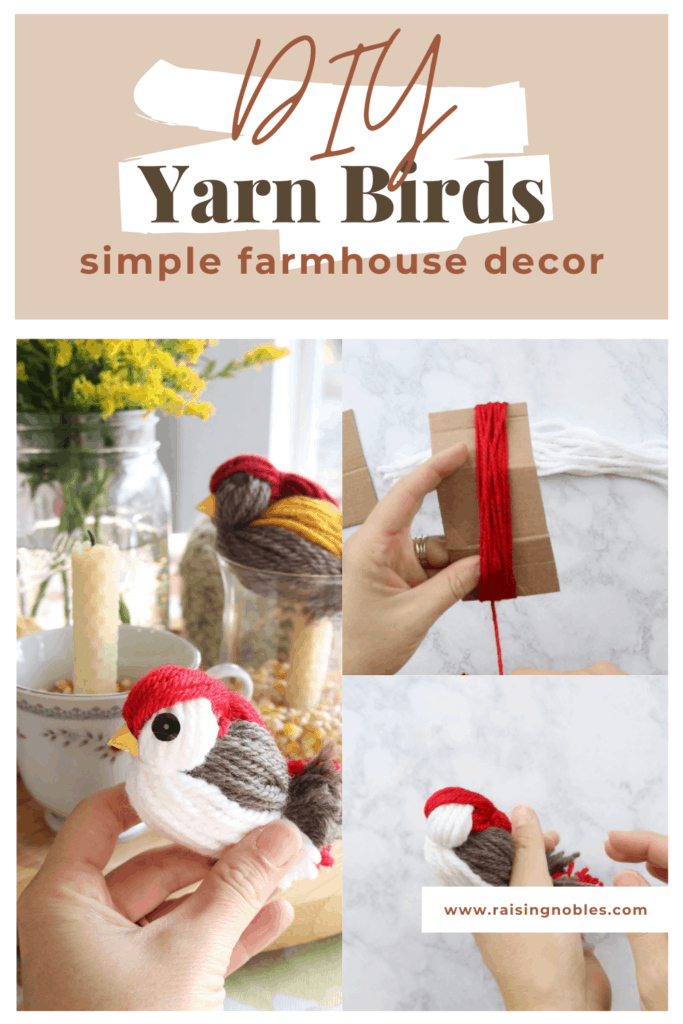 DIY Farmhouse Decor Yarn Birds Tutorial
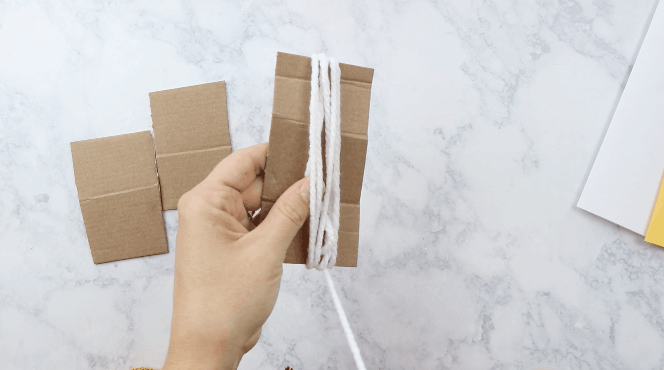
Wrap the body color around the larger pattern rectangle until you get about 3/4″ of yarn. Then remove the yarn circle and cut the circle so you have a stock of long strings. Set aside.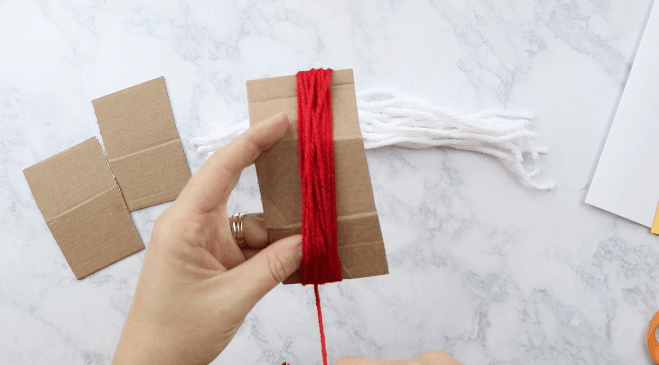
Choose the head and back color and do the exact same thing as you did with the body color. Set aside.
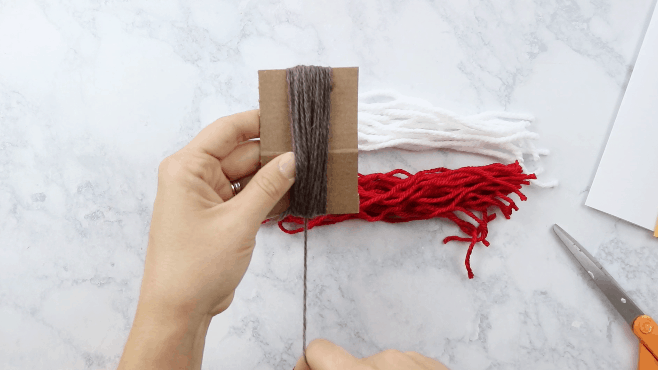
Using the smallest cardboard pattern, wrap your wing color around and cut just as you did before.
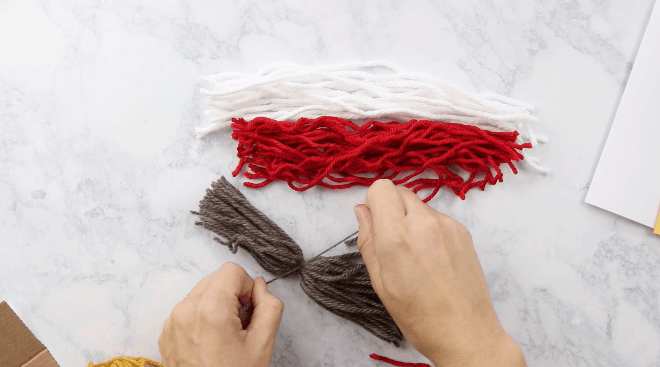
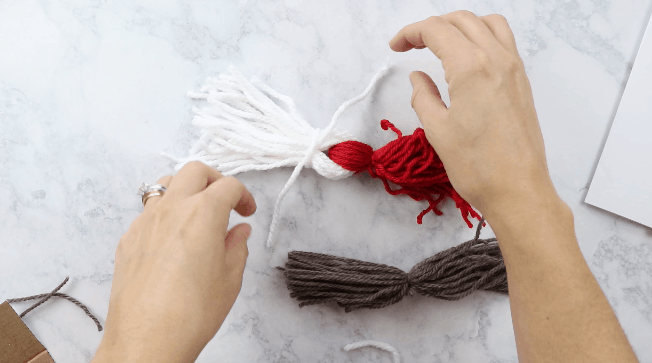
Tie a piece of yarn around the center of the wing yarn.
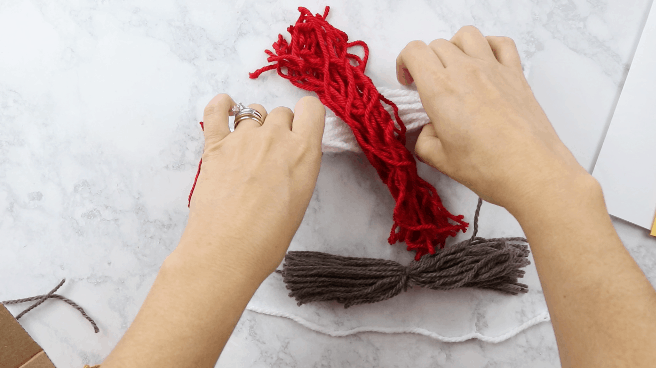
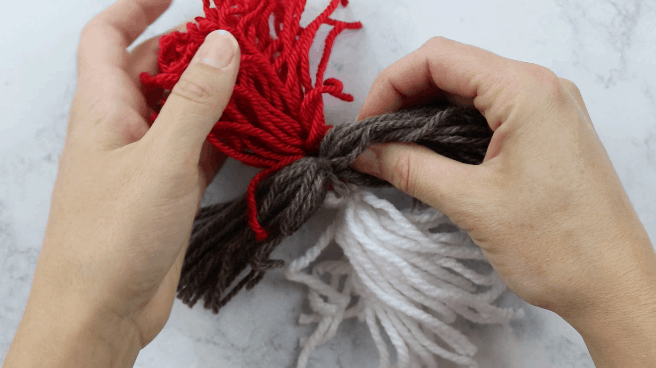
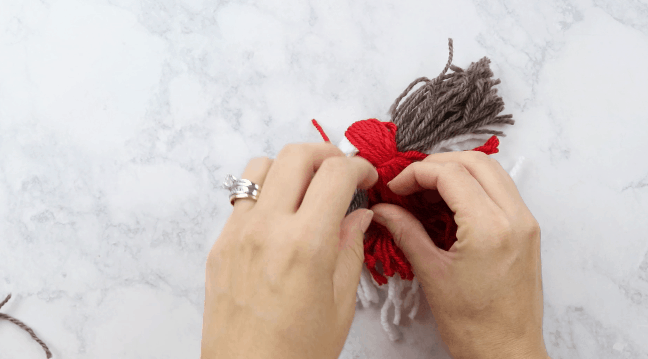
Next, lay the head color across the body color to make a cross. Then gather each side, pull tight and tie a piece of yarn around each color.
Next, you will start to see the bird come to life, as you rotate the head color backwards to make an L shape with the body yarn and head/back yarn.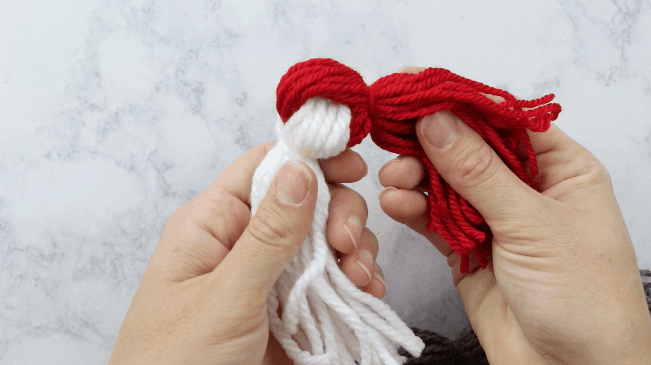
Place the wing color across the underside of where the head and body color meets.
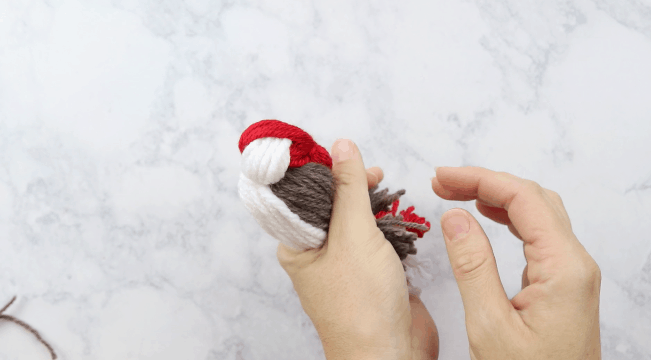
Use a 1/4 of an average size piece of paper and crumple it into an egg shape. Place the egg shape in the bird, and wrap the back yarn over it and then the wing yarn and then the body yarn and gather the ends together.
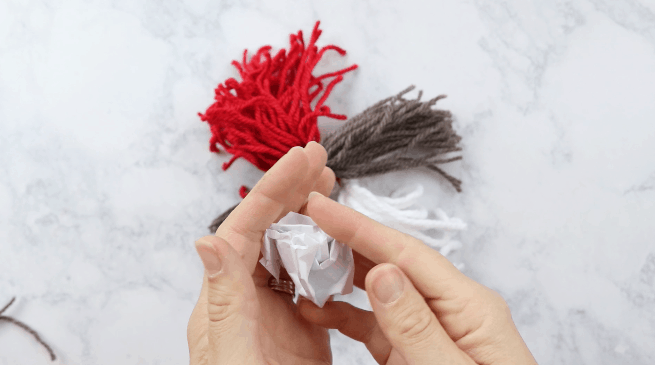
Tie a piece of yarn near the tail of the bird to hold everything together.
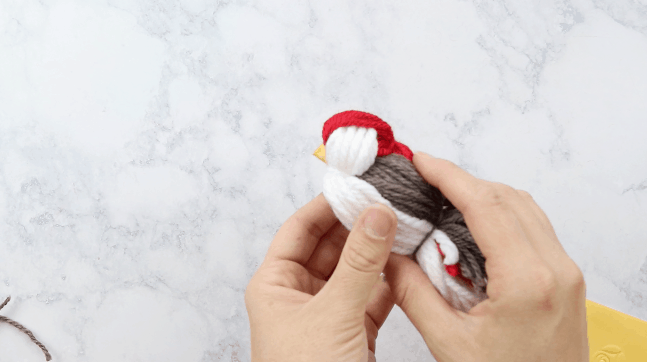
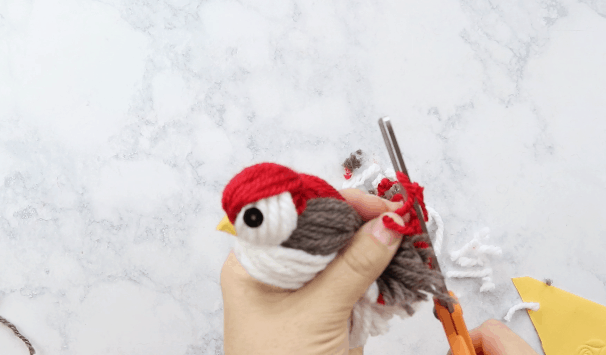
Next, cut your yellow circle and then use scissor to cut a slit towards the center of the circle. Then roll the circle into a cone shape and hot glue onto the bird. Hot glue the eyes on too. Then trim the tail to the desired length.
And that’s all there is to it! Such a simple project but they turn out SO cute!
