This oxford punch needle tutorial is perfect for beginners. In this tutorial, I walk you step by step through the entire oxford punch needle embroidery process, from threading your punch needle to finishing off your project.
As soon as I saw punch needle embroidery on Pinterest, I knew I had to try my hand at it. Something that I love about oxford punch needle is that it’s very easy to learn and if you make a mistake, you just tug the yarn a little and restart. It’s perfect for beginners or more experienced fiber artists.
Another perk of punch needle embroidery is that you don’t need many supplies to start. I’ll have a list of all the supplies you need to get started, but if you don’t want to run around sourcing your own supplies, I sell affordable punch needle kits in my Etsy shop that come with everything you need to get started with punch needle embroidery right away.
Oxford Punch Needle For Beginners
Punch needle is very easy to learn. I love that you can easily grab a punch needle kit and have your first piece of art done in just a couple of hours. There are a lot of stitches and techniques you can learn as you advance your punch needle skills, but to begin, we are just doing some simple stitches and trust me when I say, anyone can do it.
I love how the finished result looks like you spent days to finish. I love the details and the texture the punch needle embroidery offers.
What Is Punch Needle Embroidery?
Punch needle is a fiber art that uses a wooden or plastic needle with a hole through the middle. By threading the yarn through the length of the needle, you can punch holes through your cloth and the tension in the cloth holds the yarn in place.
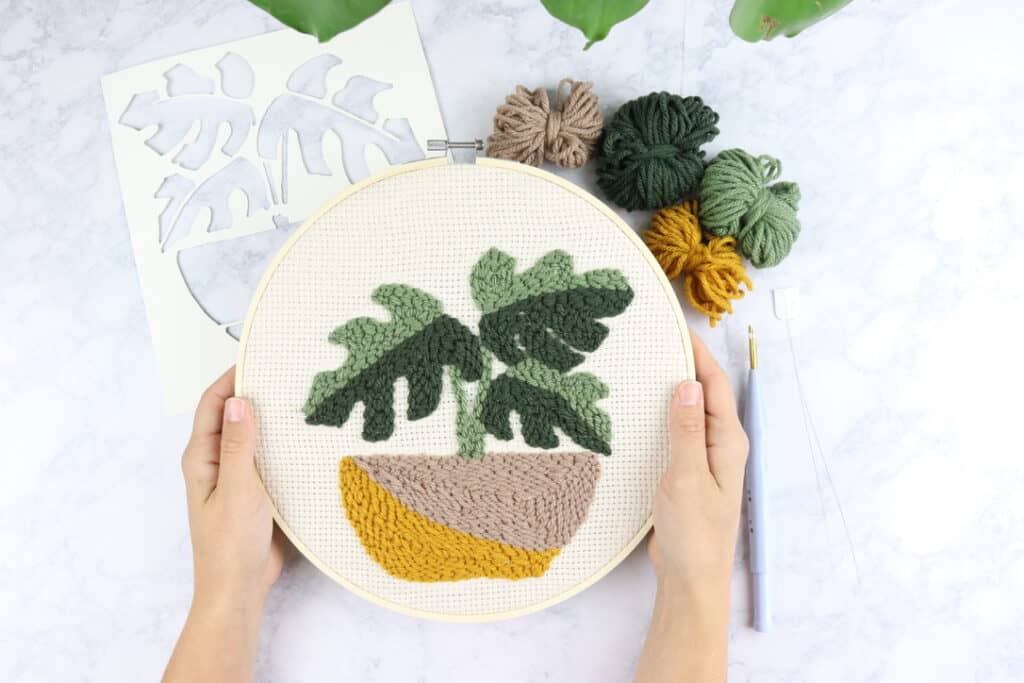
The result is a gorgeous piece of art with so much texture and beauty. The patterns and colors are endless. From abstract punch needle designs to potted plants and geometric patterns, everyone can find a design to fit their home aesthetic.
Tools For Punch Needle Embroidery
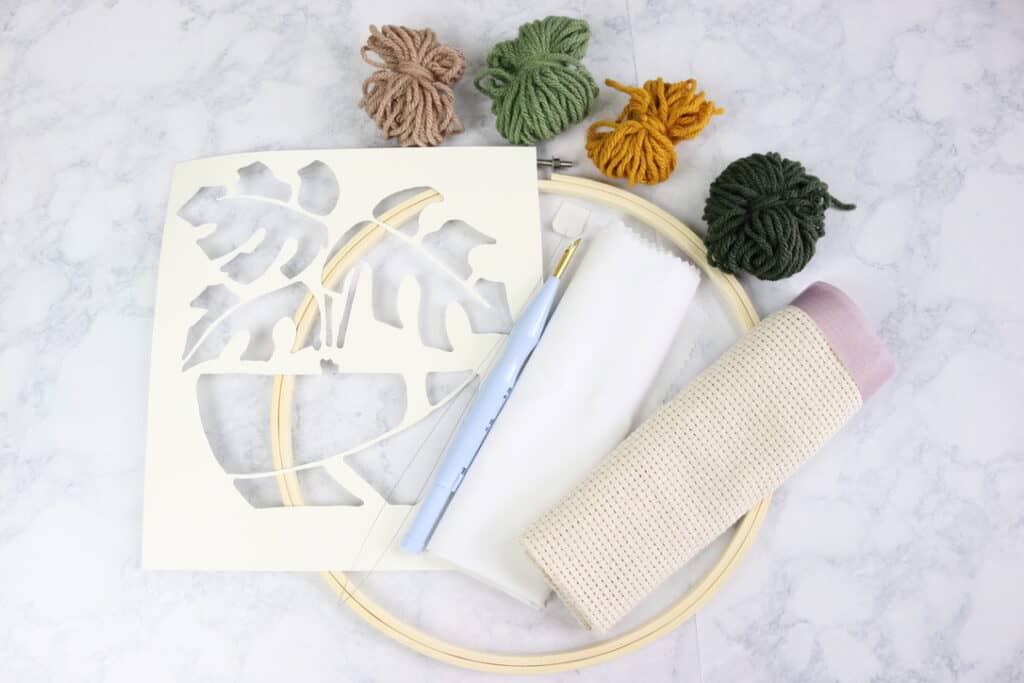
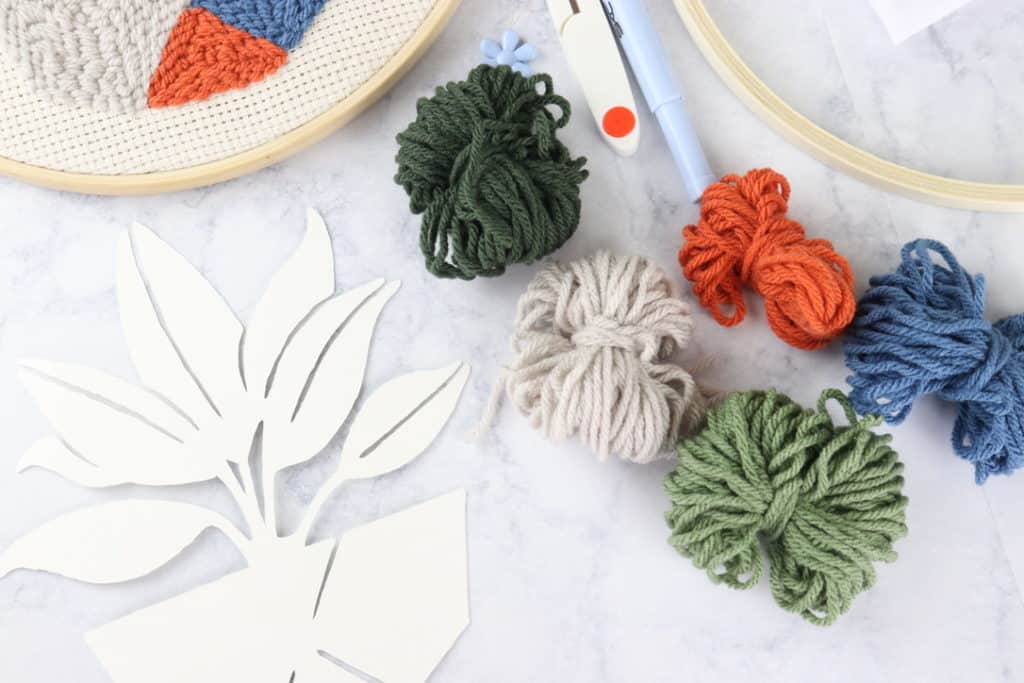
The list of tools you need to begin is pretty short. You will need an embroidery hoop to hold your monk’s cloth, a punching tool, something to thread your tool with and some yarn. You can freehand your designs of course, but a pattern is also really helpful. I have beautiful patterns in my Etsy shop if you are looking for one!
Again, you can find a complete punch needle kit in my Etsy shop if you don’t want to source your own.
You can find all the supplies linked here
- embroidery hoop
- punch needle
- monk’s cloth
- backing cloth
- yarn
- scissors
- pattern (optional)
- hot glue or fabric glue
Foundation Fabric – Monk’s Cloth
So you’ve seen me mention it a few times now and you are probably wondering what on earth it is! Monk’s cloth is a 100% cotton fabric and the weave makes small holes through the fabric, perfect for punch needling!
Monk’s cloth is my favorite foundation fabric for punching embroidery and if you buy a punch needle kit from my Etsy shop, your kit will come with it.
Embroidery Hoops
In order for the project to hold, you will need the monk’s cloth to be stretched tightly. The best way to do this is with an embroidery hoop. These hoops come in all sizes. The top has a screw that you can adjust to get a nice tight fit, then you can stretch your fabric around the embroidery hoop to make sure your cloth is nice and taught.
I prefer to use wooden embroidery hoops, although there are plastic ones if you prefer that.
Punching Tool
There are a several different types of punching tools to choose from. For beginners, I recommend one like this. It is an adjustable tool with 4 different sizes. It can fit bulkier yarns but also does well with more average weight yarns.
Another option is the Lavor punch needle. This one is much smaller and comes with multiple sized needles for punching with different weight yarns. I like this one for smaller projects with more detail. You cannot fit bulkier yarns in this tool so be aware of that.
The last option is the oxford punch needle. This punching tool is the most expensive out of all of them. One of the advantages of this tool is that the handle is made of wood and you thread it by sliding it down the opening on the side so you don’t have to use a wire to thread your needle every time you change colors.
Backing Fabric
You will need a piece of neutral fabric to put on the back of your finished work. The back of the project is a mess and not cute to look at, so you will want to cover it with some backing fabric.
I like to use a linen or linen blend for this. It stretches nicely and holds well.
Choosing Your Yarn
And lastly, you will need some yarn. You can choose any type of yarn you would like. Wool, acrylic, cotton or a blend. If you choose a chunkier yarn make sure your punching tool can handle that. As I mentioned above, punching tools come in varying sizes so keep that in mind when choosing your tools and your yarn.
You can also use embroidery floss if you have a small punching tool. These are great for more detailed projects.
How To Punch Needle For Beginners
You can find all the supplies linked here
- embroidery hoop
- punch needle
- monk’s cloth
- backing cloth
- yarn
- scissors
- pattern (optional)
- hot glue or fabric glue
-
Trace Your Design
If you purchased a punch needle kit from me, your kit came with a design to trace onto your fabric. The benefit of my patterns is that you don’t need a light box to transfer the design to the cloth. You can just trace around it. Otherwise you would need a light box or you could tape your cloth and pattern in the window and try to trace it that way, I have tried the window method and I found it very annoying and it didn’t work very well. *Something to note, traditionally you would trace your design on the back of your project and punch that way, but for this particular project I traced on the right side of my fabric and punched that way.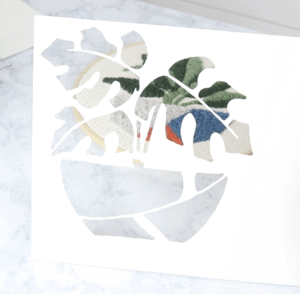
-
Stretch Your Monk’s Cloth
This part is important, you want to make sure your embroidery hoop is very tight and that you take extra time to stretch the cloth all the way around the hoop.
-
Thread Punch Needle
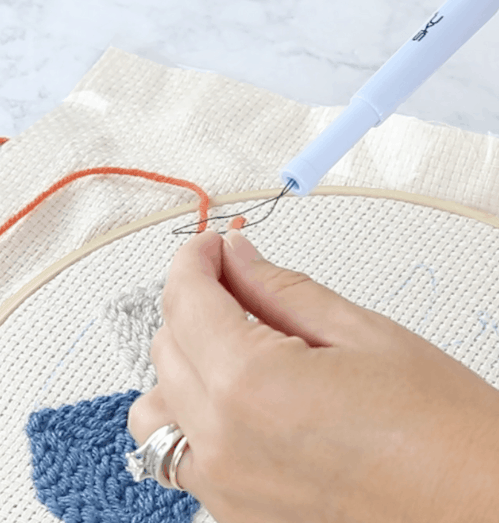
Grab your punching tool and the threading wire. Slide the wire down through the pointed end of the needle until it comes out the other side. Put your yarn through the loop and pull the wire back up the needle. Then use the same method for threading the yarn through the small hole in the tip of the punching tool. Now your punch tool is ready to go
-
Start Punching
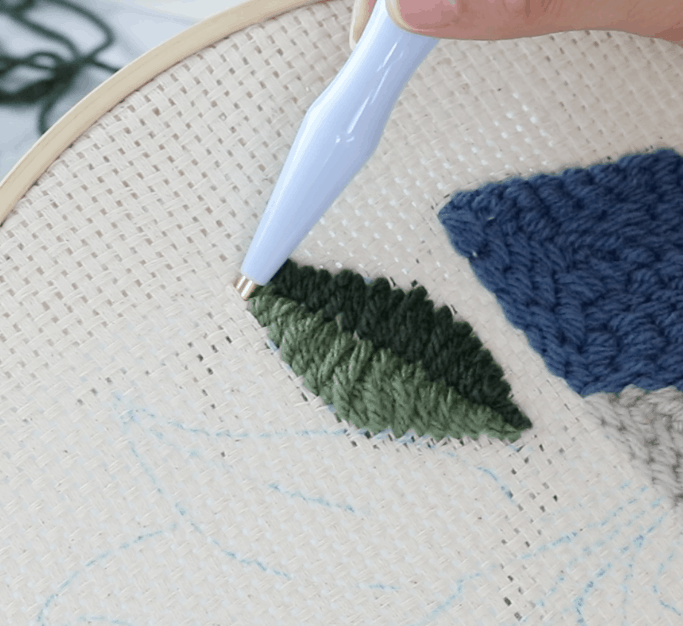
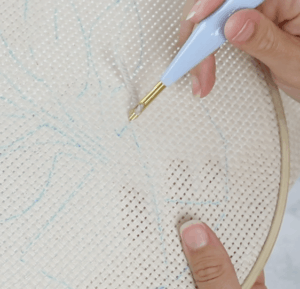
Find your starting spot and begin by punching your needle all the way through your cloth until it stops at the handle. Turn your work over and pull the end of the yarn through the cloth so it’s on the back of the project. Then pull your needle back up and slide it over and punch in again. Repeat. Repeat and keep on repeating 😉
-
Make A Mistake?
Just pull gently on your yarn and start again where you left off. It’s so easy. You can also move the fabric around so you can’t even tell you ever stitched there. This art is so beginner-friendly!
-
Finish Your Piece
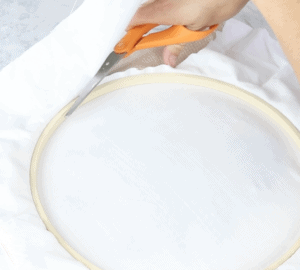
Finish your embroidery by placing a neutral piece of cloth on the back and placing it back in the embroidery hoop. Tighten everything again and then trim the excess of the backing cloth. After that, trim down your monk’s cloth to about 1/2″ and then glue down the monks cloth to the wooden embroidery hoop.
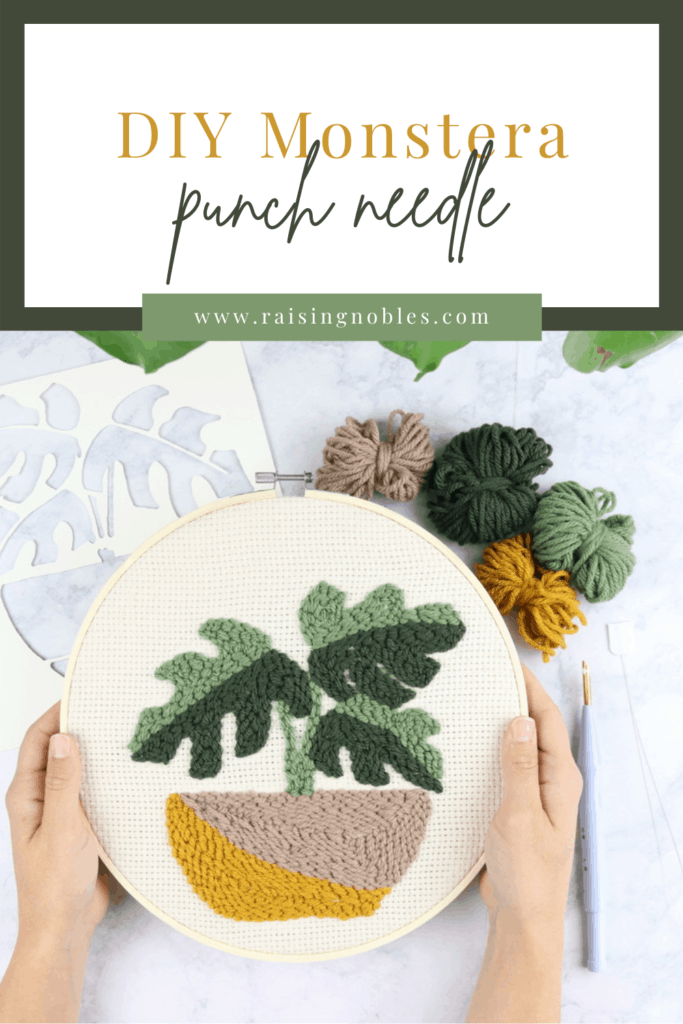
And that’s it! Thanks for following along, if you want to PIN this for later, hover over the image below and click “pin” or “save”.
Do I super glue the blasted hoop thing to the fabric? I’ve tried doing it the normal way but it’s constantly coming apart, which causes me to completely start from scratch, which is causing me to lose my mind and want to burn it. The loops also 100 percent do not stay, they’re constantly pulling right back out.
Hey! I’m sure that’s frustrating! I’m not sure what you mean about super gluing the hoop to the fabric – can you explain better? Also if your hoops are coming undone then your yarn is probably too tight. Between the end of the punch needle and your ball of yarn, there needs to be plenty of slack. Otherwise the loops pull out.