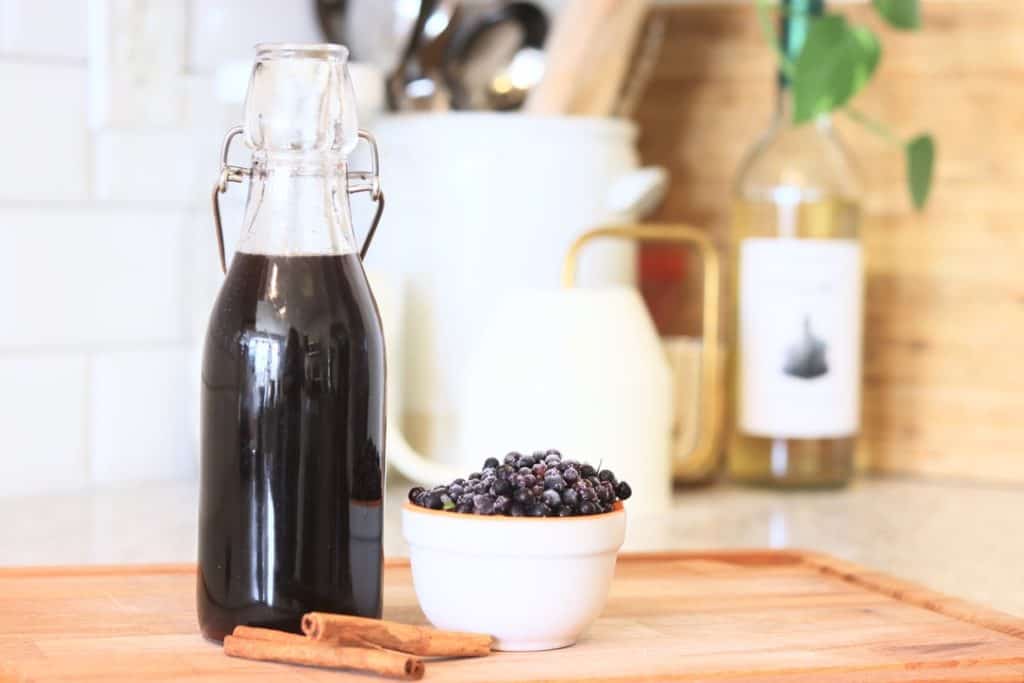
 Elderberry has been used for centuries to boost the immune system and help lessen the effects of the common cold and influenza. This homemade elderberry syrup recipe is so easy to make and definitely something you want to keep well stocked all year, but especially during the winter months.
This post may contains affiliate links, which means I make a small commission at no extra cost to you. As an Amazon Associate I earn from qualifying purchases.
The winter time can come with a lot of challenges for families, between the cold weather causing us to stay indoors a lot more than we should and of course the sicknesses that seem to run rampant during the winter months. When a sickness strikes someone in our family, those of us with larger families know just what it means; weeks of sickness, potentially. As it slowly and painfully makes its way from child to child it can be such a drag. It keeps us from fun activities and church. We miss school and our routines are thrown off. Ugh.
I am a huge believer in supporting the body and supplementing to boost the immune system naturally. Elderberry has been used for centuries to boost the immune system and has been proven to lessen the effects of the common cold and influenza. Say not more, sign me up!
PIN IT FOR LATER:

Ingredients
Elderberries are easy to get your hands on and they are loaded with vitamins A, B and C. They are well known for their immune boosting properties and their amazing ability to help fight bacterial infections and viruses of all kinds. Amazingly, we planted two elderberry bushes last summer and they quadrupled in size their first year. They had a ton of flowers and we harvested 8-10 cups of berries the first year! I was stunned. But if you don’t have bushes of your own, don’t worry – I used to buy mine off amazon and whole foods and other healthy food stores also carry them.
Where to buy: Amazon has been my favorite place to find organic elderberries. Don’t skip the organic part – the last thing you need are berries sprayed with pesticides. Buy your own here.

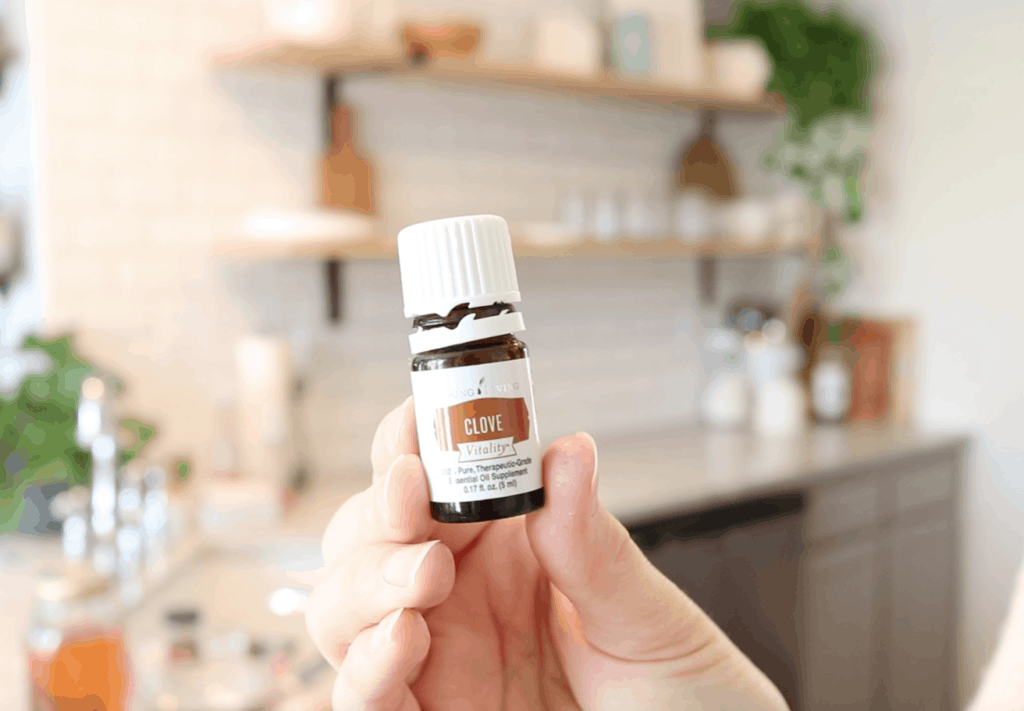
Clove adds such a nice flavor to this recipe. They are high in antioxidants and may help kill bacteria as well. You can use a drop of clove essential oil if it is approved for internal use. Or you can use ground clove. I have tried both and I prefer the flavor of organic ground cloves in our elderberry syrup. Here is my favorite brand of organic ground clove.
Ginger has powerful medicinal properties and is anti-inflammatory. I love the flavor of ginger in our elderberry syrup. I prefer to use fresh ginger because it tastes better and has more of it’s medicinal properties in tact, as opposed to ground ginger.
We also use a cinnamon stick in our elderberry syrup recipe. I love the depth of flavor that the cinnamon adds.

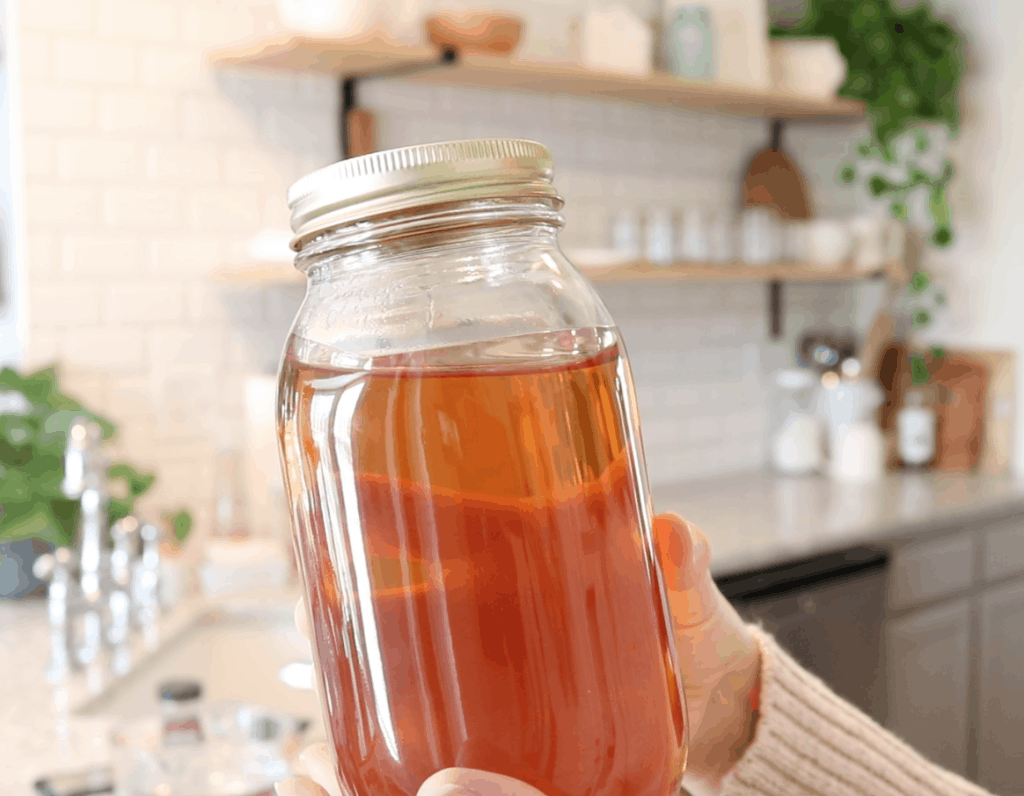
Last, but certainly not least is honey. Preferably, local and raw. Raw honey is a phytonutrient powerhouse. It has anti-fungal and antibacterial properties, helps digestive issues and soothes sore throats. The honey in this recipe is not just for sweetness, it serves a purpose. By adding this amazing ingredient to your elderberry syrup you are taking this supplement to the next level. If I can’t find local honey, the second best is this kind. I have purchased this one from amazon before and we have really loved it. But if you can find it locally, always opt for that; it’s better for you and you are supporting a local beekeeper…win win!
PIN IT FOR LATER

Alright, let’s get right into the recipe.
- 3.5 C filtered water, we use our berkey water filter to filter all the nasty out of our city water
- 1.5 C fresh elderberries or 3/4 C dried elderberries
- 2 tsp freshly ground ginger
- 1/2 tsp ground cloves, or 1 drop of clove essential oil
- 1 cinnamon stick
- 1 C local raw honey, or at a minimum raw honey like this
Start by adding your water, elderberries, freshly ground ginger, cloves and a cinnamon stick to a saucepan and put it on the stove on high heat. Bring to a boil and then reduce to low. We are going to let this simmer for 45 minutes or until it is reduced by half. Stir mixture occasionally and I like to use a potato masher to mash the elderberries while it’s simmering.
Once the mixture has reduced by half, or simmered for 45 minutes, remove it from the heat. Pour your honey into a large glass container and while the elderberry mixture is still warm, we are going to pour it on top of the honey. Grab a fine mesh strainer for this step, we don’t want to keep the elderberries, cinnamon stick or ginger pieces in our finished syrup. Strain the elderberry mixture right into the glass container with the honey and then give it a stir. After the honey has melted into the elderberry mixture and created elderberry syrup, it’s time to pour it into whatever jar you are going to store it in. I like to use these wide mouth mason jars to store mine because they can be put in the freezer when I make larger batches. I also like to keep a batch in a flip top bottle like this for easily pouring over pancakes and just daily dosing.
Will my kids like it?
I honestly don’t know why any child wouldn’t like this. It’s sweet and almost tastes like a blueberry syrup to me. The spices and flavors are so so good. My kids love it over their sourdough pancakes in the mornings and if we aren’t having any fancy pancakes, they beg me for a spoonful of it!
Dosing
I am not a doctor, nor do I play one on tv 😉 But what works for our family is 1 tsp for adults and 1/2 tsp for kids. The recipe contains honey and should never be given to a child under one year of age. We use that dose for maintaining health and if we feel like we are catching a sickness or are actively fighting one, we take that same dose multiple times a day.
Once you have made your delicious, homemade elderberry syrup, you can turn them into lollipops if you want! I have a super easy tutorial on how to make immune boosting elderberry lollipops with added vitamin D and probiotics – trust me, your kids will be begging you for these healthy lollipops!
Thanks for being here,
Kristin