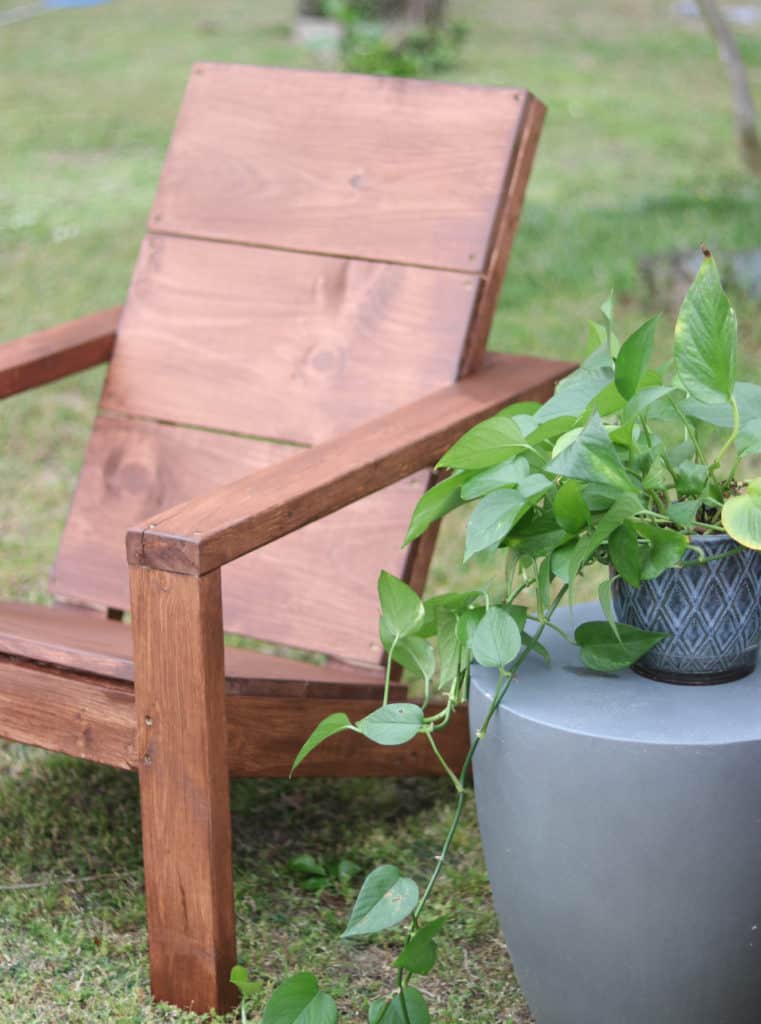
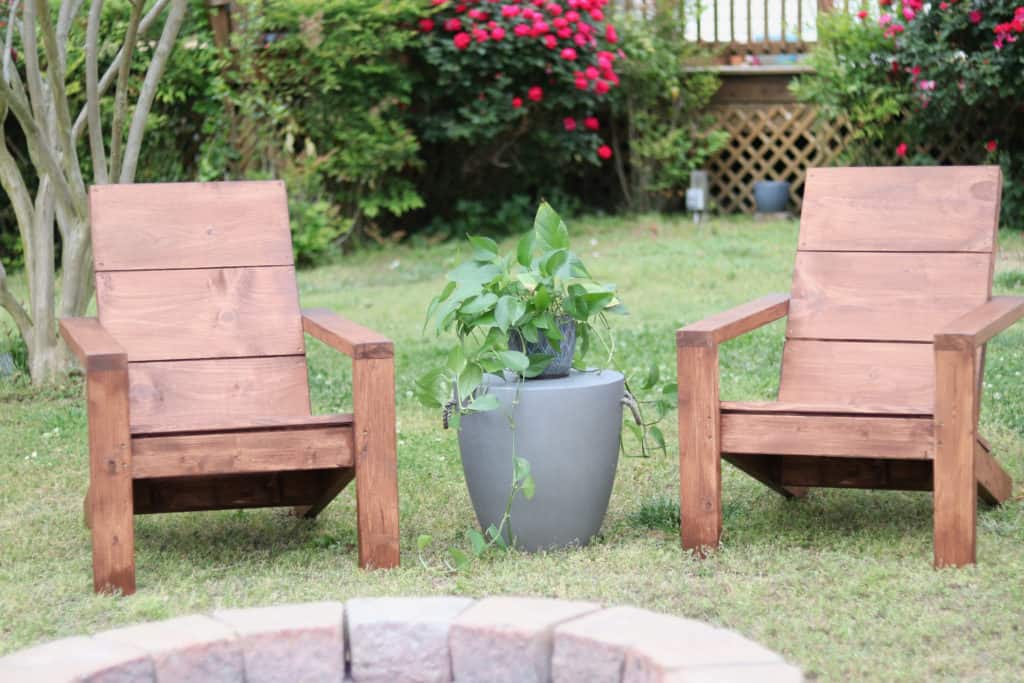
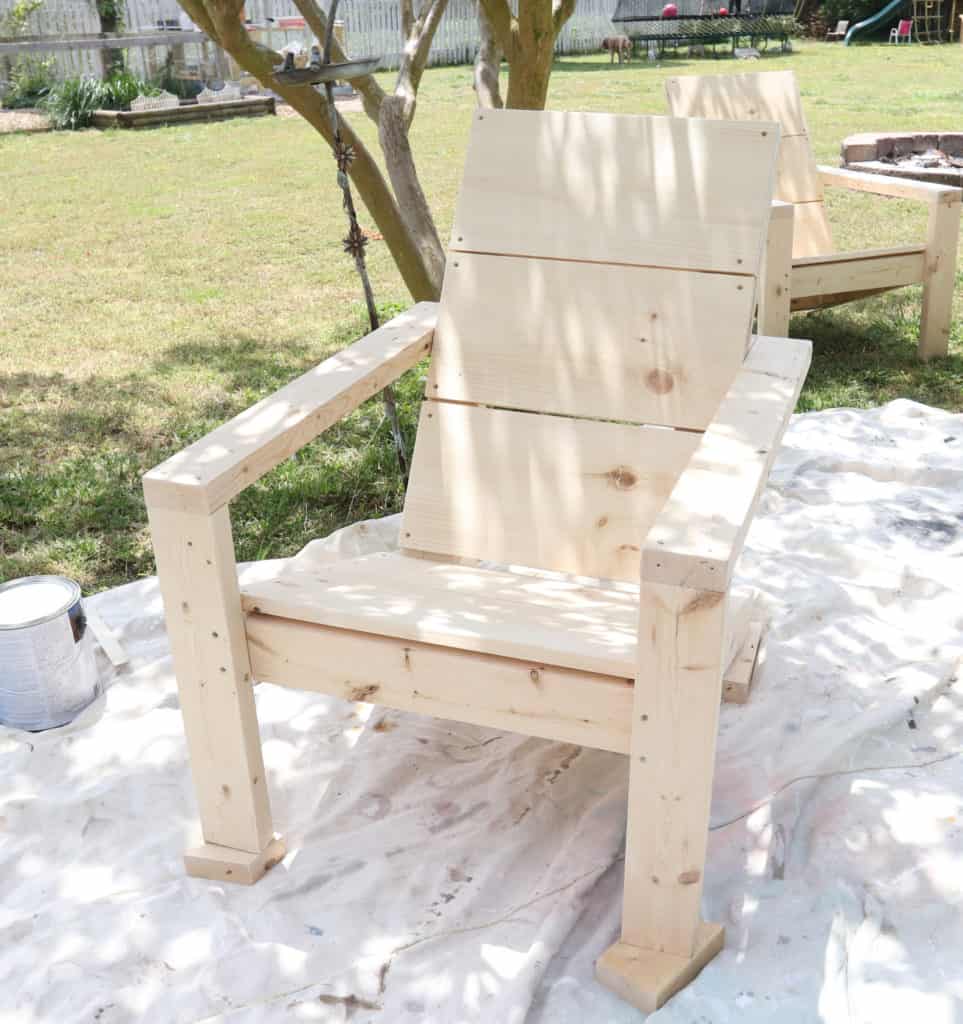
We are sharing how to build 2×4 Adirondack chairs that are affordable & comfortable! We used the Ana White 2×4 modern Adirondack chair plans to build these and we made a couple modifications to make the process a little easier.
Thank you so much for stopping by! This post contains affiliate links, I receive a small amount of compensation if you choose to purchase from my links (for example – as an Amazon Associate I earn from qualifying purchases). I only link to products that I know and love.
DIY Adirondack Chairs
When we moved into our house almost 4 years ago, we had those plastic adirondack chairs around our firepit. They didn’t exactly fit the aesthetic we were going for, but we had other priorities at the time. Eventually, those plastic chairs started to look discolored and after weathering a few storms, they started falling apart.
For the past year or so we have been pulling out our camping chairs whenever we use the fire pit and have to ask our neighbors to BYOC(bring your own chairs) if they want to join us. Not cool, haha!
As soon as I saw these Ana White 2×4 modern adirondacks, I knew they were the perfect thing for our fire pit. We needed something that was easy to build, affordable and of course we wanted them to be comfortable.
Prefer video? Check out our youtube video tutorial here.
Do I Need Special Tools To Build 2×4 Adirondack Chairs?
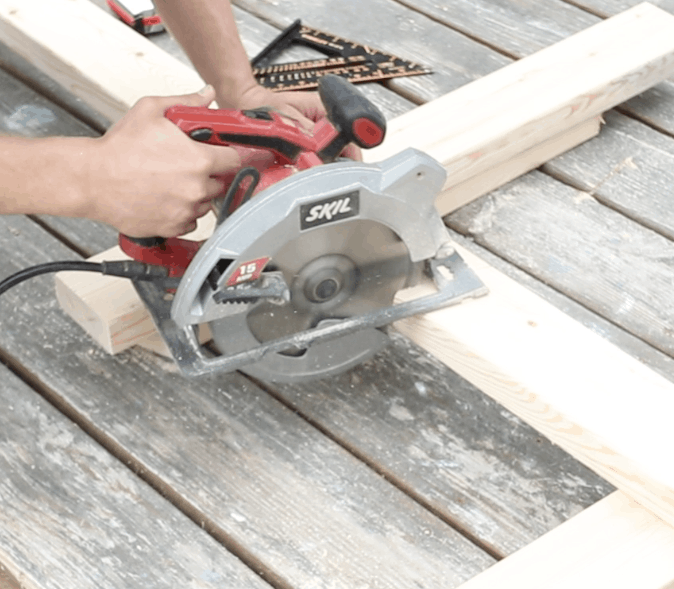
Yes and no. There are a few things that will make this build a lot easier, but most of the tools are ones you probably already have on hand. The original plans, which you can find here, require a miter saw. We don’t own a miter saw so we are going to show you how to make the angled cuts in these plans using a speed square and circular saw.
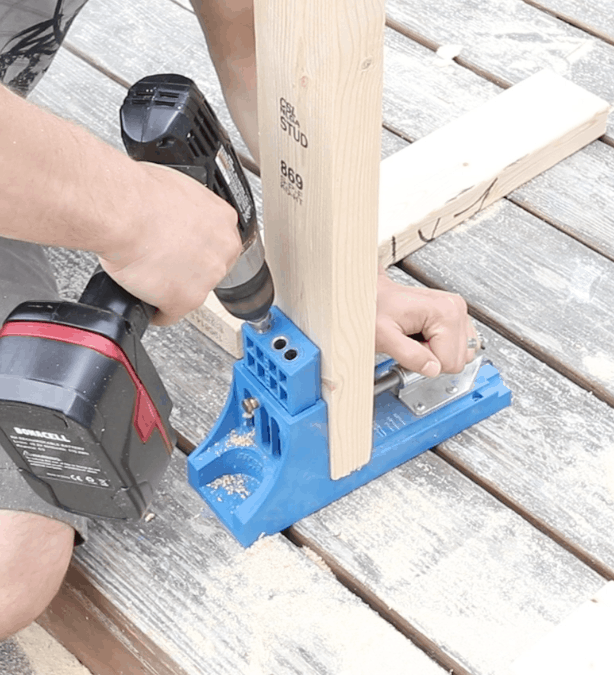
One other tool that you may not have is a kreg jig. This tool is fairly inexpensive and really useful for building furniture at home. We use the kreg jig on most of our DIY furniture builds.
You will need a few more tools and we will go into more details in a minute.
How To Protect The Modern Adirondack Chairs From The Weather
We chose to use untreated lumber in our build. There were a few reasons for that, the first is because it’s almost impossible to find treated 1x10s, treated lumber is not as pretty as regular lumber and treated lumber is more expensive.
Because of this, we had to take great care to make sure to seal our adirondack chairs really well. Obviously these chairs will be outside in the elements and they need to be protected if we want them to last – which we do!
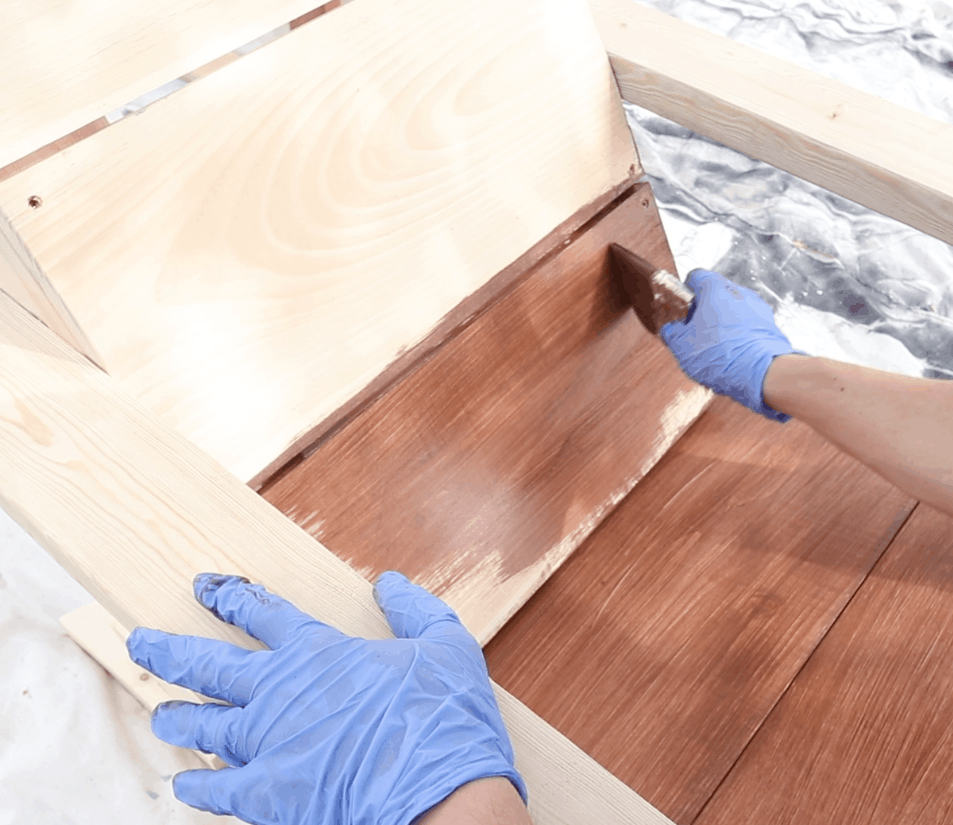
We chose a stain and sealer product to keep the process as simple as possible. We built 4 chairs so we needed something that wouldn’t take days to cure and need multiple coats. We chose the Valspar stain + sealer because it offers 1 coat coverage and it claims to protect wood for 6 years before needing to be resealed.
A few other things we we really liked about the Valspar stain is that the fumes were not bad at all and it dries really quickly and is rain-ready in just 4 hours!
Tools You Need For 2×4 Modern Adirondack Chairs
For the complete list of plans, supplies and cut lists, check out Ana White’s awesome website. We have built quite a few of her plans and have always loved the results.
- Circular Saw
- Tape Measure
- Speed Square
- Kreg Jig
- Eye and ear protection
- Drill
- Orbital Sander
- Stain + Sealer: Valspar One Coat Exterior Stain and Sealer, semi-transparent. In “rusticana” color.
- Screws
In this tutorial we are walking you through step by step how to build an adirondack chair. This tutorial is using the Ana White 2×4 adirondack chair plans and we are giving you our best tips for building the best possible chairs. The original plans require a miter saw, but in this tutorial we will show you how to make your angled cuts using a speed square and circular saw.
Because these plans are not ours, we will not be giving you the detailed instructions, just our best tips and tricks for making these. Visit Ana White’s website for the complete details.
Making Angled Cuts Without a Miter Saw
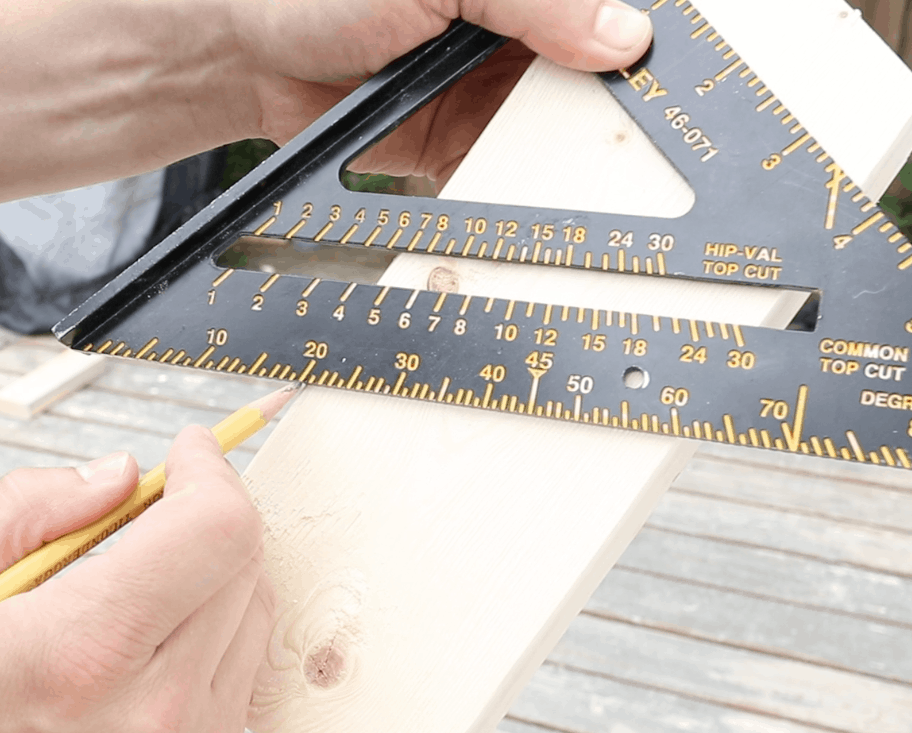
In order to make these 2×4 adirondack chairs without a miter saw, you will need a speed square and circular saw. This takes some extra precise work, but it can be done. We made 4 chairs using this method and they all turned out beautifully.
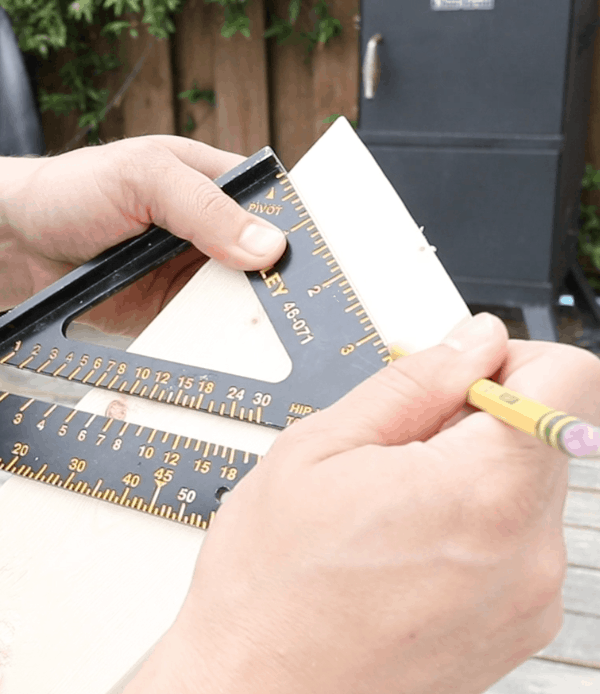
Place your pivot point on the edge of your 2×4 and rotate your speed square so the 20 is right at the edge of your board.
Then mark your cut line across the top of your speed square. Now you can very carefully use your circular saw to cut right along that line. Make sure to follow the line exactly or else this won’t work.
Using The Kreg Jig For Adirondack Chairs
The only other “unique” tool you may not have for this project is the Kreg Jig. As we mentioned before, this is a fantastic tool to have if you plan on building furniture yourself.
The kreg jig is very easy to use. The 2x4s are 1.5″ wide so set your Kreg Jig appropriately and go ahead and make those pocket holes as the instructions tell you.
Staining + Sealing
We chose a stain and sealer product in one to keep the process as simple as possible. We built 4 chairs so we needed something that wouldn’t take days to cure and need multiple coats. We chose the Valspar stain + sealer because it offers 1 coat coverage and it claims to protect wood for 6 years before needing to be resealed.
A few other things we really liked about the Valspar stain is that the fumes were not bad at all, it dries really quickly and is rain-ready in just 4 hours!
The color we chose is “Rusticana” and we love it.
This process was so simple. We just used paint brushes to thinly and evenly coat the entire chair. The stain went on so easily and dried super quickly. A product we will be using in the future for sure!
MORE DIYS YOU MAY LOVE
