In this simple tutorial, I will be sharing how to make beeswax candles. Beeswax candles are a beautiful way to add coziness to your space without any worry of artificial fragrance or chemicals.
Why Beeswax Candles?
You just can’t beat the flicker of a candle. I used to be a bath and body works candle fanatic – I used to stalk the sales and load up on all my favorite scents. My health journey has led me down an enlightening path and I now realize that those fragrances in the candles were causing headaches and other bodily ailments.
I tossed all of my candles with artificial fragrance in the trash and started using essential oils as fragrance in my home.
But as I said, you can’t beat the flicker of a candle. There is something so cozy and warming about a candle. I love to light them for myself when I wake early in the morning to read my bible and pray. It makes those early morning moments feel even more special.
Beeswax candles have been my answer for still getting that lovely flicker without the headaches. If you have never smelled a beeswax candle it’s quite lovely. It has a slightly sweet smell to it and I’ve grown to really love it.
Beeswax candles made from 100% pure beeswax are completely non toxic and safe for your home – so that is why I choose beeswax candles for my family.
What Is Beeswax?
Beeswax is a natural substance secreted by honey bees in their hives. The scent is slightly sweet, like honey and sometimes it has floral undertones.
Supplies For Making Beeswax Candles
There are two different types of beeswax candles you can make. You can make rolled beeswax candles, which is what I am sharing in this post and you can make poured beeswax candles(tutorial coming soon!).
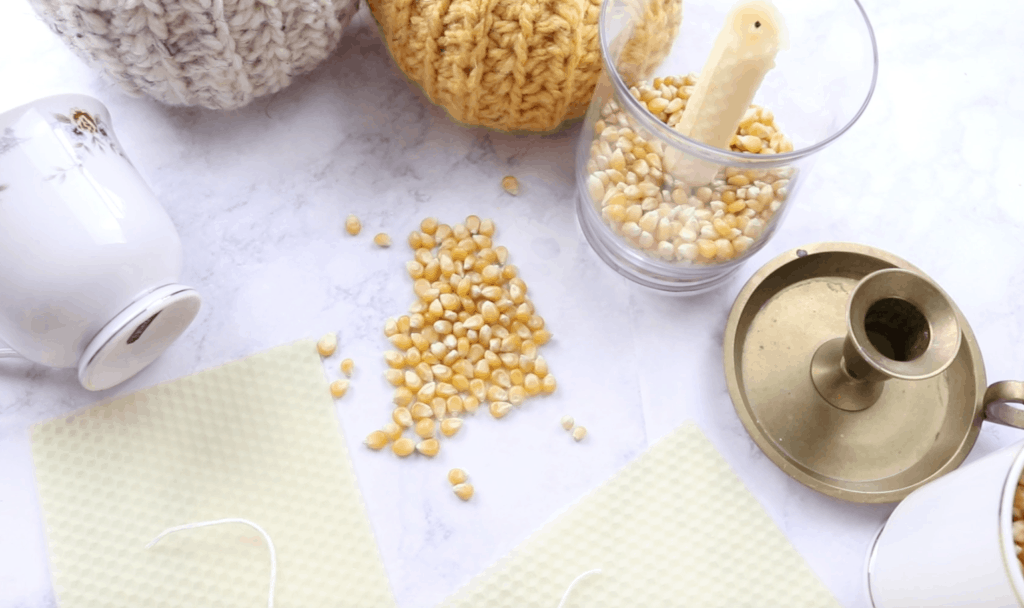
- Beeswax Candle Kit – my favorite is here
- A tea cup, glass candle holder or tapered candle holder
- Popcorn
You only need a few supplies and that’s one of the reasons I love making these candles!
How To Make Beeswax Candles
Depending on the size of the candle that you want, you may need to trim down the beeswax sheets. In the kit that I linked above, I cut each sheet into quarters to make these cute, medium sized candles. I prefer the shorter kind because I feel like there is less risk of them tipping over – and with 4 young kids at home, anything I can do to reduce that risk is worth it to me 😉
- Cut your beeswax sheets to the size you want
- Cut your wick so you have a 1/4″-1/2″ sticking out on one side of the candle
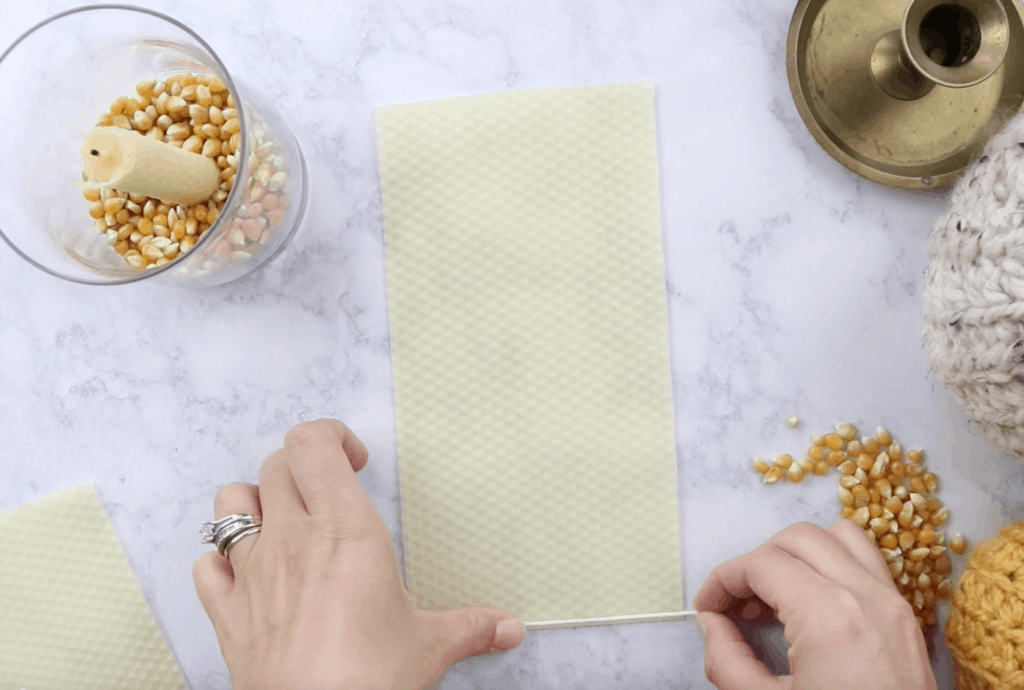
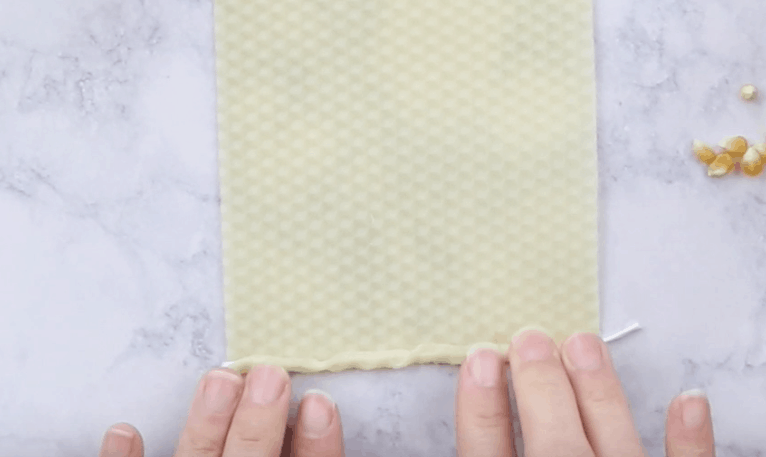
- Place your wick at the bottom of the beeswax sheet and press the wick into the beeswax, leaving extra on one side so you can light the candle
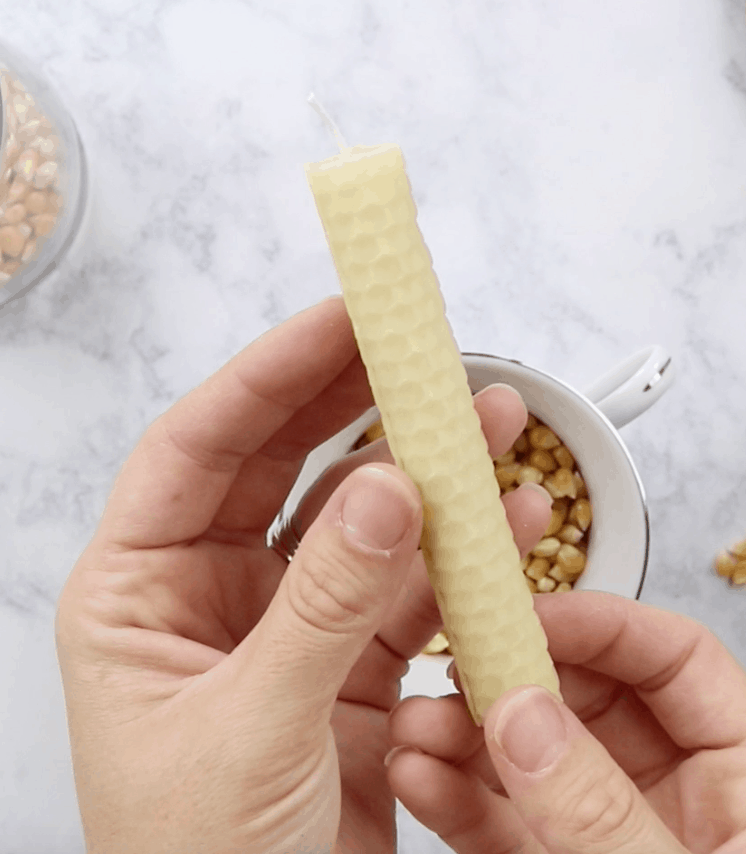
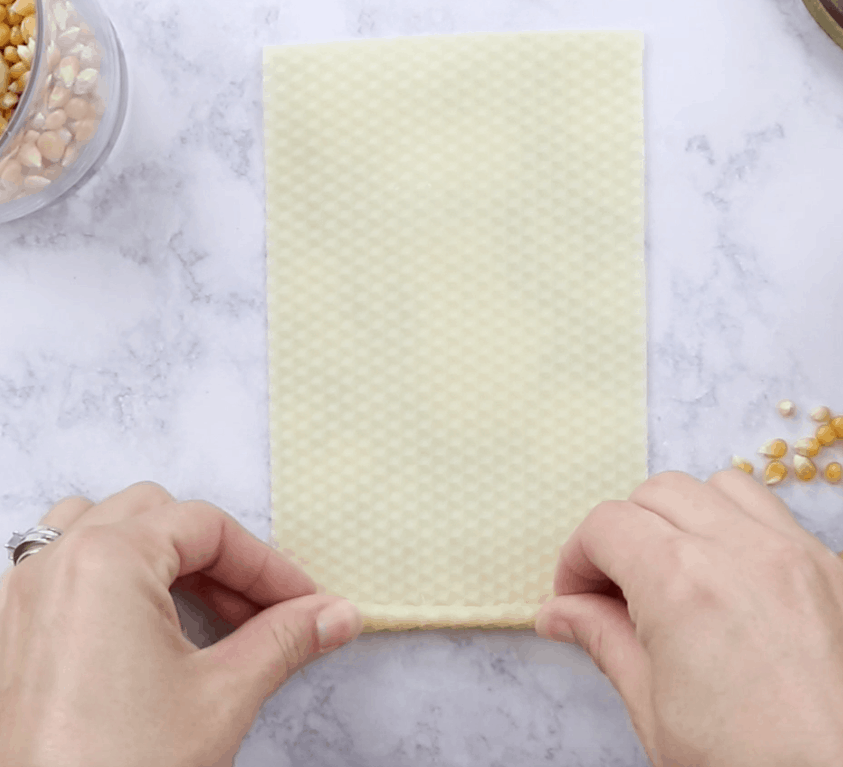
- Begin to roll the beeswax sheet as tightly as you can around the wick. The tighter the roll, the slower your candles will burn – which is what you want!
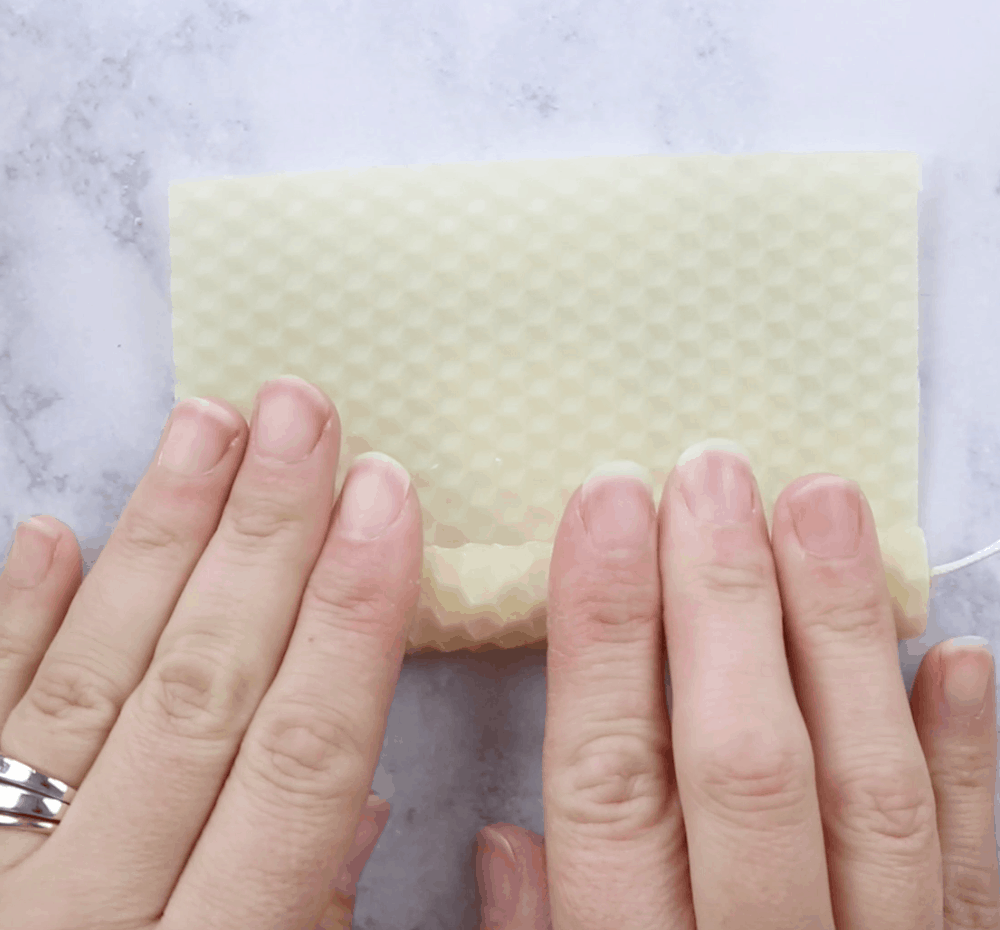
- The warmth of your hands will help to soften the beeswax and it will become easier as you go.
- Keep the rolling tight and even, all the way to the end
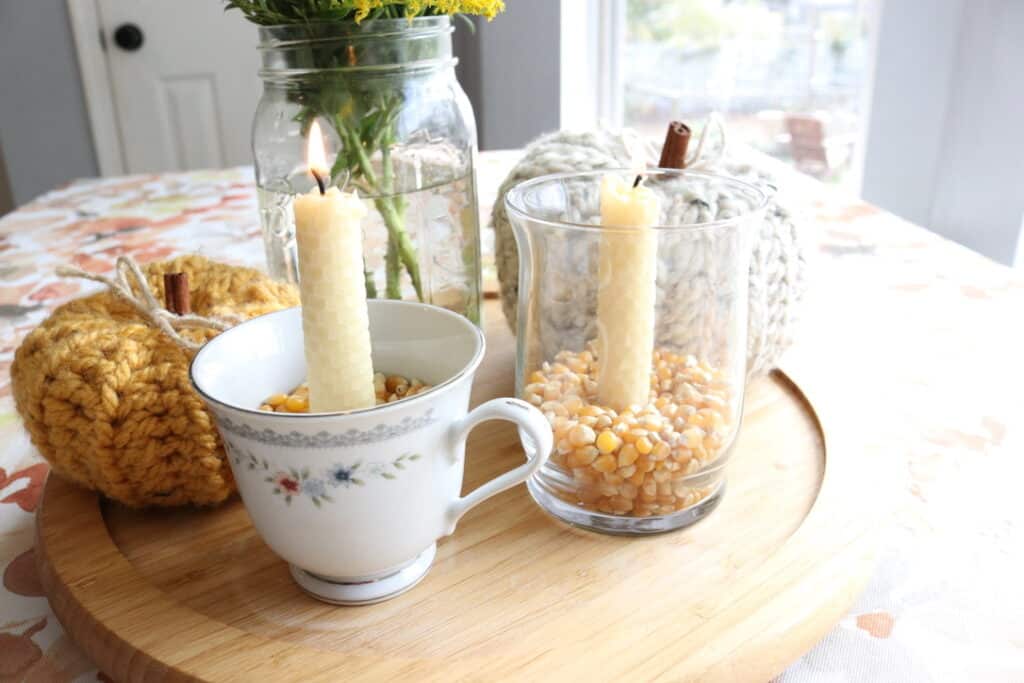
- Lastly, you can pour popcorn kernals in a tea cup or glass candle holder and stick your freshly rolled, candles in them for a fun and cozy fall decoration!
Place your wick at the bottom of the beeswax sheet and press the wick into the beeswax, leaving extra on one side so you can light the candle
Begin to roll the beeswax sheet as tightly as you can around the wick. The tighter the roll, the slower your candles will burn – which is what you want!
The warmth of your hands will help to soften the beeswax and it will become easier as you go.
Keep the rolling tight and even, all the way to the end
It really is so simple! Thanks for joining me for this fun beeswax candle tutorial!
