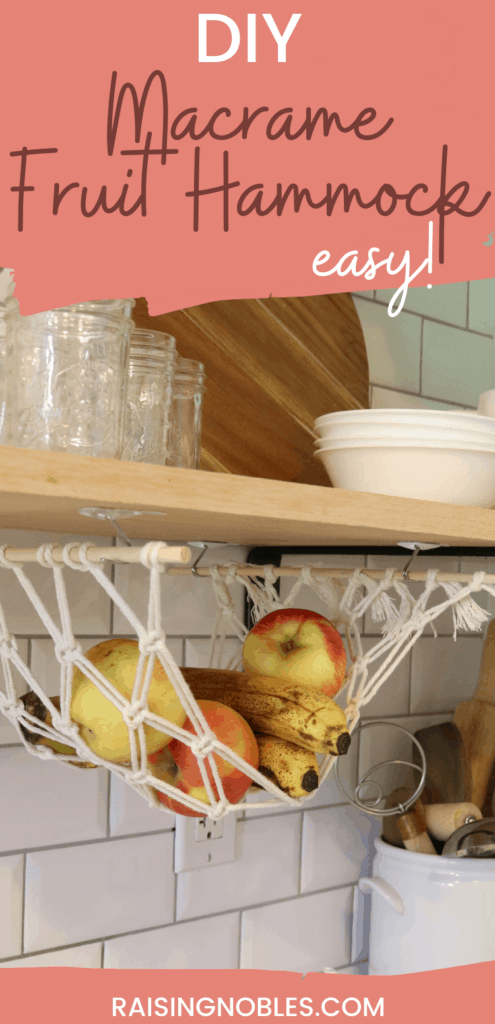
Today I am sharing how to make a macrame fruit hammock. These macrame fruit hammocks are trending right now and for good reason! They are so fun and add a bit of texture and fun to any kitchen. In this tutorial, I will walk you through the steps of how to make a macrame fruit hammock and I am also including a video just in case your prefer to watch tutorials via video.
Macrame Fruit Hammock
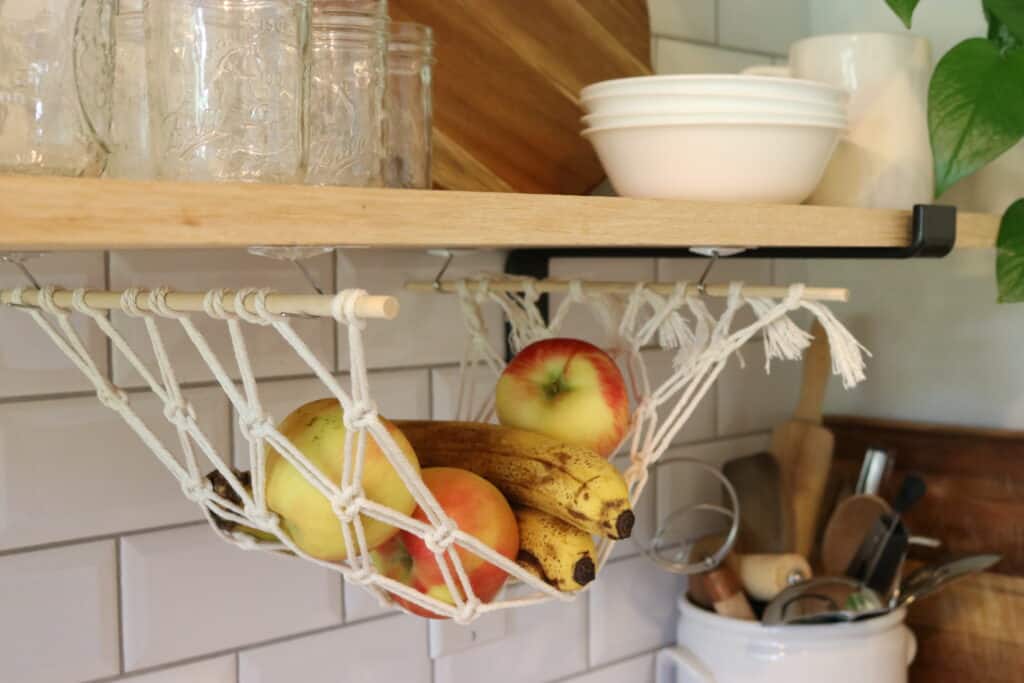
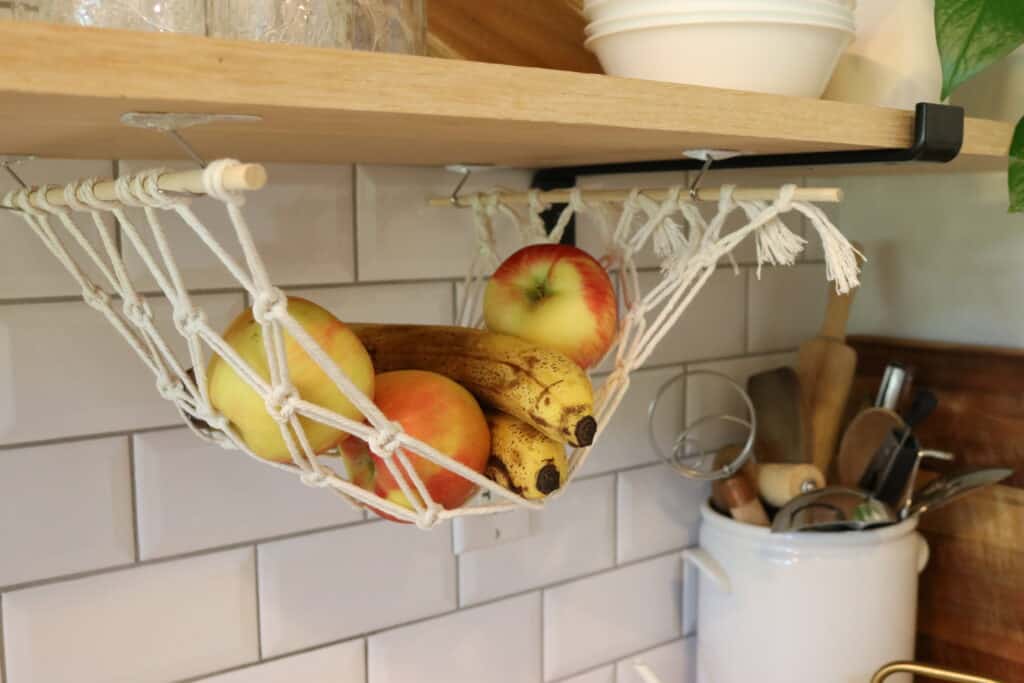
I just love how these fruit hammocks look in the kitchen. And not only are they super cute, they are also very practical! You can free up counter space and add a touch of style. This fruit hammock even works in tiny kitchens or even rentals – I am going to show you how to hang this macrame fruit hammock without having to drill any holes in your kitchen cabinets or shelves!
This macrame fruit hammock tutorial is beginner friendly! You don’t need to know a bunch of macrame knots(or any!) because I am going to walk you through each knot slowly. We will only be using two simple knots that anyone can do, so let’s make this macrame fruit hammock!
Supplies For Macrame Fruit Hammock
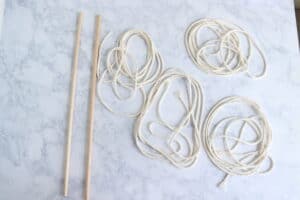
This is my favorite part, you only need a few things to be able to make this DIY project. To make things even easier, I have a macrame fruit hammock kit in my Etsy shop that comes with EVERYTHING you need to make one of these for yourself.
But if you prefer to buy each thing separately, I’ll link everything for you here.
That’s it, that’s literally all you need, I told you it was simple!
How To Make A Macrame Fruit Hammock
So after you have purchased your kit from Etsy, or ordered all of your supplies, it’s time to get started making your macrame fruit hammock.
To begin, I like to tie a piece of yarn to each end of the dowel rods and hang it on a shelf or door handle while I am making my knots, it just makes things a little easier.
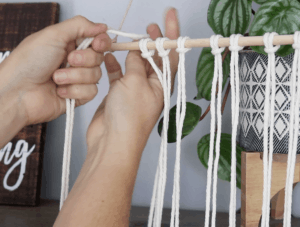
We are going to attach our macrame cords to our dowel rod using a lark’s head knot. Don’t let the fancy name fool you, it’s very simple: fold the rope in half and find the center where the rope is looped. Put the looped part over and behind the dowel rod and then pull the two pieces from the front of the rod, into the loop in the rope. This creates the larks head knot.
Complete the larks head knot for all 8 pieces of rope. If you need a better visual, check out my video tutorial here.
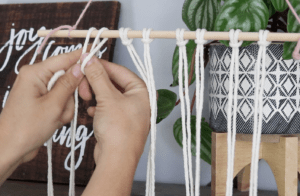
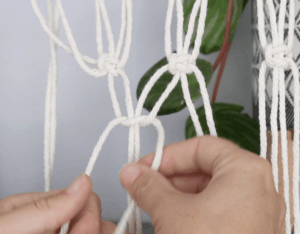
Next the fun part begins, it’s time to make the square knots that create that beautiful diamond macrame pattern.
How To Make A Square Knot:
- Start with the first 4 four ropes.
- Bring the left rope over the 3 cords to the right
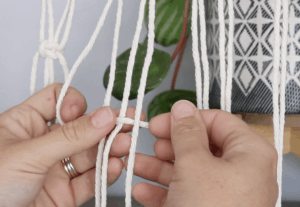
- Take the rope all the way to the right and move it in front of the cord your just moved across the other three ropes
- Bring the left rope behind the 2 anchor ropes and through the loop created by the left rope on the left of the work.
- Pull the left and right cords gently and you have the first section of the square knot.
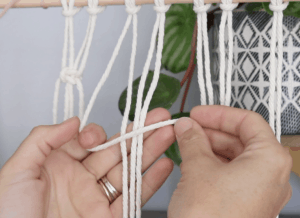
- Bring the right rope over the other ropes towards the left.
- Move the left cord in front of the cord you just moved over.
- then tuck the left rope behind the 2 anchor ropes and through the loop created by the rope on the right and pull the two ropes on the end to form the completed square knot.

After you have completed the first square knot, move on to the next 4 ropes and do the exact same thing all the way down the row until you have 4 square knots.

Moving down to the next row, take the first two ropes on the left and place them over the dowel rode just to get them out of the way. So this next set of square knots will start with ropes 3,4,5 & 6.
And you will create 3 knots on this row and leave out the last 2 ropes on the right.
Then the next row you will do 4 square knots, then 3 and so on until you get to the end of your ropes.
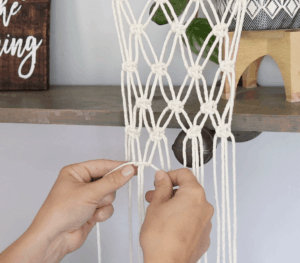
Once you get to the end, you want to leave a good 3-4″ so you can attach the ropes to the other dowel. Just do a double knot to attach your ropes to the dowel rod.

The next step is simply placing the command hooks. Measure the finished macrame fruit hammock and place the command hook accordingly. I placed mine under our open shelves in the kitchen, but under cabinets works just as well!