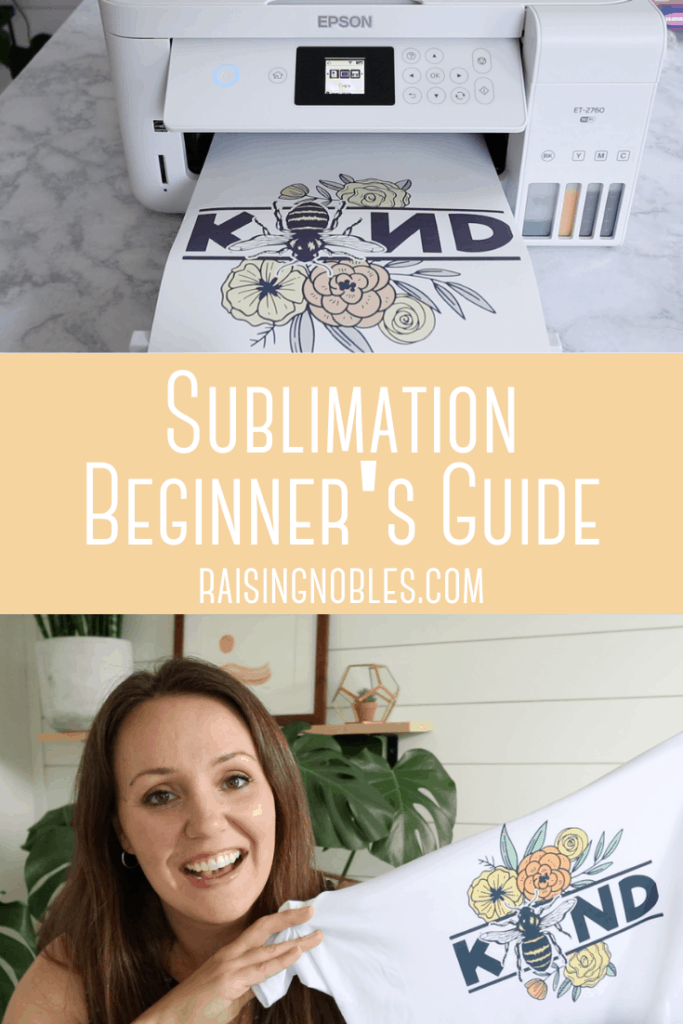
Sublimation is gaining in popularity – and for good reason! If you want to know how to do sublimation and how to sublimate a shirt, you have come to the right place.
In this article I will be sharing about why you may want to use sublimation vs. other techniques, common problems and frequently asked questions as well as a step by step tutorial on how to sublimate for yourself, let’s dive in.
Thank you so much for stopping by! This post contains affiliate links, I receive a small amount of compensation if you choose to purchase from my links (for example – as an Amazon Associate I earn from qualifying purchases). I only link to products that I know and love.
What Is Sublimation?
To put it simply, sublimation is a process that transfers dyes onto different types of fabrics and materials. An image or design is created on a computer or tablet and printed onto sublimation paper using sublimation ink. The printed design is then placed onto the t-shirt, mug, socks, hoodie etc. and using a heat press, the design is permanently transferred to the material using heat and pressure.
It may seem a little complicated, but I assure you that it isn’t. Basically, sublimation is a process where heat and pressure are used to transfer the ink at a molecular level, resulting in a permanent transfer. No matter how many times you wash scrub or soak the item that you sublimated – the transfer will remain intact. Amazing, right!?
Why Use Sublimation Vs. Other Methods?
There are many ways to transfer a design onto different products; screen printing, transfer vinyls, direct to garment printing among others.
But sublimation is unique in that the cost of materials is low and the results are high quality, brightly colored and permanently transferred images/designs.
Let’s consider screen printing for example. To get started you will need large open spaces for the equipment, proper ventilation, costly screens and materials.
How about direct to garment printing? To get started with direct to garment printing you will first need a large DTG printer, which are thousands of dollars at a minimum. The maintenance and repairs can also be very costly.
And this is where sublimation comes in! To get started with sublimation, you can get all of your materials for less than a thousand dollars. All you need is a printer, sublimation ink, heat press, sublimation paper and designs. If you have those things, you can get started with sublimation right away – and I can speak from experience that this technique is very beginner friendly. My very first t-shirt I ever sublimated turned out perfectly. I love sublimation!
Sublimation and Quality
Sublimation printing offers a significant quality advantage over the other methods I have mentioned.
Screen printing can be very limiting in its colors and complexity. Not to mention the repeated process of printing the various colors for the design.
Sublimation printing does not have those limitations. Because sublimation works by transferring the design from the paper to the item, the only limitation here is the quality of the printed design from your computer. With sublimation printing you can transfer high quality, brightly colored images and designs directly onto your desire t-shirts, mugs, blankets etc.
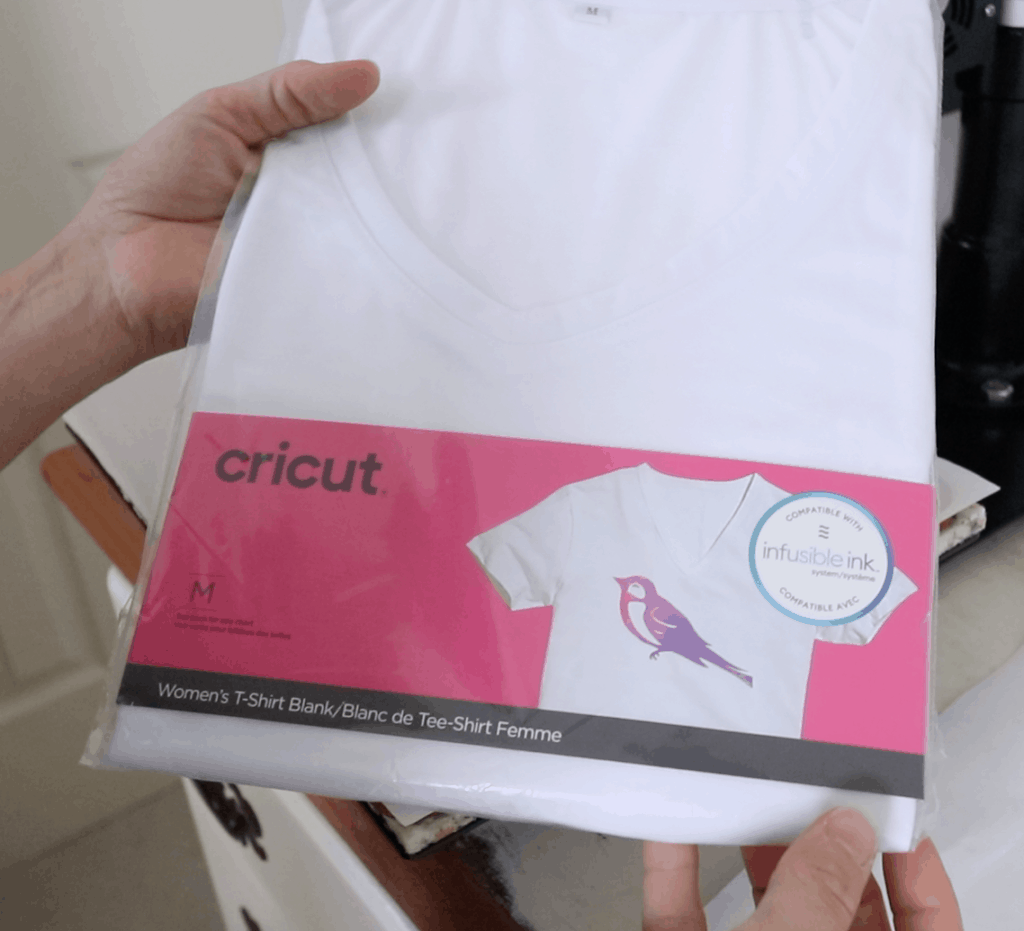
The only small limitation to mention regarding sublimation printing is that most printers cannot print white ink. So it is best to sublimate on white or lightly colored shirts. There are some printers that will print white ink, but I have never tried them because I haven’t had the need for it.
Supplies For Sublimation
Trust me when I say that getting started with sublimation is quite simple. Yes there are some supplies that you need, but they are easy to get your hands on and very simple to use.
-
Sublimation Ready Printer
You can use a printer designs for sublimation like this one, or you can convert an ink jet printer to support the sublimation ink, like this one. I have this Epson printer and haven’t had a single issue with it.
-
Sublimation Ink
It is very important to note that you must use sublimation ink in order to sublimate. You can’t use the ink that comes with the ink jet printer, for instance – in fact, make sure you don’t put any of the ink jet ink into the printer you plan to use for sublimation. My favorite ink is by Wokok and I get one from amazon.com
-
Sublimation Paper
Another essential. This special paper has a specific coating that allows the sublimation process to work, don’t skip this – it is essential. My favorite sublimation paper can be found on amazon here.
-
Heat Press
This is what you will use to press and heat your designs to aid in the transfer. Heat presses come in a lot of different sizes, so make sure you get one with a heat plate large enough to handle the designs you want to do. This is the one that I have, although it isn’t the most high quality, it definitely gets the job done. A lot of people love this one too. An iron will NOT work for this, so I don’t recommend trying it.
-
Design Software
You will need a design software to create your images and designs to be printed. I like using Silhouette Studio because it is a free program that you can download from their website. I also have been enjoying using procreate on my iPad, and that is a great option as well.
-
Designs
You can definitely create your own designs and text using the softwares I mentioned above, but you can also buy designs that have already been made for you – which is awesome! Etsy, creative fabrica and design bundles are some of my favorite places to get designs.
-
Butcher Paper
Butcher paper is used to protect the t-shirt from the heat plate and also to place between the t-shirt to help the dyes to not get pressed onto the backside of the shirt. I get mine in a big roll on amazon, super cheap.
-
Lint Roller
T-shirts and other materials can come with all sorts of lint and dust on them. A quick 3 second lint role can go a long way to making sure your design is crisp and as high quality as possible.
What Can I Sublimate Onto?
This is a great question and one of the most exciting parts about sublimation, in my opinion – searching for items to sublimate on!
Sublimation works by binding inks to polymer in the transfer material. So anything with a fairly high polyester content should work for.
Look for fabrics with at least 50% polyester as a general rule, although 65% is even better. The more polyester that is in the material, the more chance the inks have of grabbing those fibers and “holding on”, in turn making a nice crisp and detailed image or design.
A quick google search like “sublimation blanks” will pull up website after website of products that are designed and ready to be sublimated onto. Everything from coasters, water bottle, mugs, shirts, socks, ties, underwear, blankets…you name it! The possibilities are virtually endless.
Do The Fabrics Have To Be 100% Polyester?
No, they do not need to be 100% polyester to take sublimation. In my experience, shirts that are 100% polyester are actually quite uncomfortable to wear, so I don’t recommend that if you are planning to wear it or sell the t-shirts.
I prefer to use 50%-65% polyester content in my t-shirts because the shirts are nice and soft, but still take the inks quite well.
No doubt though, for the most bright and crisp transfers, 100% polyester works very well.
Hereis a neat post about a cool new product for sublimating on cotton, I haven’t tried it but it looks promising.
Sublimation On Cotton
Because sublimation works by adhering to polymers in shirts and other items, it will not work on natural fibers such as cotton or wool.
However, there is a workaround for this. It takes some extra steps and products, but it does work, so if you are dead set on sublimating onto something that is 100% cotton, here is what you need:
There are a few options, the one that I have tried and used successfully is using a product called spray bright. This spray is used by spraying it onto the area of the fabric you wish to sublimate, soak the fabric and allow it to dry. Then once the fabric is dry, sublimate as you usually would and voila! You can sublimate on cotton and still get nice, vibrant results!
How To Sublimate on Wood or Tiles
Another trick for sublimating on items that normally wouldn’t take the sublimation ink well, is using either laminating sheets or polycrylic to aid in transferring the sublimation design.
For example, to sublimate on wood, put a thin coat of polycrylic onto the wood surface and allow to dry completely. Once dried, transfer your image in your heat press just as you would with any other material. Remove the image carefully and you will see that the polycrylic has allowed the image to transfer beautifully.
Can Any Printer Be Used For Sublimation Printing?
Unfortunately, no. In order to sublimate, you need special ink that dyes the paper.
Most printers use a thermal technology that would bake the dye into the sublimation paper, rendering it useless.
Printers that use the piezopressure technology are the types that do well with sublimation inks.
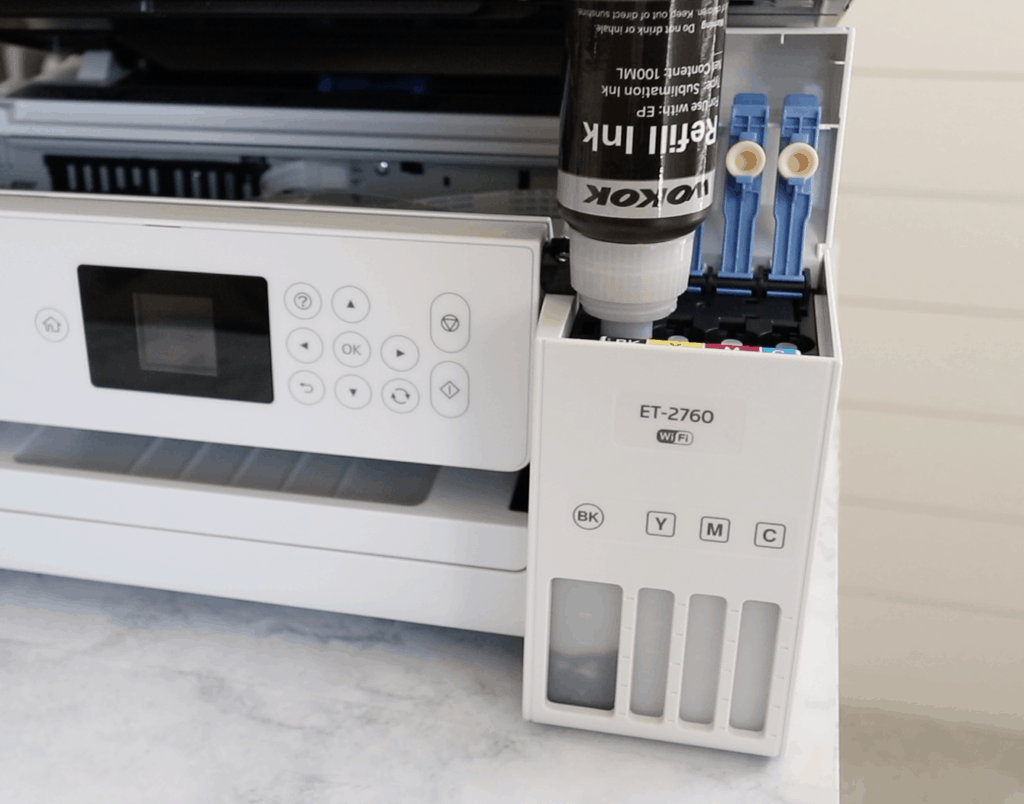
The most economical way to get into sublimation printing is to get an Epson Eco Tank printer. This printer comes with empty ink tanks and you can order special sublimation ink to fill the tanks and convert the printer to sublimation.
It is very important that you do not put the printer ink that comes with the printer into the tanks at all, the printer needs to ONLY have sublimation inks put into the tanks if you wish to use it for sublimation.
Check out my video to see how I converted my Epson eco tank into a sublimation printer.
How To Convert Printer For Sublimation
To convert an ink jet printer, such as an Epson eco tank, you only need two things: the printer and the special ink. It really is that simple.
- Unbox Epson eco tank printer and remove all paper and tape that the printer comes packaged with
- Set aside the inks that come with the printer, you won’t be needing those.
- I like using wokok ink. One reason is because it comes with auto fill nozzles that fit perfectly into my eco tank printer.
- Open the ink tanks on the printer and connect the ink bottles with the correct ink tanks and allow the ink tanks to fill with sublimation ink
- Thats it!! Plug in the computer and follow the prompts on the screen to set up the printer.
How To Sublimate A Shirt
Okay, now that we have covered all the ins and outs of sublimation, let’s move into an actual tutorial complete with photos and videos to make sure you know exactly how to sublimate your first designs.
- Create or download design in a software such as silhouette studio, procreate or photoshop.
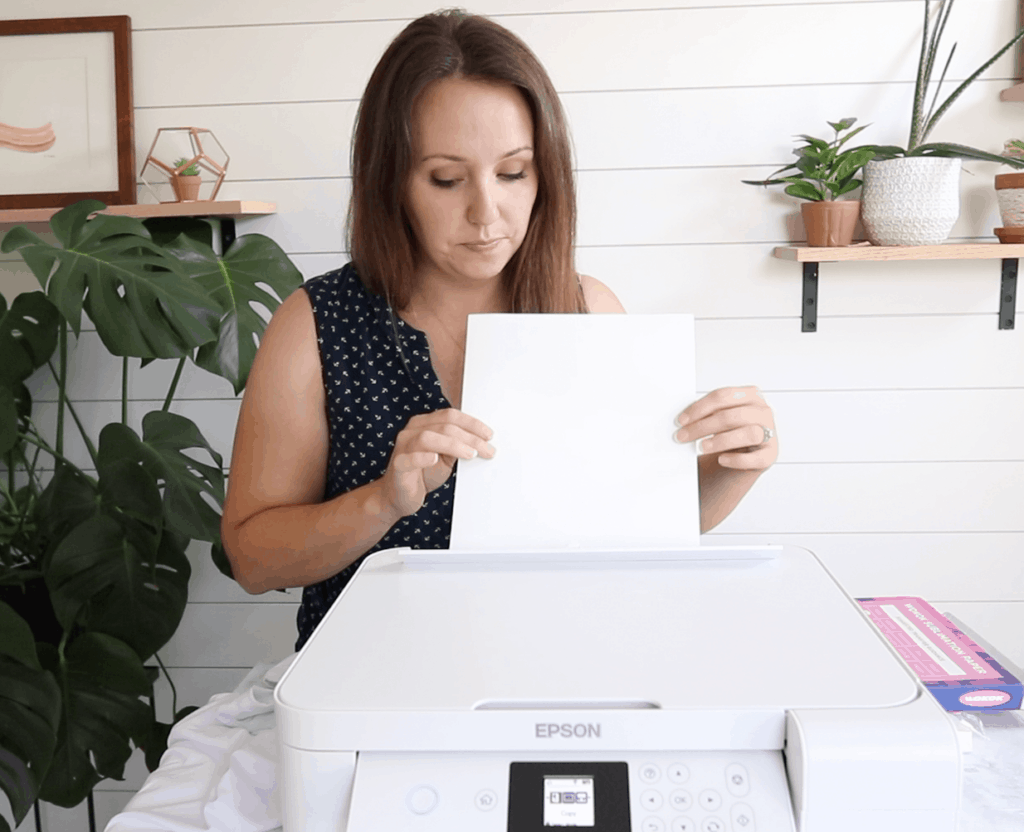
- Print design(make sure you mirror it!) onto sublimation paper using sublimation inks, in your sublimation printer.
- Preheat your heat press according the directions on your heat press. Mine is 365* F for t-shirts
- Prep butcher paper pieces. You will need one on the bottom of the press, and one between the item and the heat plate and if you are sublimating a t-shirt, you will also want a piece of butcher paper between the shirt to make sure the ink doesn’t get onto the back of the shirt
- Place the shirt on the butcher paper on the heat press, apply the printed sublimation design on the shirt where you want it and press using medium pressure for 45-55 seconds.
- Lift the press and CAREFULLY remove the butcher paper and sublimation design.
- Allow the shirt to cool a little and then you can take it off the heat press
And that’s it! That is all it takes to sublimate a shirt. It is so simple – anyone can do it!
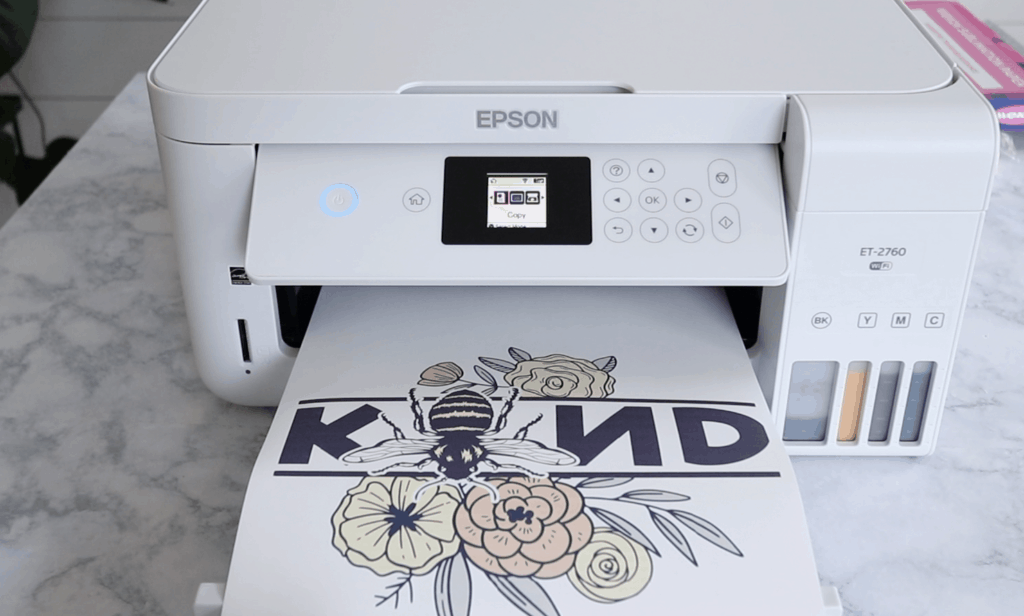
Print your design using your converted sublimation printer and sublimation paper. The design will print lighter than you think it should – but don’t worry! The colors will deepen and become more vibrant once you sublimate it.
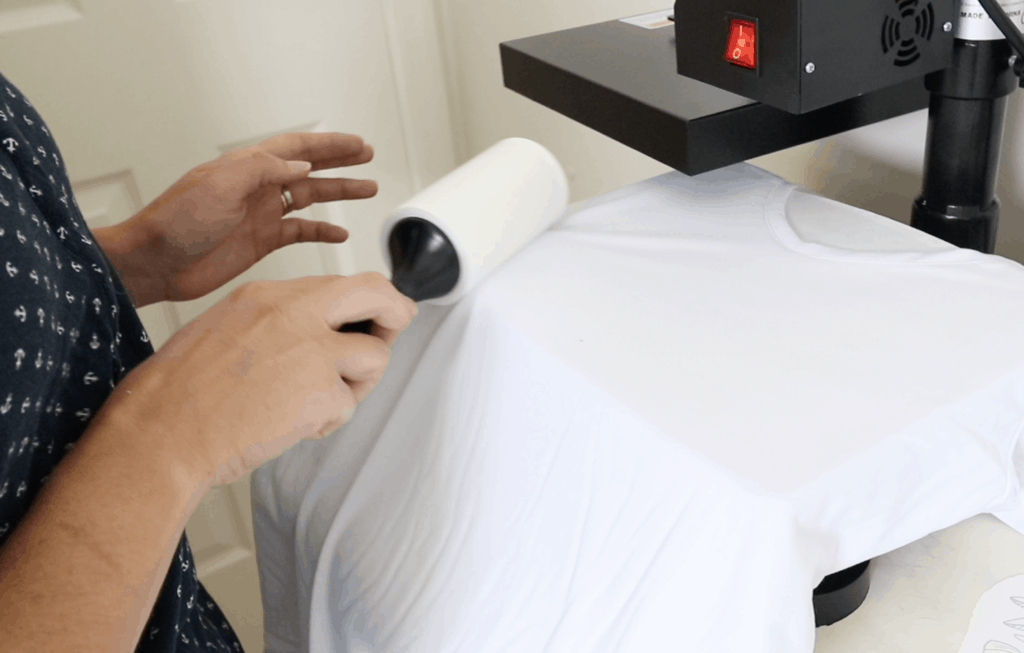
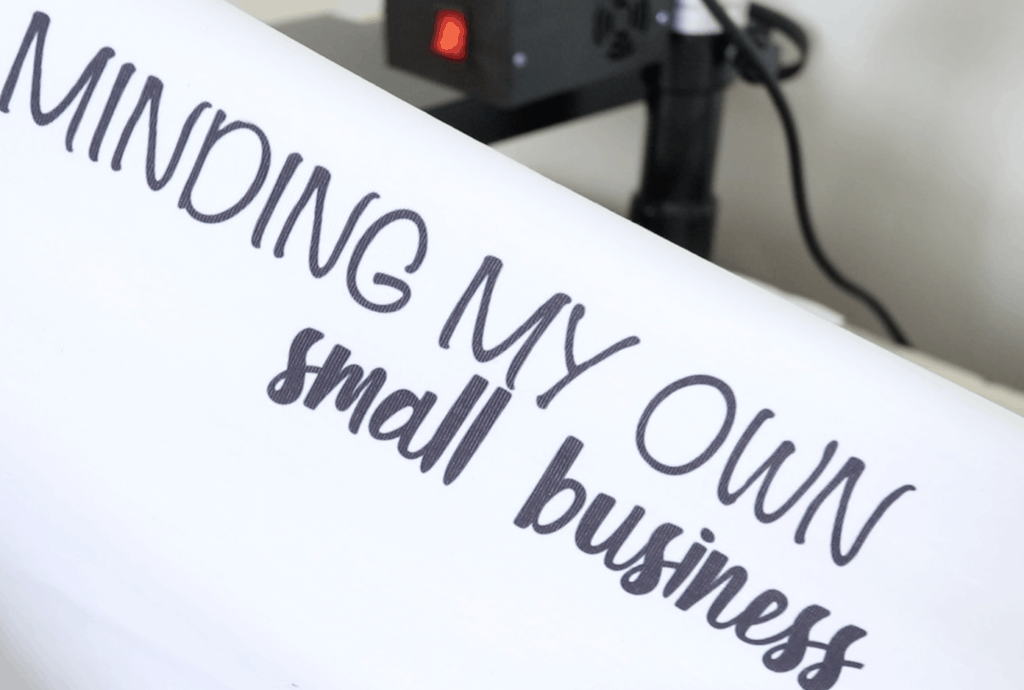
Place the shirtonto the heat press and use a lint roller to roll off any dust, lint or hair. Don’t skip this step, it is necessary. Then do a quick press of the shirt for about 10-15 seconds to remove any wrinkles.
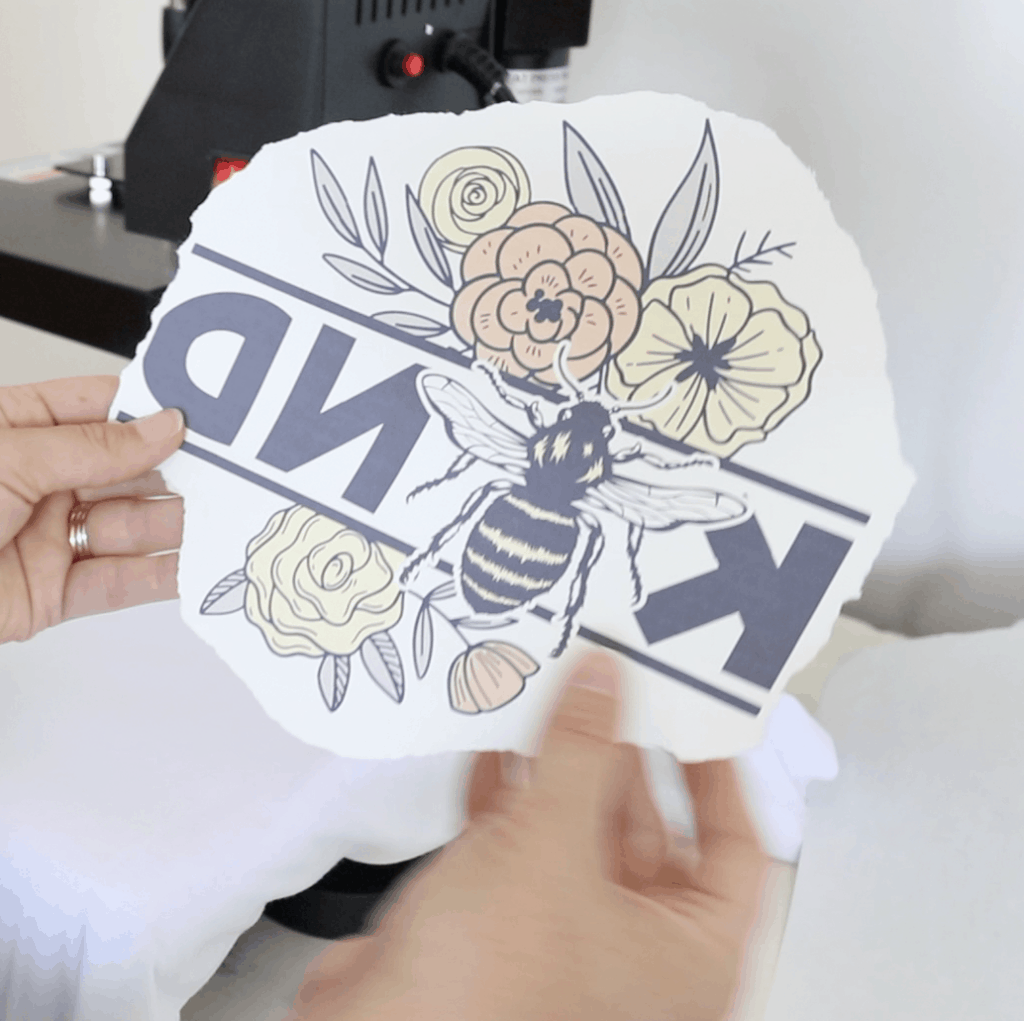
Sometimes the heat press can press so hard that it makes a mark on the shirt where the sublimation paper ends. To help with this, I tear around my design in a random pattern and that helps so much.
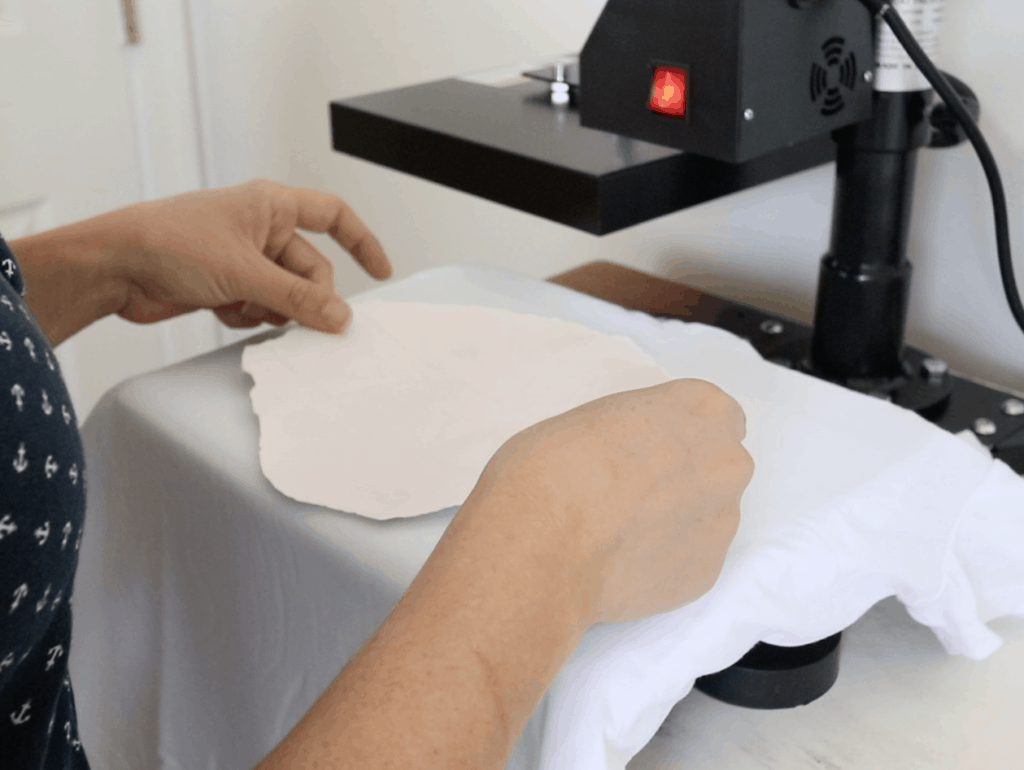
Next, place your sublimation design, color side down onto the surface of your t-shirt that you want to sublimate. Make sure everything is lined up and just the way you want it – once you press the design it is permanent!
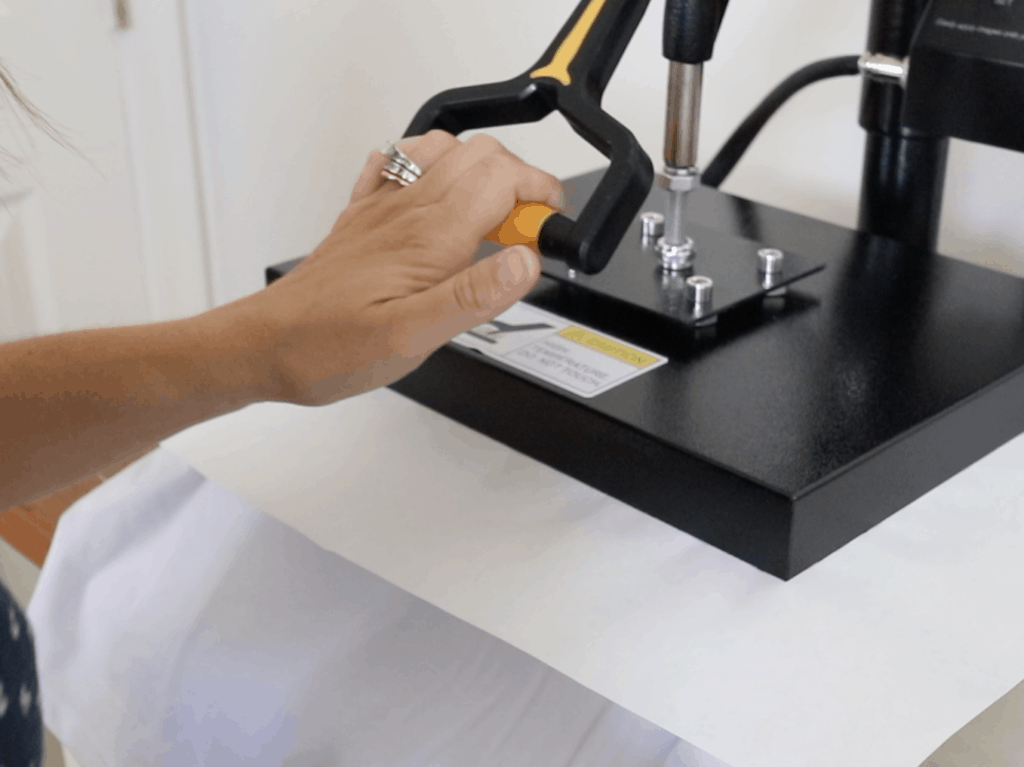
Press according to your heat press instructions. I preheat to 365* F and press for 45-55 seconds.

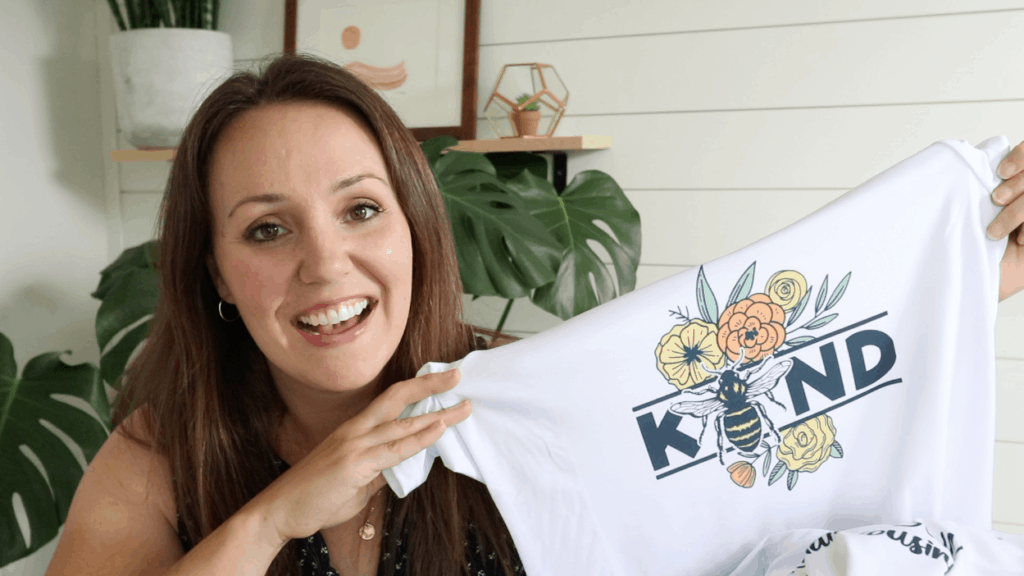
And look how nice it came out! I am continually impressed with how vibrant and nice the colors are. I also love how the dyes penetrate the the fibers and don’t just sit on the surface like vinyl does. If you can’t tell, I am a huge fane of sublimation and am excited to continue with tutorials and videos as I am able to share.
How To Use Sublimation Paper
Sublimation paper is a special paper used to print the sublimation design on. To use sublimation paper:
- Load the paper facing the correct direction in the sublimation or converted printer. Most sublimation papers will have a different color on the wrong side so you know which side is supposed to be printed on – some have text on the wrong side as well.
- Print the sublimation design – make sure you mirror the design if you are using text or anything that could show up backwards
- Print the design. The design is able to be sublimated straight away, no dry time is needed.
- Press the design onto the material of choice using a heat press and that’s it.
How To Make Sublimation Transfers
There are several options for this; you can design something from scratch using procreate, silhouette studio or photoshop. Or you can download already-made designs from websites like etsy, creative fabrica and design bundles.
- Download or create a design in photoshop, silhouette studio, procreate or similar program
- Once you are happy with the image, mirror it so it will transfer correctly onto the shirt
- Print the design on the paper printer
- Press the design on the material of choice using a heat press
Other DIY Projects You May Like:
I hope this post was helpful. I shared pretty much everything I know about how to do sublimation. If you are looking to sublimate on something other than t-shirts, you can pretty much use the same process with other items as you do with a t-shirt, but you may need to adjust the heat press times depending on what it is. Cricut and other companies even make a mug press so you can sublimate directly onto coffee mugs – how cool is that? Another fun idea is sublimating onto blank white puzzles! Isn’t that such a great idea? My twin boys love puzzles so I am excited to make a few puzzles for them – maybe for their birthday!
Thank you for joining me as I shared all about how to do sublimation and how to sublimate a shirt. I hope this information on sublimation was helpful for you and if you have any questions, feel free to ask me in the comments or shoot me an email.