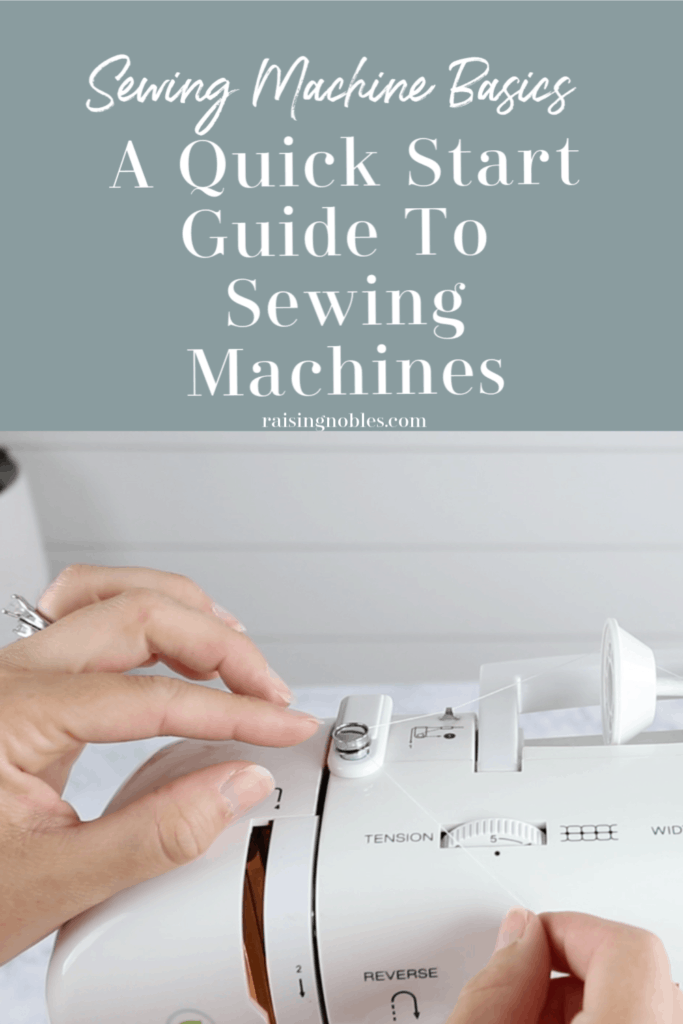
 Join me as I break down exactly how to thread your machine, fill your bobbin and set up your machine for your very first project. In this sewing machine for beginners tutorial, I will walk you through step by step how to thread your machine, what all the buttons do and everything you need to know to get started sewing right away.
Thank you so much for stopping by! This post contains affiliate links, I receive a small amount of compensation if you choose to purchase from my links (for example – as an Amazon Associate I earn from qualifying purchases). I only link to products that I know and love.
Have you been wanting to sew but all the buttons and stitches overwhelm you? Have you been dreaming up making clothes for your kids or grandkids, but the thought of trying to figure out this foreign machine seem too much? Or maybe you want a new hobby and with all this pandemic craziness you have found yourself with a little extra time on your hands.
A sewing machine can be an intimidating thing, but it doesn’t have to be. Don’t be scared, I will “hold your hand” and walk you through the entire process. We will cover all the basics and by the end of it, you should be ready to get started sewing your first project.
This post has tons of detailed photos to help guide you, as well as an accompanying video if you prefer to learn that way.
Which Sewing Machine Is Best?
There are some really fancy sewing machines out there. If you are going to be sewing a ton or making items to sell, it may be worthwhile to get a fancier machine that has a computer inside and has a metal housing.
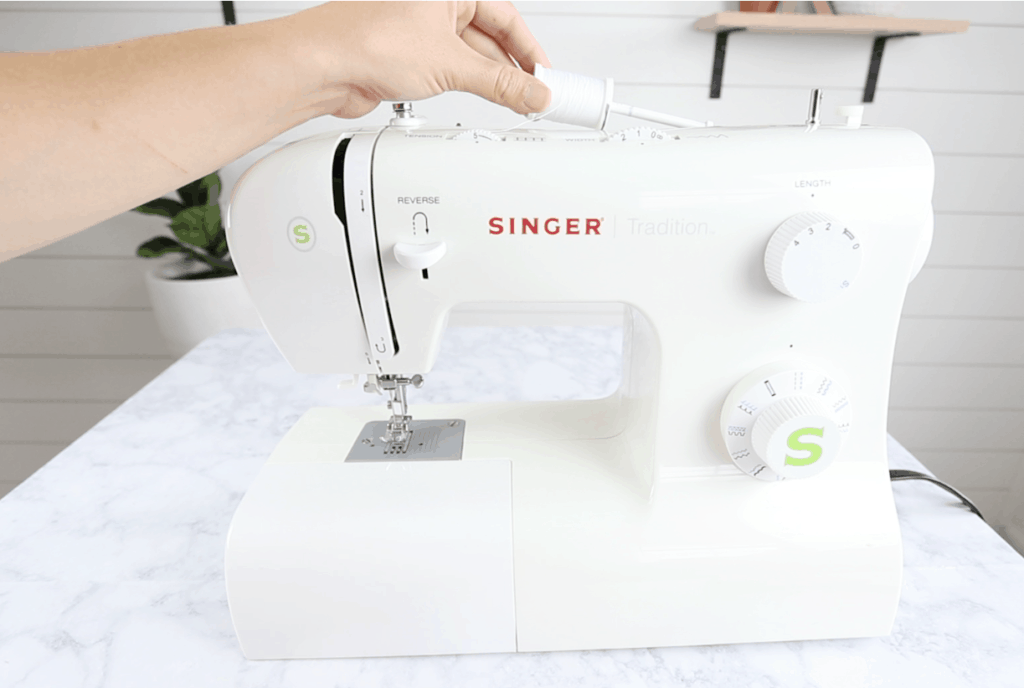
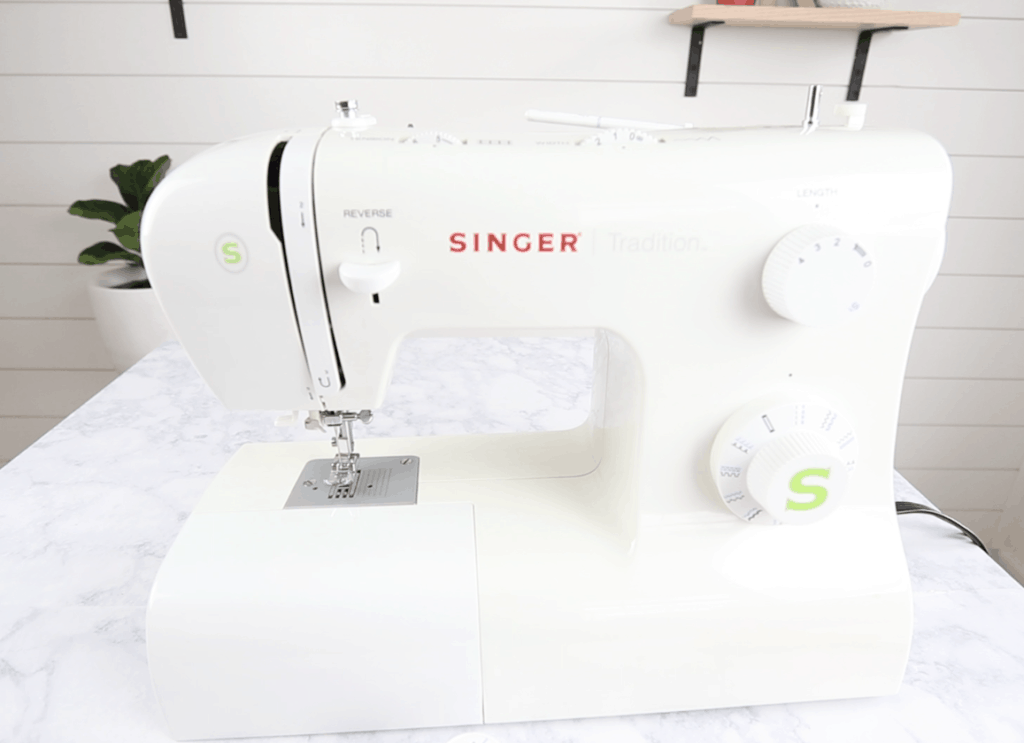
But if you are just getting started, a more beginner-level sewing machine will work just fine. I’ve had my singer tradition machine for 7 years and it’s still going strong. It’s not perfect and I’ve dealt with some minor issues with it, but considering the price, it’s been a great machine.
So choosing your machine is the first step. Let’s talk about basic sewing supplies next.
Basic Sewing Essentials
If you are just getting started sewing, I wouldn’t suggest running out and buying a bunch of supplies. But there are a few things that I would consider “essentials” when you are wanting to sew.
Pins. You will want a nice box of straight pins. These are used to hold your fabrics in place while you sew them together. Every sewer needs straight pins. Amazon sells them cheap or you can pick them up at Joann or Michaels.
The next thing is a nice sharp pair of scissors. Cutting fabric can be difficult if you don’t have a nice pair of scissors. Sewing scissors are usually made entirely of metal and are really heavy, like this. I have also had great success with my fiskars scissors, I just sharpen them as they need it.
Of course you will need thread, and a seam ripper is super handy to have as well. This little kit has a rainbow assortment of thread, a seam ripper and a bunch of other handy tools.
I also highly recommend an acrylic ruler. These are really handy when measuring and cutting your fabrics.
Alright, now that we have those essentials out of the way, let’s jump right into setting up your machine
How To Wind Your Bobbin
Pull that machine out of the box and let’s get right into it!
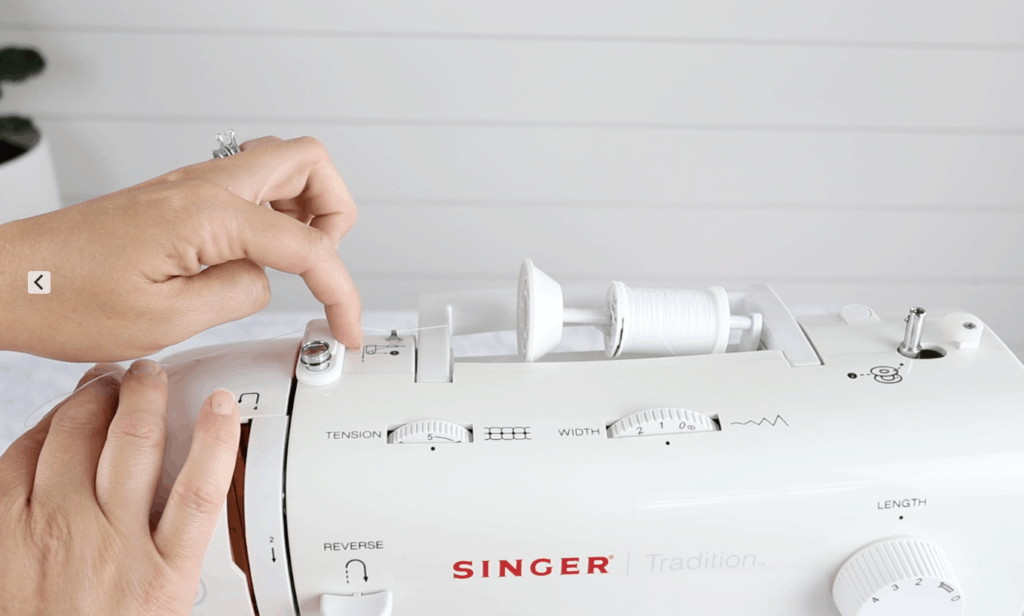
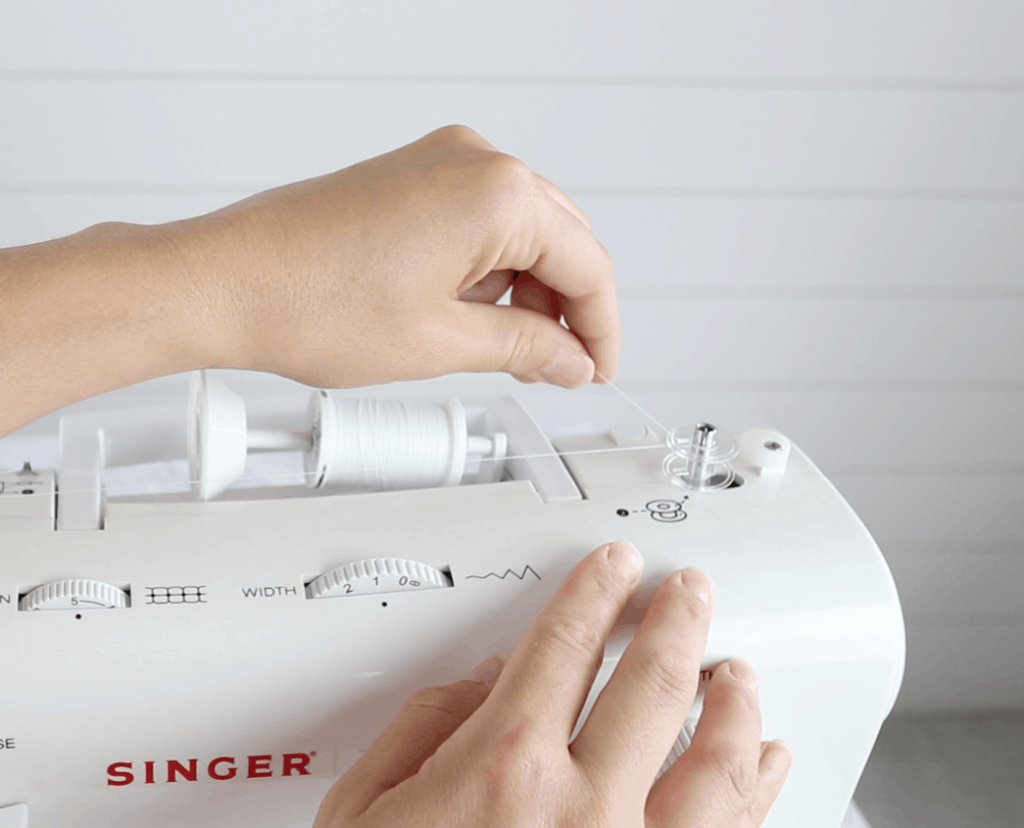
Before you thread your machine, you need to wind your bobbin. Place your spool of thread where on the holder and most machines have a diagram(usually dotted lines) showing where to place your thread to wind your bobbin.
Usually it’s 2 points and then you bring your thread towards the bobbin winding area.
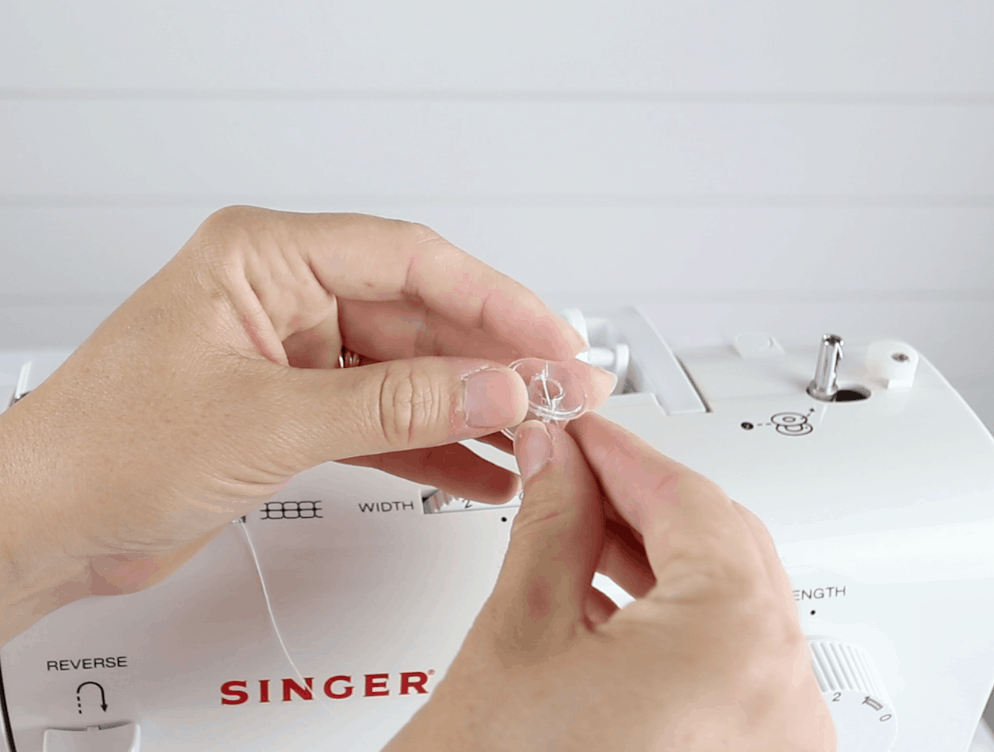
Now thread the string through the top hole in your bobbin and place the bobbin. Slide the bobbin to the right towards the stopper to tell your machine you want to wind a bobbin, not sew.
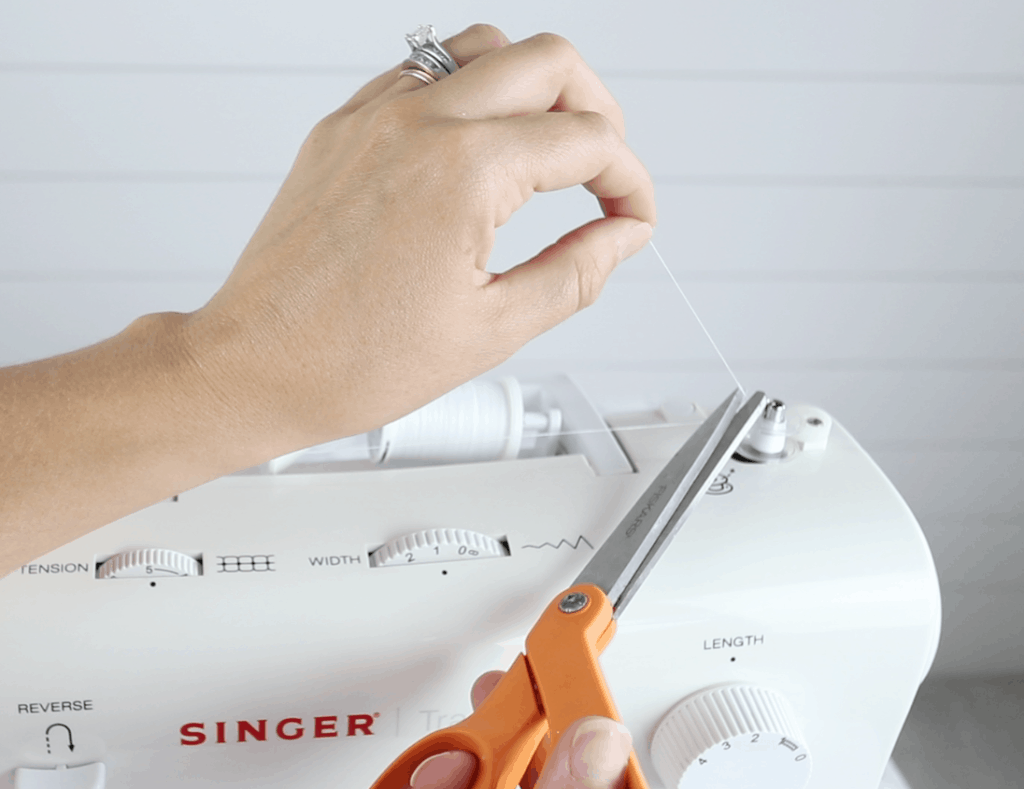
Once you have clicked it into place, while holding onto the thread, press down on the foot pedal and let it wind around the bobbin a few times.
Then you can cut the string you were holding and continue pressing down the pedal until the bobbin stops winding.
Slide your bobbin back to the left, cut the string and remove your bobbin.
How To Thread Sewing Machine For Beginners
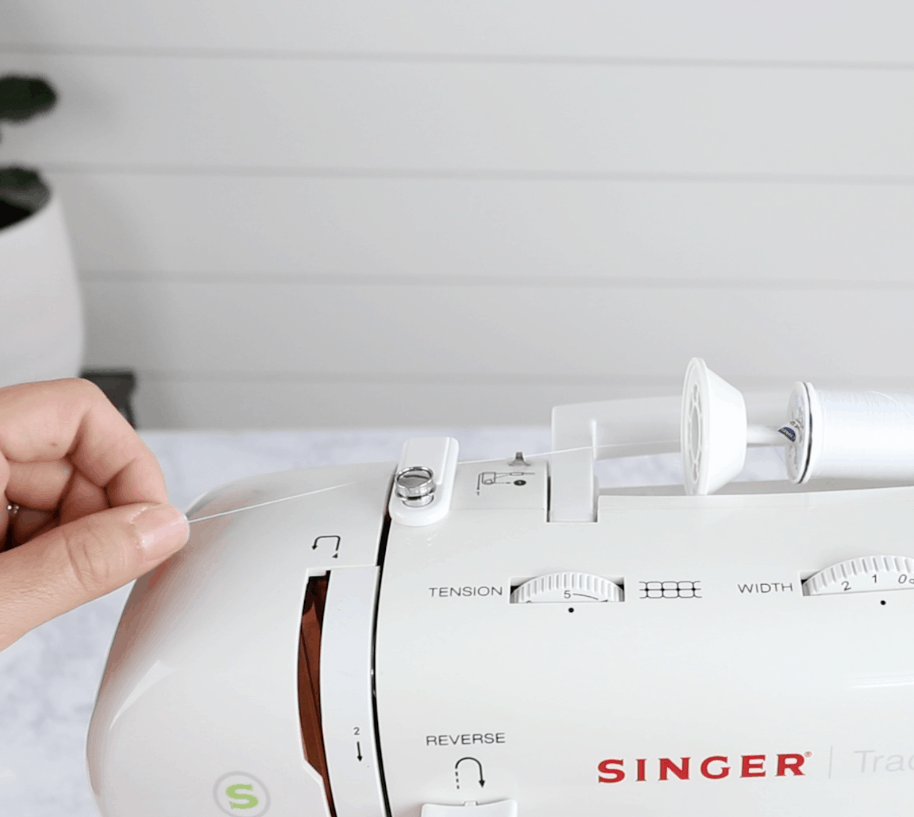
Back at the top of the machine is another diagram, usually solid lines that tells you how to thread your machine. Slide your thread through those points and then down the slot towards the “u turn”, as I like to call it. After the u-turn, using your hand wheel on the right side of your machine, rotate it towards you until the metal piece comes up through the slot. Slide your thread through it and then down towards the needle.
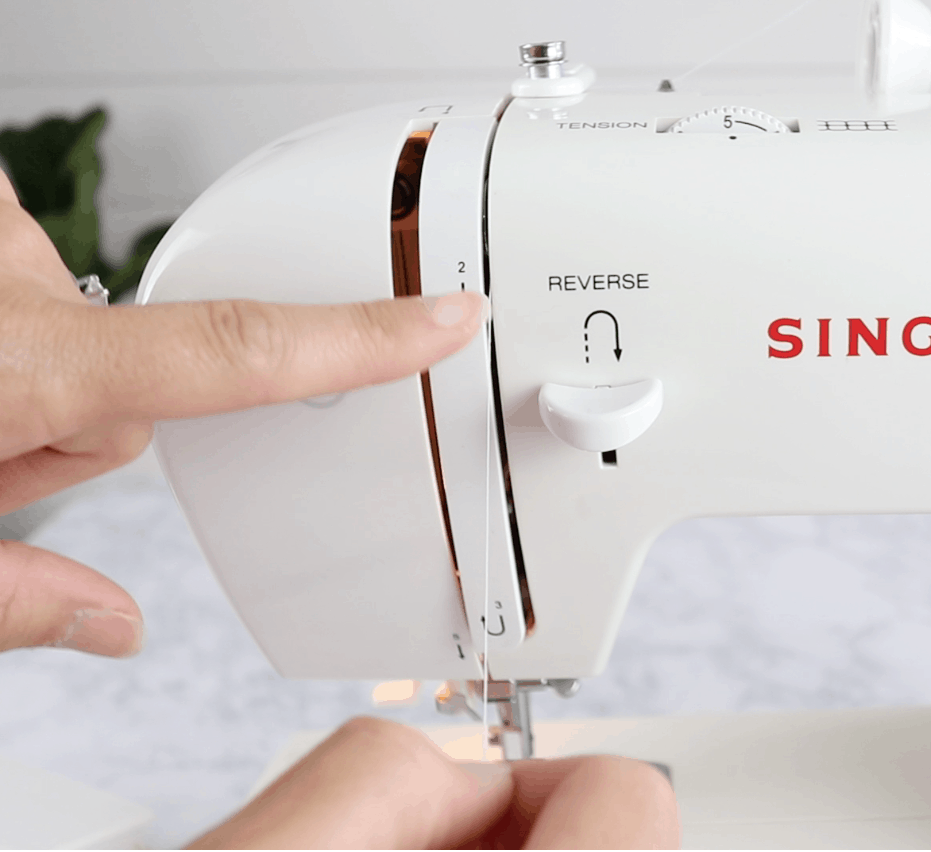 After the u-turn, using your hand wheel on the right side of your machine, rotate it towards you until the metal piece comes up through the slot. Slide your thread through it and then down towards the needle.
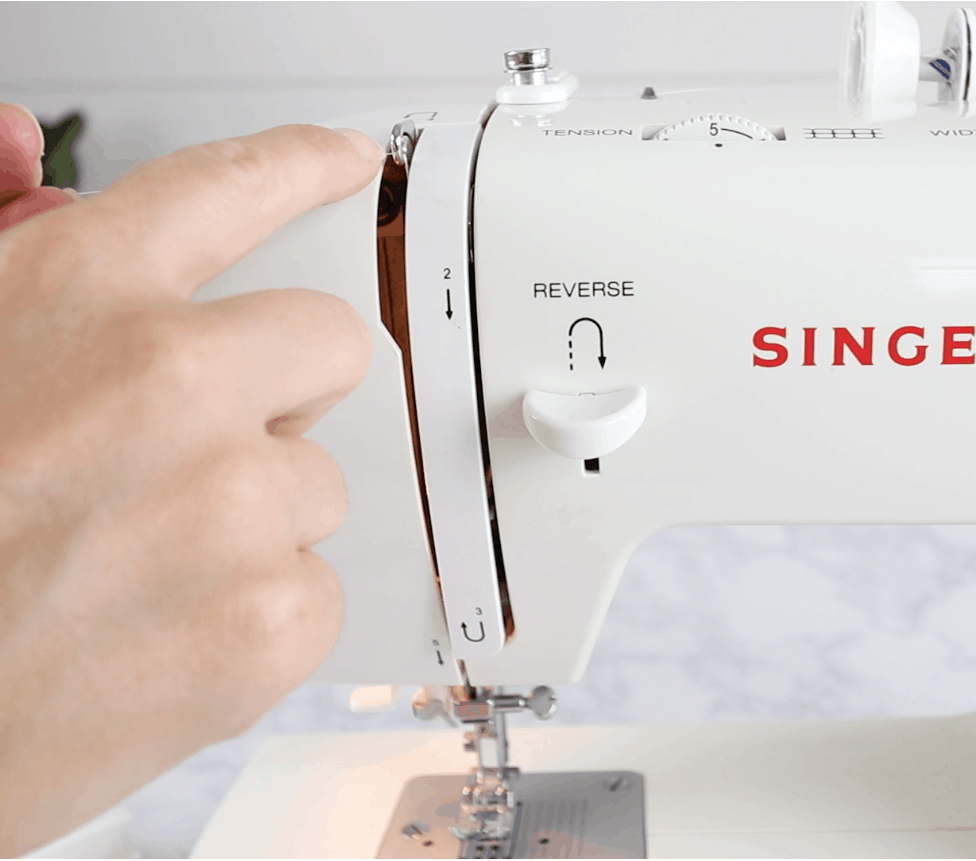
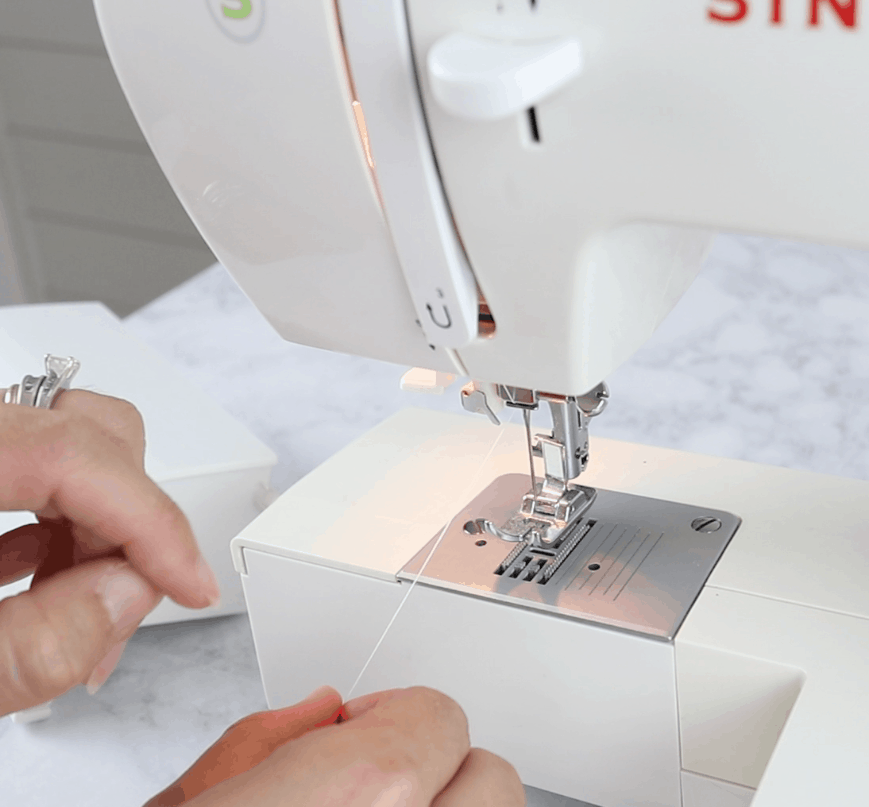
On the needle there is a little plate that the thread needs to go behind. Slide it back there and then you can put your thread through the eye of the needle.
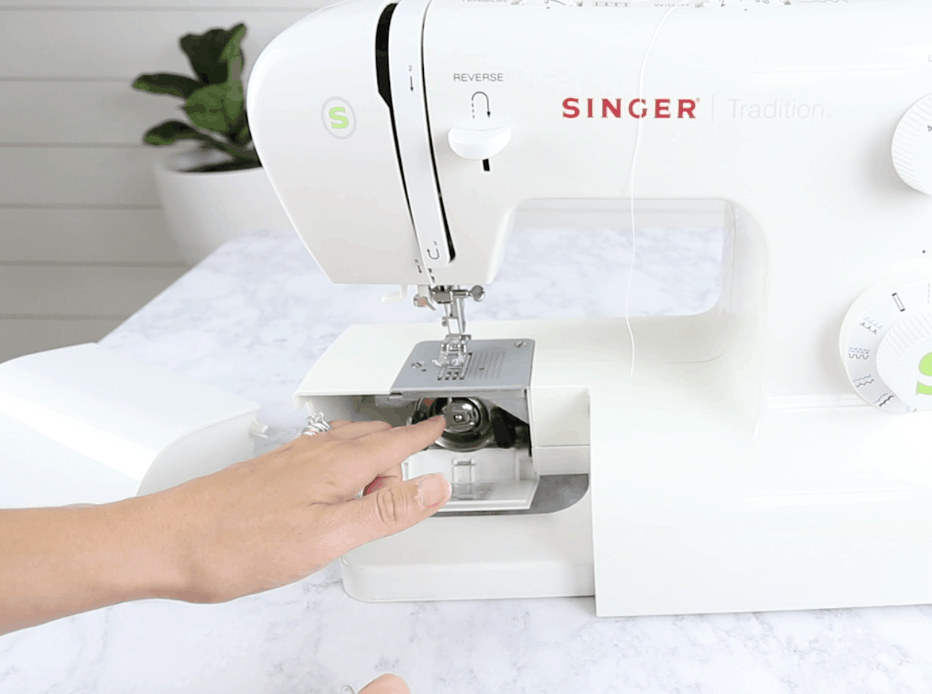
Next step is to put your bobbin in the casing under your machine. This differs for every machine, but most beginner machines have a little compartment under the needle where a door flips down to reveal the bobbin and casing.
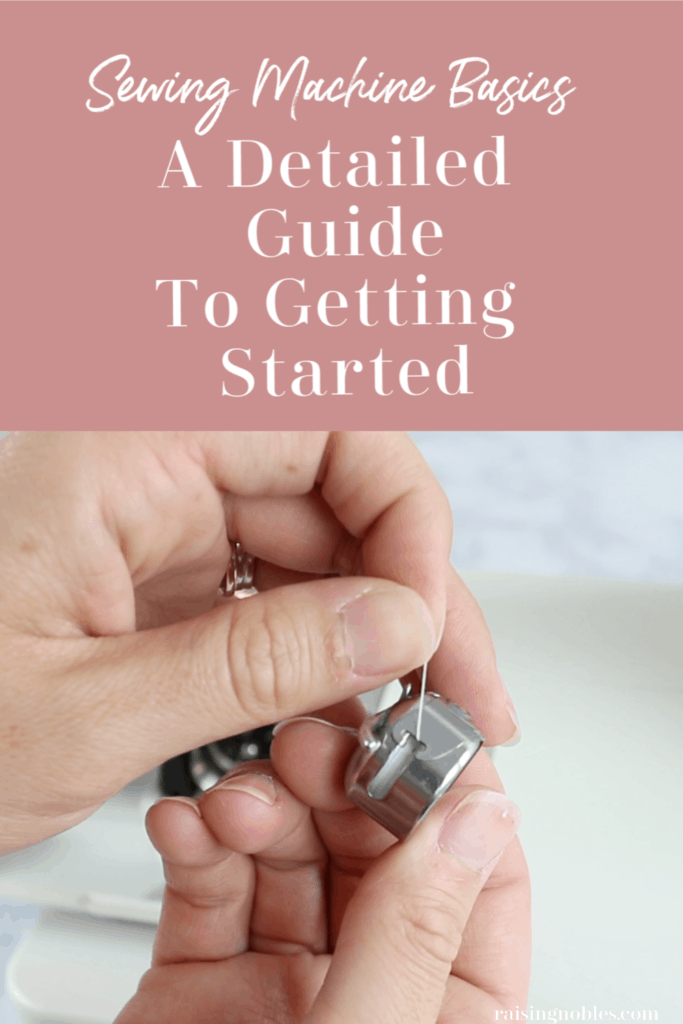
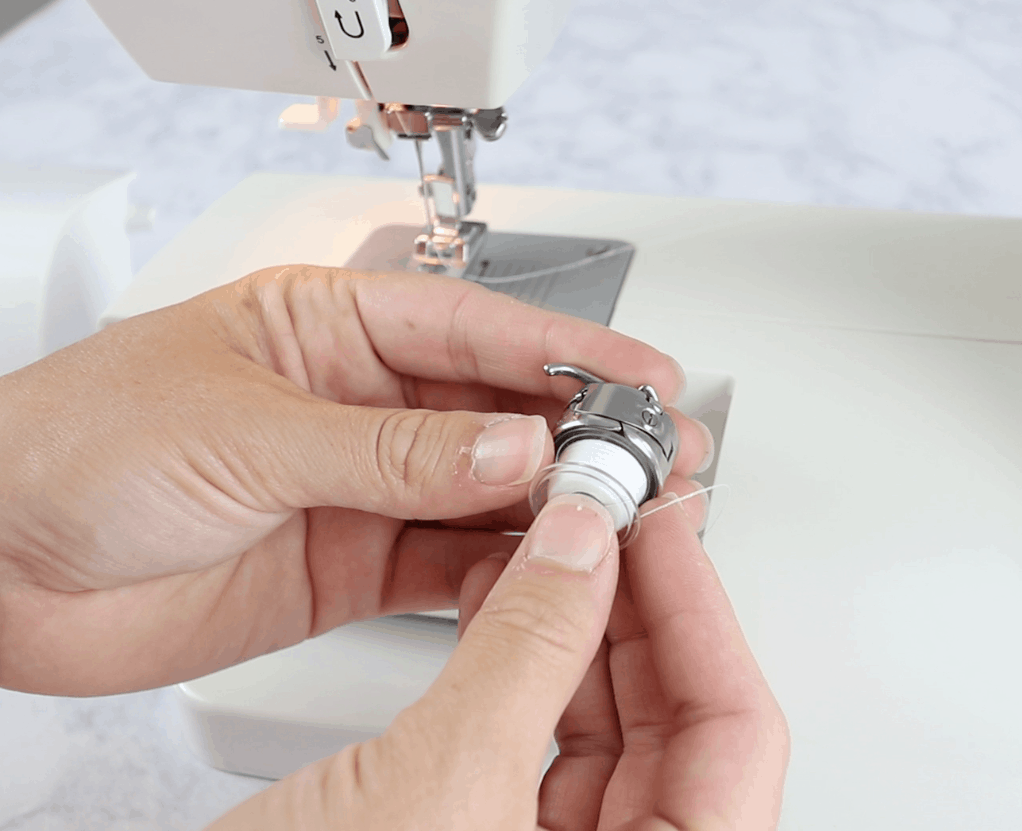
Open the door and pull out the metal casing. Place your newly wound bobbin with the string going counter clockwise into the bobbin casing.
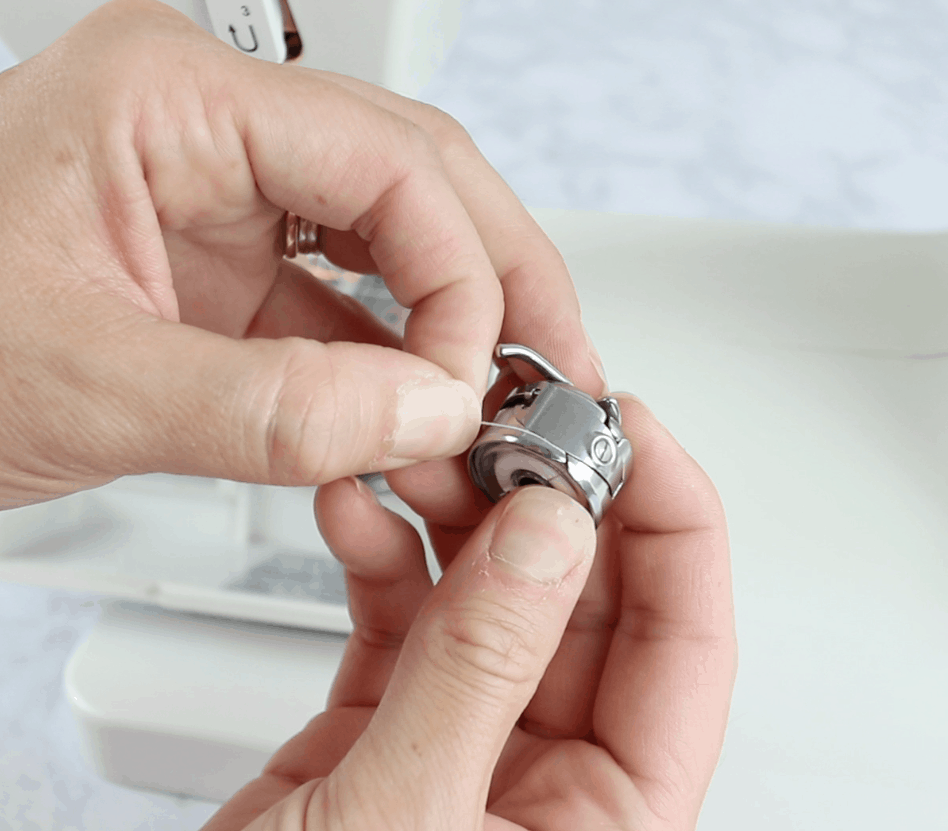
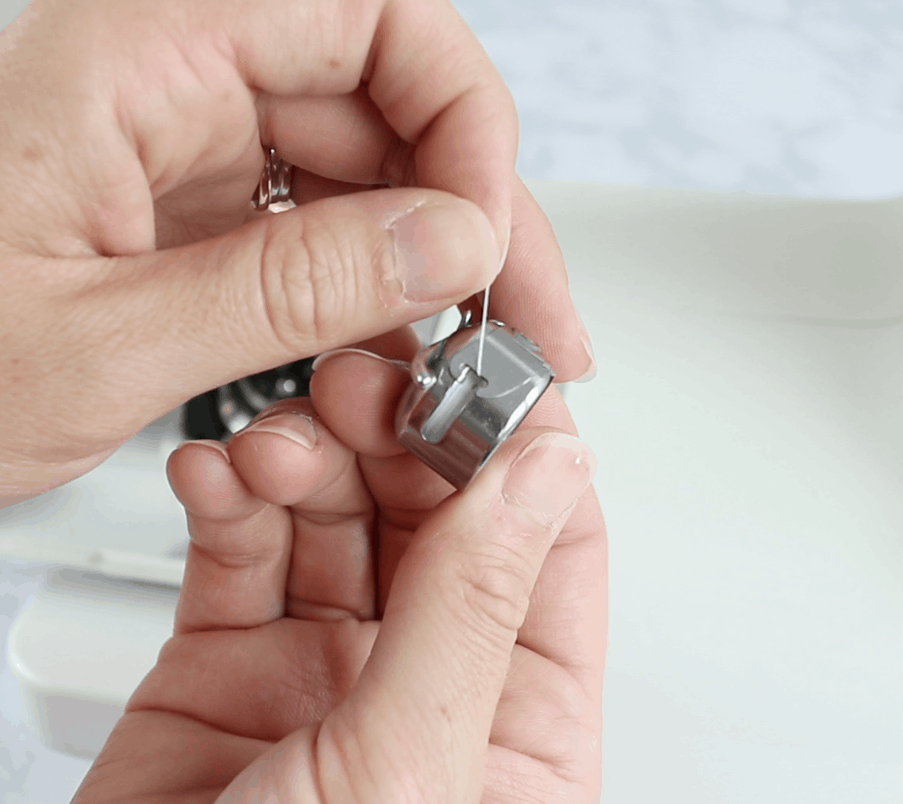
Slide the thread into the little slot and keep pulling until it goes under the metal and comes out on the other side. Pull the thread so you have a 4″ tail and place the bobbin back in it’s spot.
Allllmost ready to sew! One last thing, we need to have your upper thread grab your lower thread and pull it up so you can sew.
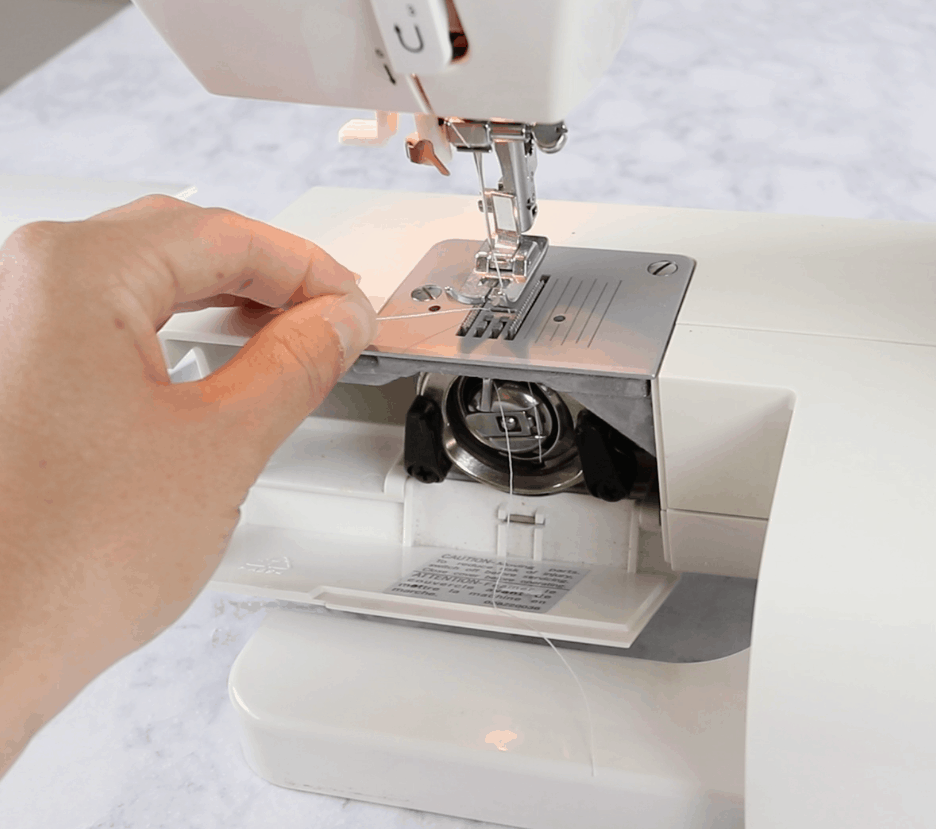 Using your hand wheel, rotate it towards you so the needle goes down towards the bobbin, you will see the upper thread going around the bobbin casing, once the thread is half way around the bobbin, pull the upper thread and it should catch the bobbin thread and pull it up towards the needle. Sometimes it takes a couple tries.
And that is it! Your machine is ready for sewing!
What Are All The Knobs And Wheels?
So now that you are ready to sew, you are probably wondering what they all mean. Every machine is different, but just in case yours is like mine, I’ll briefly share what those do.
The first is the tension wheel, I don’t mess with this one. There are certain fabrics and techniques of sewing that you may need to mess with the tension for, but it can be finicky, so I leave it alone.
The next is stitch width. This one is for zigzag or specialty stitches, not a regular straight stitch. But it changes the width of the stitch.
Length. Stitch length is pretty self explanatory. I leave mine on the setting it came with, which is 2.
The last knob is for changing the actual stitch. If I change my upper knob to the blue S1 place, then I will get the blue specialty stitches when I turn my lower wheel.
I think that about wraps it up, thanks for reading and I hope this post has helped you set up your sewing machine! I’d love to hear what projects you are working on!
