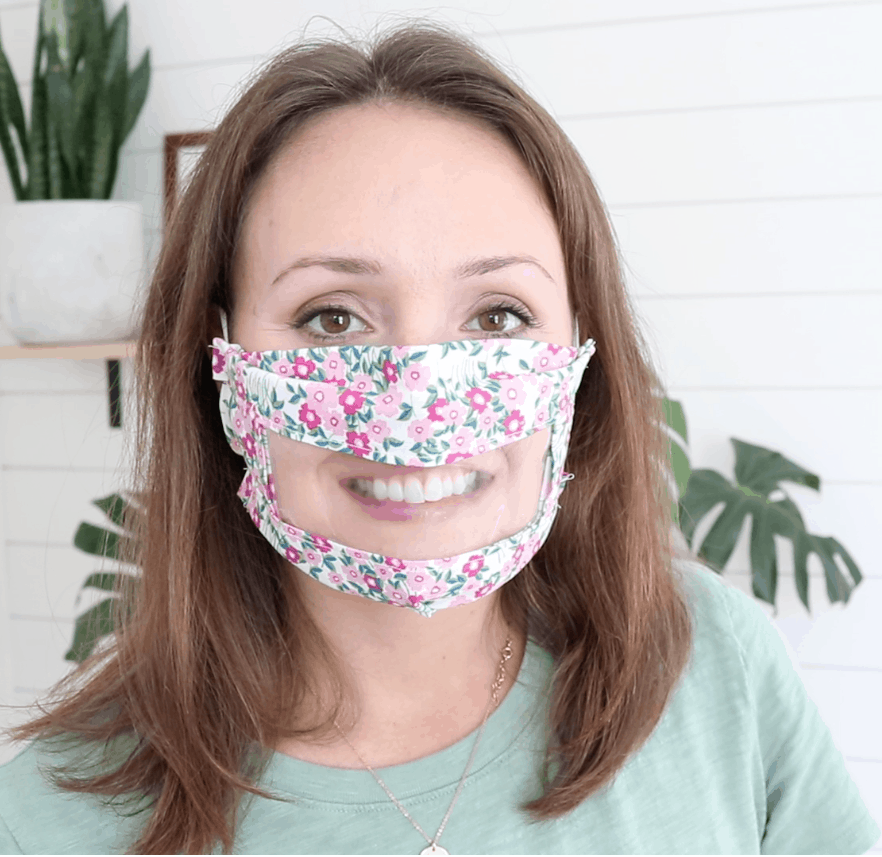
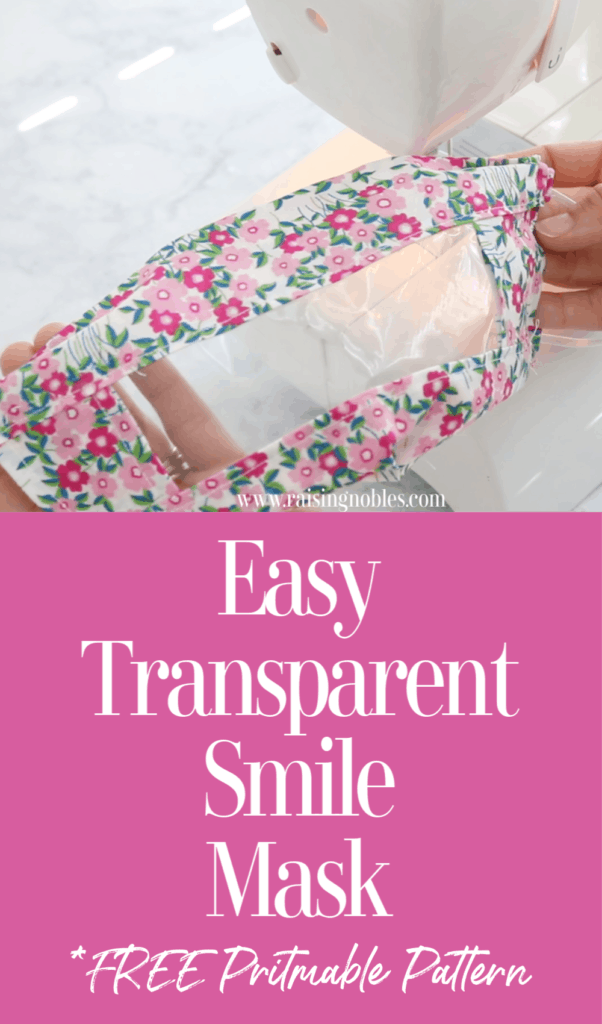
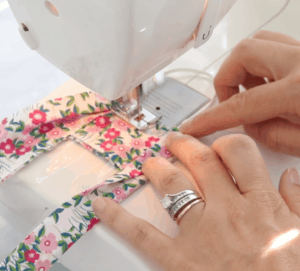
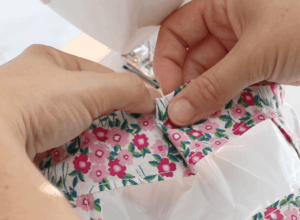
As soon as I saw these transparent face masks pop up on Instagram, I thought they were brilliant! One of my biggest complaints about wearing a mask in the store, is not being able to smile at people or see other peoples’ smiles. Today I am sharing how to make a DIY transparent smile face mask.
Thank you so much for stopping by! This post contains affiliate links, I receive a small amount of compensation if you choose to purchase from my links (for example – as an Amazon Associate I earn from qualifying purchases). I only link to products that I know and love.
Why Transparent Masks?
As soon as I saw these masks my mind immediately went to teachers. I pictured a teacher with 20 kindergarteners eager to begin their schooling this fall. I can only imagine that the connection and fun would be somewhat lost if the teacher is wearing a fully cloth mask. Teachers of any grade could benefit from these smile masks though! I love how you can still see the person’s lips and facial expressions – it makes such a huge difference!
Another great use for these transparent masks are for healthcare workers in a low-risk environment, such as occupational therapists, speech pathologists or even those working with people who need to read lips to communicate effectively.
I’m sure if Doctors could wear these safely, they would be great. Especially when seeing young children, might be a little less intimidating. Everything is better with a smile!
The Easiest Vinyl Face Mask Method
I scoured the internet to get ideas for how to best make this mask. I loved the 3d style face masks, but they are very complex to sew. I really wanted to keep this smile mask beginner friendly. If you can sew a simple straight stitch, you can make these vinyl face masks.
The pattern, which I have provided FREE below, uses just 4 pieces of cotton fabric, 2 small pieces of elastic and a piece of vinyl or plastic.
What Type Of Vinyl Is Best?
The vinyl from a shower curtain is nice and sturdy and can obviously hold up to a lot of washing, but that vinyl usually has a very strong smell, so those may be best to avoid. Another option is to reuse those vinyl bags that sheet and comforter sets come in. Those don’t smell as much like chemicals. And lastly, I am using a page protector in this tutorial. It’s able to be hand washed and laid flat to dry and holds up very well to sewing.
Can I Wash My Transparent Face Mask?
Yes! But you will want to wash it by hand it cool water, using a mild detergent. Do not put the transparent face mask in the dryer, just lay it flat to dry.
DIY Transparent Smile Mask Tutorial
Supplies:
- Elastic: https://amzn.to/38PAJ4K
- 100% cotton fabric https://amzn.to/39yRf82
- Solid Fabrics: https://amzn.to/2UVkqwy
- Page Protectors https://amzn.to/32crQ3I or https://amzn.to/3iWDEgt
- Scissors: https://amzn.to/3azITy2
- Sewing machin https://amzn.to/2wTFsnn
- Iron https://amzn.to/2X0DvA1
Transparent Smile Mask FREE PATTERN
HERE IS THE FREE PRINTABLE PATTERN
The sizes for the fabric are 2 – 4×10″ 2- 3×6″ and the plastic is 3×4″
Instructions:
- Begin by cutting out your pieces of cloth and ironing out any wrinkles
- Cut your plastic piece using the provided patterns
- Cut your elastic to 6″ each, you will need two of these
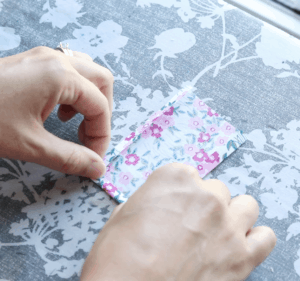
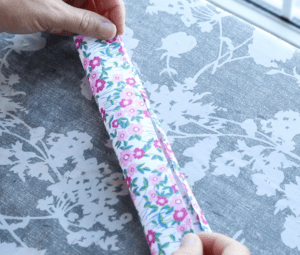
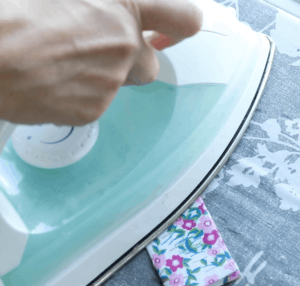
- Fold the edges of your fabric a 1/4″ and iron down all 4 edges of all 4 pieces of fabric.
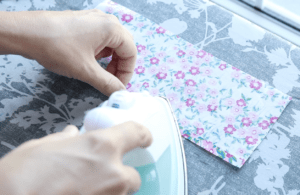
- Fold each fabric piece in half and iron flat.
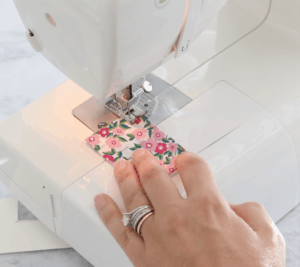
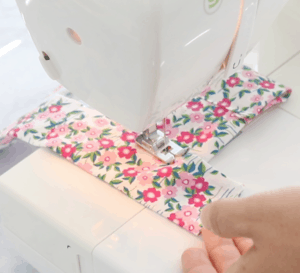
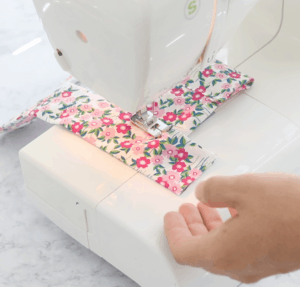
- Moving to the sewing machine, begin by sewing the shorter pieces onto each side of the plastic, overlapping the fabric on the plastic a little.
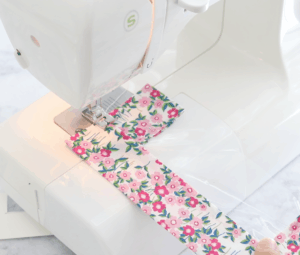
- Now it’s time to add your longer pieces of fabric, line up the edge with your short sides and sew a straight stitch all the way down. You will notice that you will have some overhang at the end of the long pieces, just trim the excess and tuck in the edge before you complete the straight stitch all the way down. Down worry that the tops are open, we will take care of that when we sew on the elastic. Complete the top and bottom edges in this way
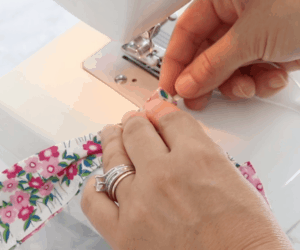
- Next we need to add the elastic. Choose which side you want to be the back of your mask and do a trifold on the edge, if you have trouble with this part, my youtube video should really help.
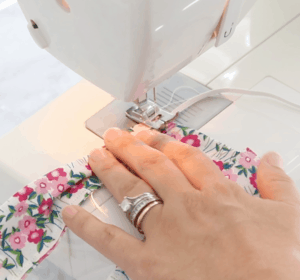
- Once you have the tri-fold, slide one end of your elastic in the fold and sew down the edge towards the bottom. Once you get halfway down, stop sewing, tri-fold the bottom edge, tuck in the other end of the elastic and then continue sewing all the way day.
- Repeat steps 8 for the other side
- The last step is to do a simple pinch pleat on the bottom to get a nice snug fit around your chin. Pinch in the fabric and sew right over the pleat.
- That’s it! Now you have a transparent smile mask!
