Today I am sharing how to make dipped candles. Dipping beeswax candles to make taper candles is such a simple process, but I love how they turn out. There is just something about the organic, imperfect shape of dipped candles that is really cozy to me.
Dipped Beeswax Taper Candles
This post may contain affiliate links, which means I make a small commission at no extra cost to you. As an Amazon Associate, I earn from qualifying purchases.
If you can’t tell by now, I’m a huge fan of beeswax. I love how versatile it is! I have made beeswax food wraps, which you can find the tutorial for, here. We also love dipping beautiful fall leaves in beeswax and rolling beeswax candles as well.
Today’s tutorial is all about hand dipped candles. There is something very “old world” about hand dipped candles and I just love the look of them.
I feel like I get transported back 100 years when I am lighting a misshapen, imperfect, hand dipped candle – and I love it.
Supplies For Dipped Candles
This project is pretty simple, but you will definitely need a few supplies. First you will need your beeswax. I recently found this one on sale and I really love the quality of it.
You will also need some sort of tall container to dip your candles in and something to melt your beeswax in. Beeswax is extremely difficult to get off of dishes and pans, so I find it best to have designated beeswax dishes and containers so I don’t have to worry about them being ruined.
I used an old thermos that has a small crack in it to dip my candles, you just want something tall that can handle the heat of the melted beeswax. For melting the wax, I use an old metal cake pan over a pot of boiling water or in the oven.
You will also need a large jar of cold water to dip the beeswax candles in as well, I used a half gallon mason jar for that.
And lastly you will need wicks and a weight to keep your candle straight. I just used a nut I found in our garage. A fishing weight or even a small screw or nail could work.
How To Make Dipped Beeswax Candles
- Beeswax
- Wicks
- Weight(like a nut, small screw or small nail
- Tall Container(like an old thermos)
- Container or pot to melt beeswax(I use an old cake pan, designated for all beeswax projects)
- Tall jar for cold water(like a half gallon mason jar)
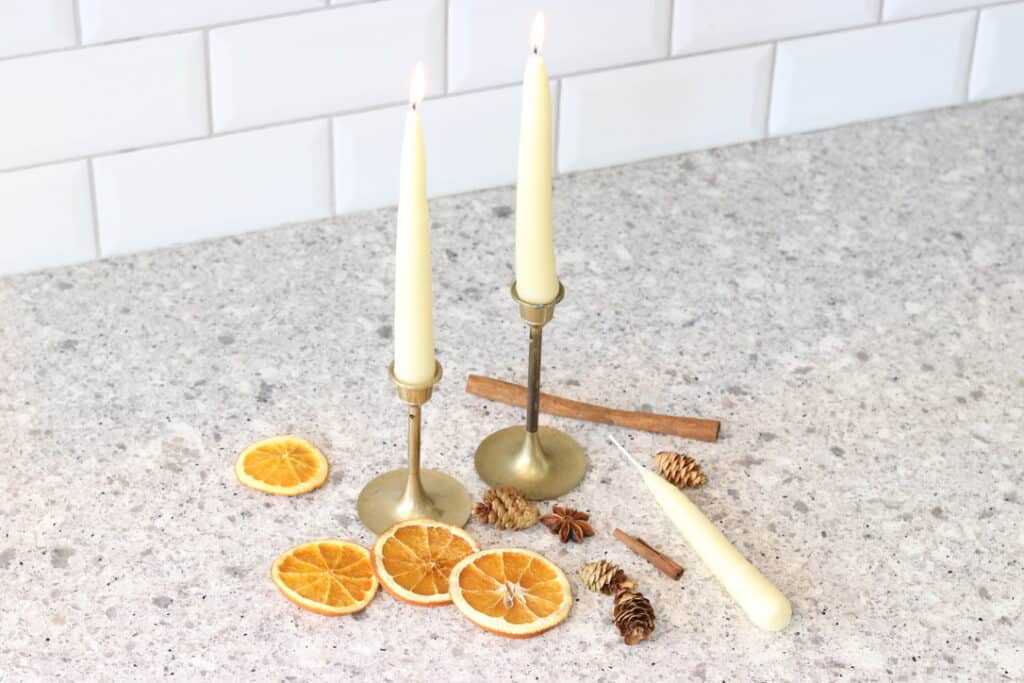
- Candle holders, these are my favorite
- Melt the beeswax over a double boiler, or in the oven(stirring constantly)
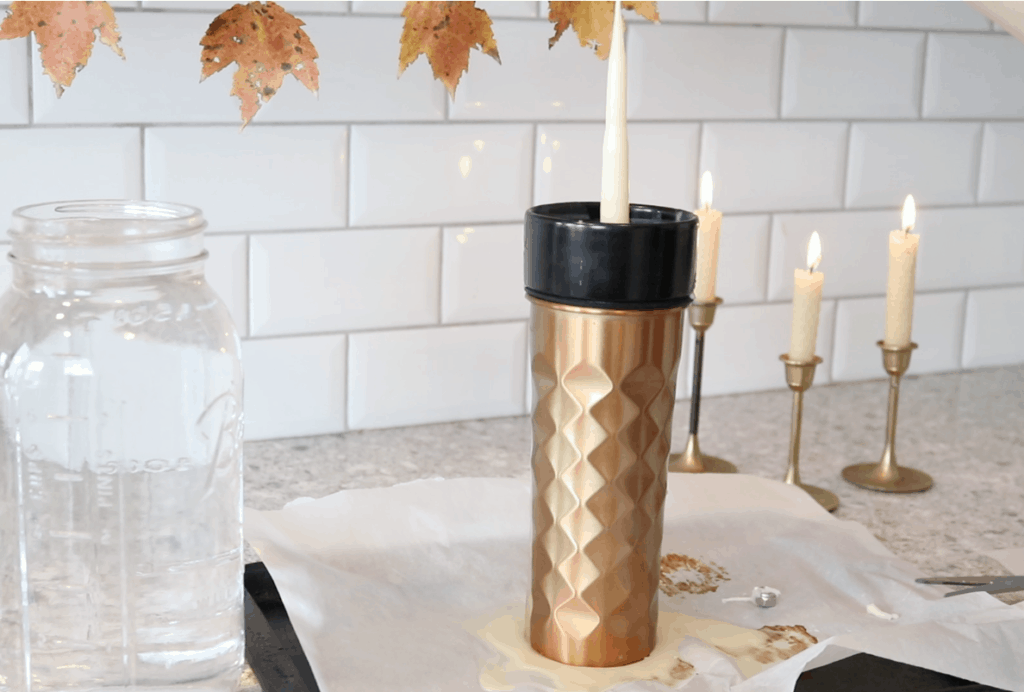
- Transfer melted wax to tall container
- Cut the length of wick you want and tie the weight to the end of it
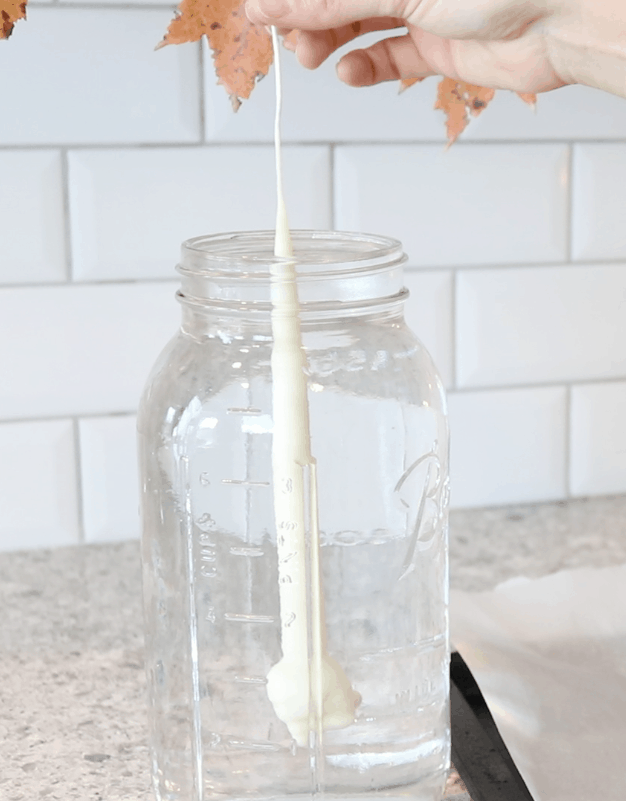
- Get a jar of ice cold water ready and next to your tall container of melted beeswax
- Slowly dip your weight wick into the beeswax until the weight touches the bottom. Then slowly bring the wick back up and allow the last of the beeswax to drip for a few seconds.
- Slowly move your wick over to the cold water and dip the wick completely under the cold water
- Then repeat these steps, back and forth until the candle has some bulk to it.
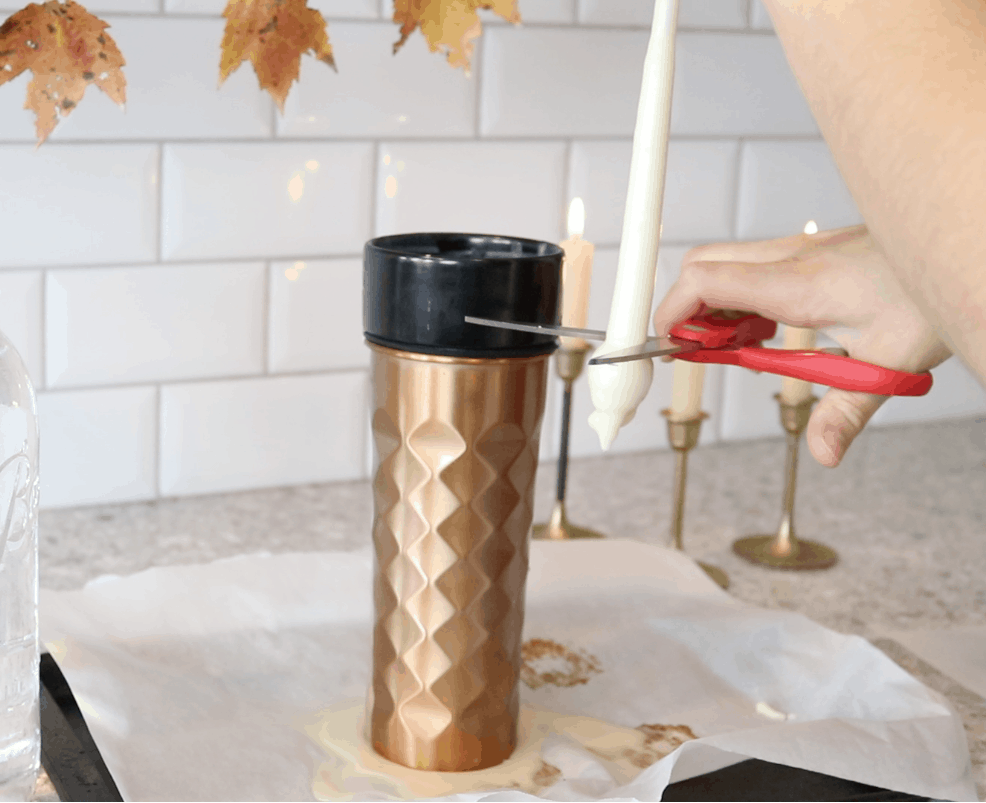
- After your candle has some bulk, you will want to use scissors to cut the weight off of the candle.
- You can peel the wax off of the weight and throw it back into your beeswax to be melted again. And your weight is ready to be used for the next candle.
- Continue dipping your candle without the weight until it gets to the desired size.
- It’s a good idea to press the bottom of your candle to make sure it doesn’t get too misshapen from cutting the weight off. It’s best to do this while the wax is warm instead of waiting until the candle is cured.
- Allow your candles to cure for 24 hours before lighting them. I like to place mine on wax paper.
Tips For Making Beautiful Dipped Candles
Here are a few of my best tips and tricks for candle making.
- Use cold water in between dipping! It makes the process so much faster and you don’t have to hold your arm up for 3-5 minutes between dipping in the beeswax! This is my favorite hack.
- Make sure that the container you use to dip your candles is really tall, or else your candles will be small.
- Go to the thrift store and get some cheap pans and an old thermos. Keep these as designated beeswax pieces and don’t bother trying to clean them, beeswax is nearly impossible to clean!
- Don’t be afraid to let your kids join in! This is a super fun project for kids to make with you. You can even turn it into a lesson and share about how people used candles just like this before they had electricity.
Thanks for joining me for this candle making project, I hope you enjoyed it!