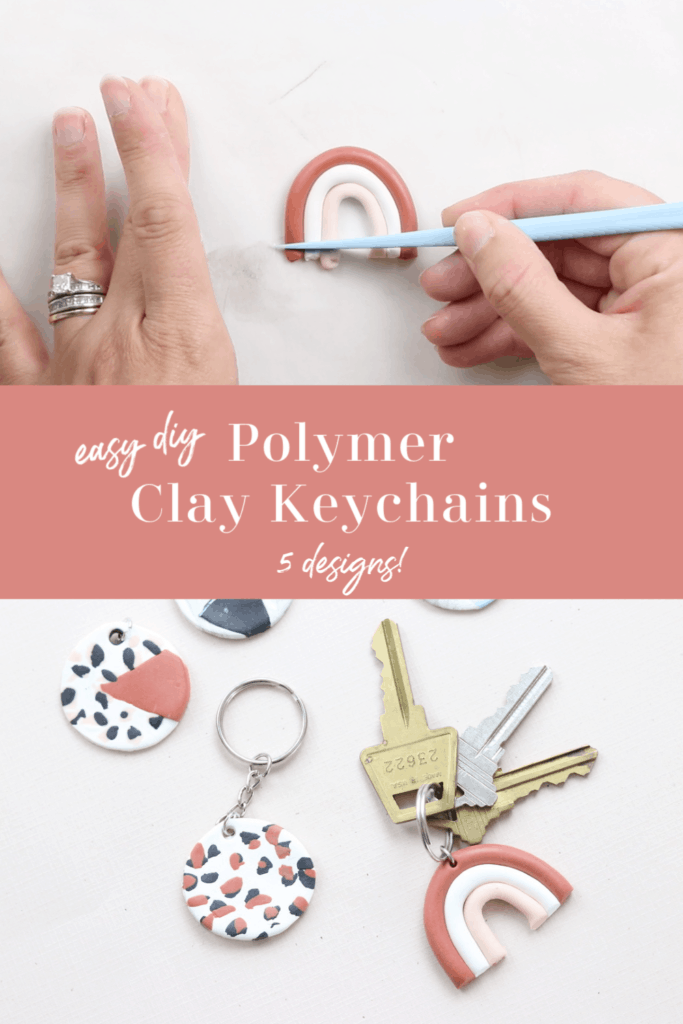
Join me as I share with you a very simple polymer clay tutorial. If you are new at working with polymer clay, this keychain tutorial is a perfect place to start. Polymer clay is very easy to work with, so I think you will love this polymer clay keychain tutorial.
Why Polymer Clay?
Polymer clay is such a great clay to work with. It warms easily in your hands and is very forgiving. I love that if I mess up I can just smoosh it back together and start again. I also like that it doesn’t easily harden on it’s own, it needs to be baked to fully harden. Even my 7 year old daughter uses clay from my collection and she has created some really beautiful things. If you haven’t tried crafting with clay, what are you waiting for?!
If you haven’t seen my polymer clay earrings tutorial, I’ll link that here for you. I share 5 trendy designs in that video and you don’t want to miss it.
Supplies for Polymer Clay Keychains
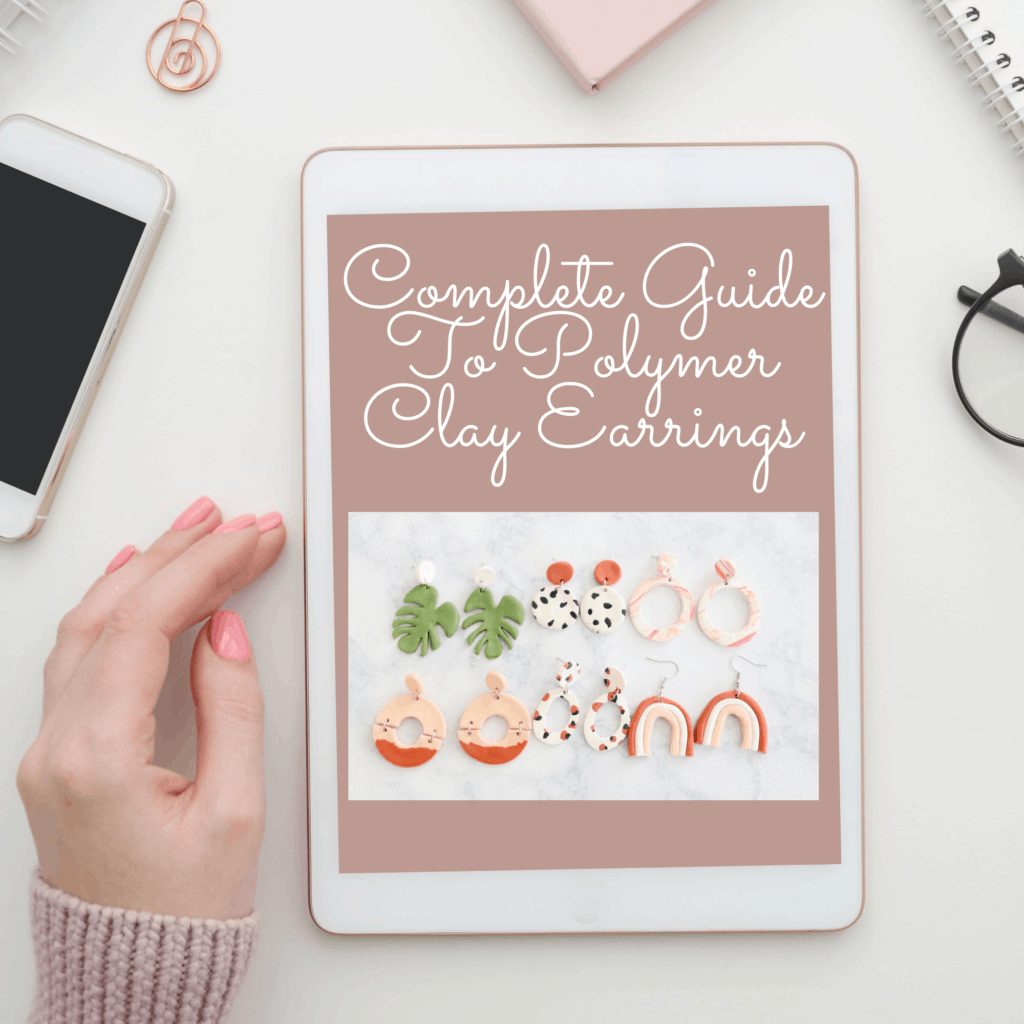
Looking for a more in-depth guide to Polymer Clay Earrings? Check out my eBook for 25 pages of my best tips, tools and tricks for making your best clay earrings yet!
This post may contains affiliate links, which means I make a small commission at no extra cost to you. As an Amazon Associate I earn from qualifying purchases.
Clay: https://amzn.to/3cSZazQ I like Sculpey clay the best, this is a variety pack of colors.
Cinnamon color I used: https://amzn.to/2UrvnqB
Beige Color: https://amzn.to/39qpsGA
Black: https://amzn.to/3dDzA28
White: https://amzn.to/3byjAfT
Jewelry Pliers: https://amzn.to/2QbbpxO
Clay Cutters: https://amzn.to/2Wa7C7M I use this set a lot and I also use lotion lids or medicine measuring cups as well 😛
Rolling Tool: https://amzn.to/3cTyvCT this 2 pack of acrylic rollers will work great and are what I would purchase if I didn’t have the wooden one.
Knife: https://amzn.to/2W3PoVD really useful
7mm Jump Rings: https://amzn.to/2xqIWNY
Keychains: https://amzn.to/2K26mfM
Parchment Paper: https://amzn.to/2RBxXbP
Step By Step Polymer Clay Keychain Tutorial
You will start by choosing a design for your clay keychain. If you prefer a video tutorial, check out my step by step video below.
Once you decide what your design will look like, just grab your clay and get started. It’s best to lay down some parchment paper and tape it to your flat work surface. Then when you are don’t making your clay keychains you can just transfer the parchment and clay right to a pan and be ready to cook them in the oven.
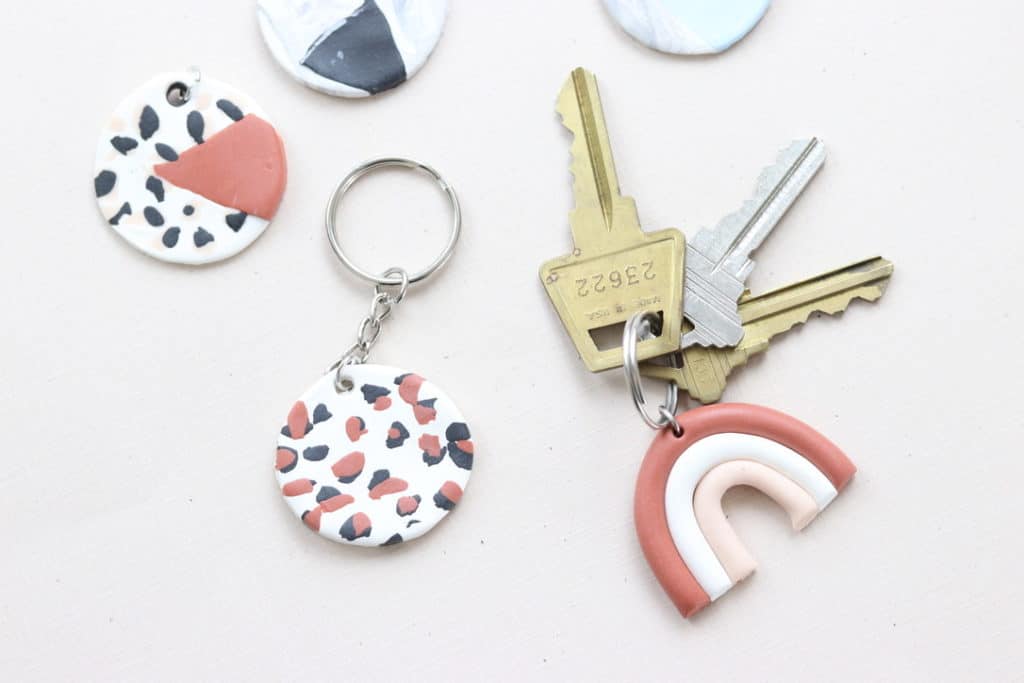
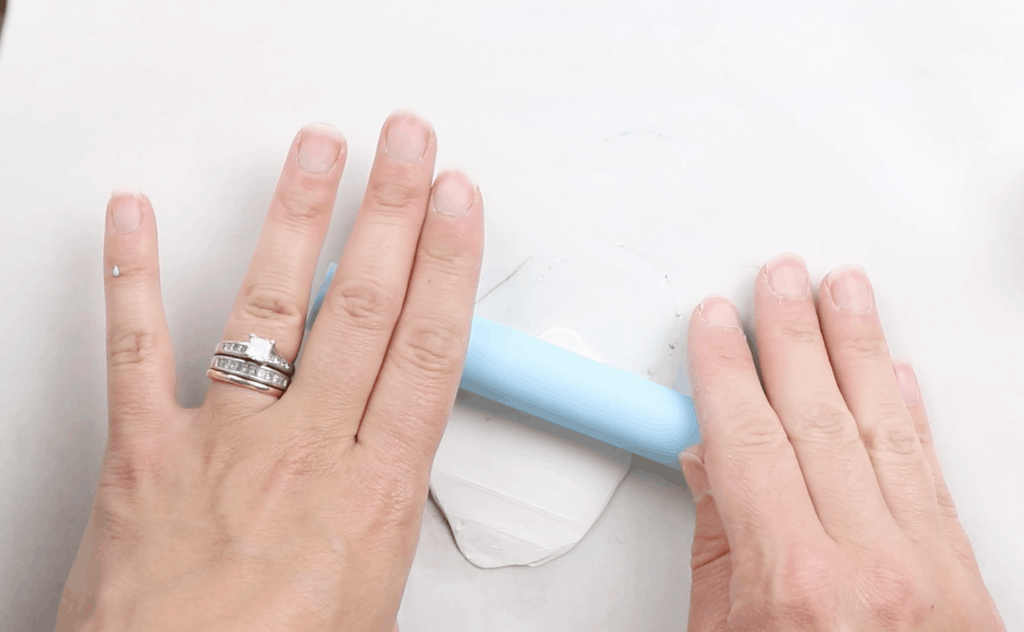
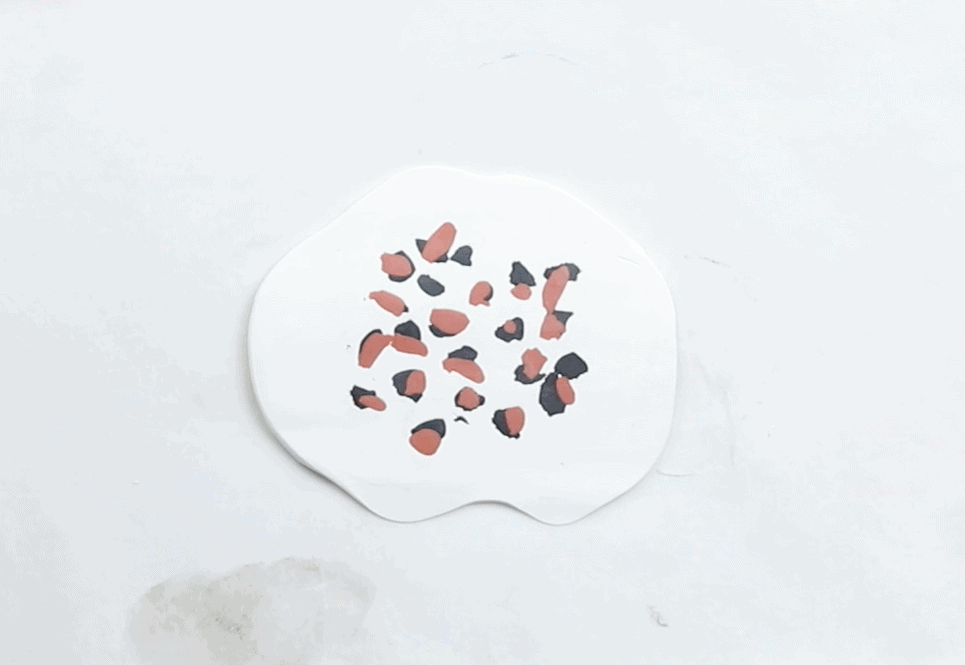
I always start by choosing a foundation color, that can be any color you would like, but for this example, let’s make my leopard polymer clay keychain, so we will start with white. Roll out your white clay and once it is to your desired thickness, you can begin adding other colors. My favorite for the cheetah is scupley’s black clay and cinnamon. I start by pinching off small bits of black clay and placing them on the white background. This doesn’t need to be perfect, in fact it looks better if it isn’t perfect.
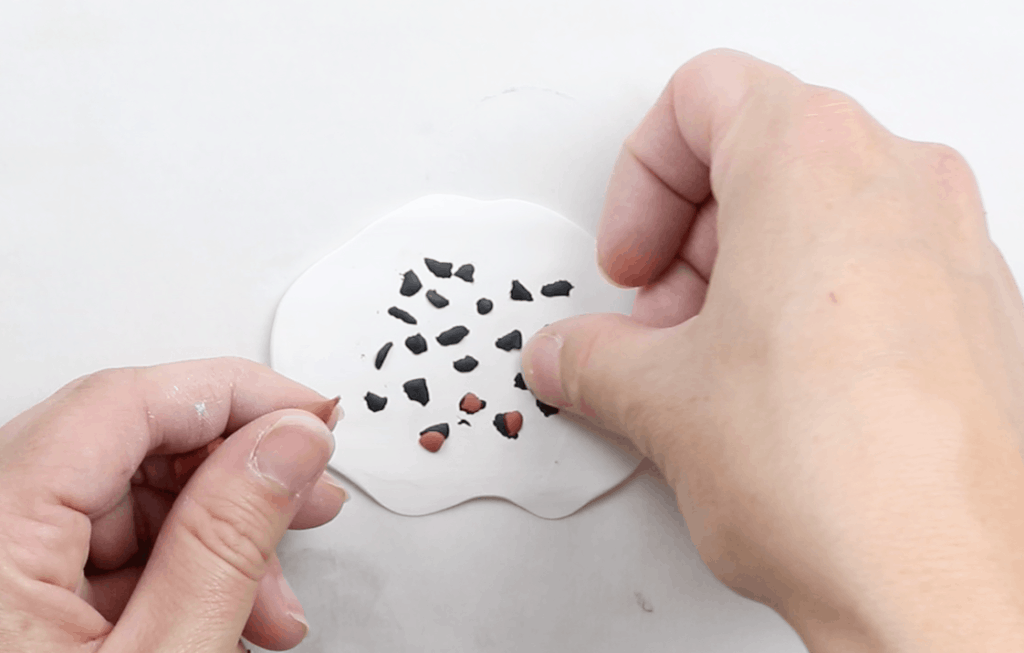
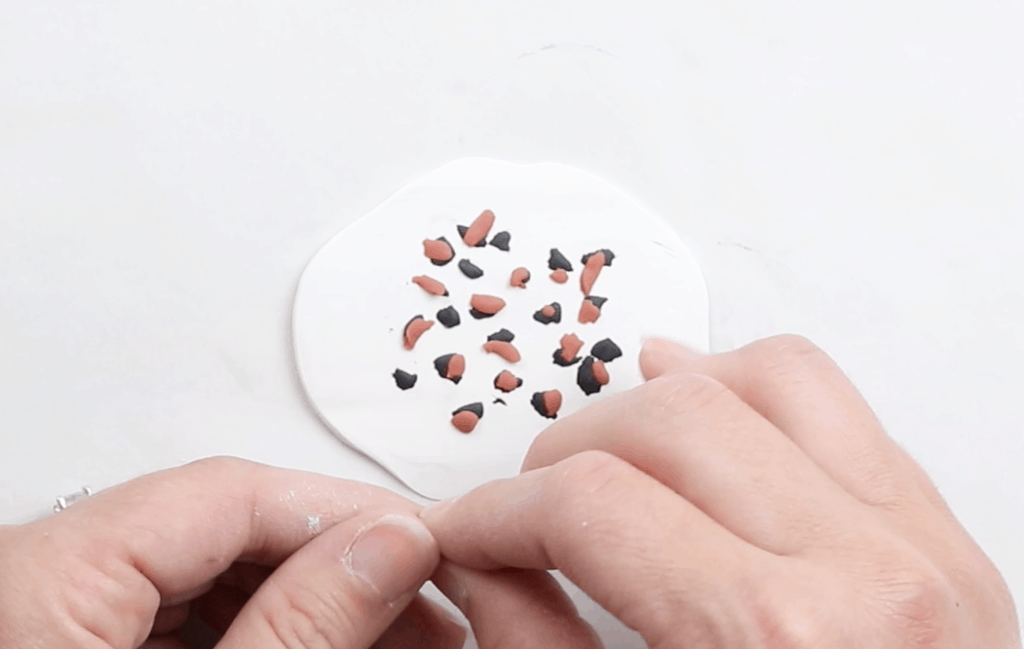
After you have your black clay placed, grab your cinnamon color and do the exact same thing, only you want the pieces slightly smaller than the black and you want to place the cinnamon color right on top of the black.
Once you have your pieces in place, it’s time to gently roll your clay to combine all the colors.
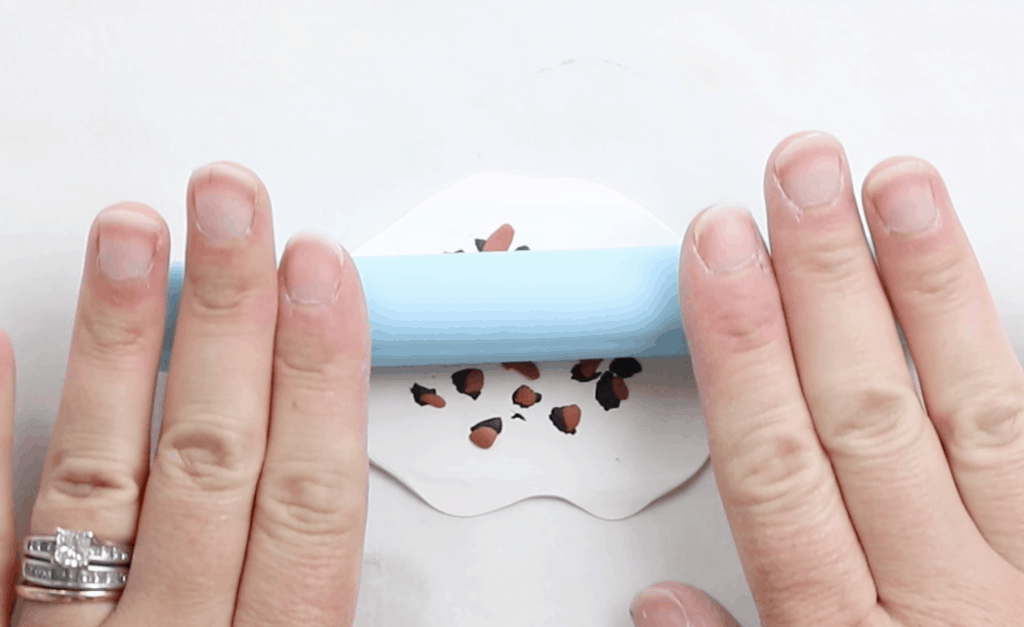
The cinnamon and black shouldn’t loose their shapes too much, it will just flatten the design and make it look more like cheetah print
Next up, grab something to cut your keychain. I am using a medicine measuring cup because it’s the perfect size for these keychains. You can use a lotion lid or whatever you can find laying around your house 😉
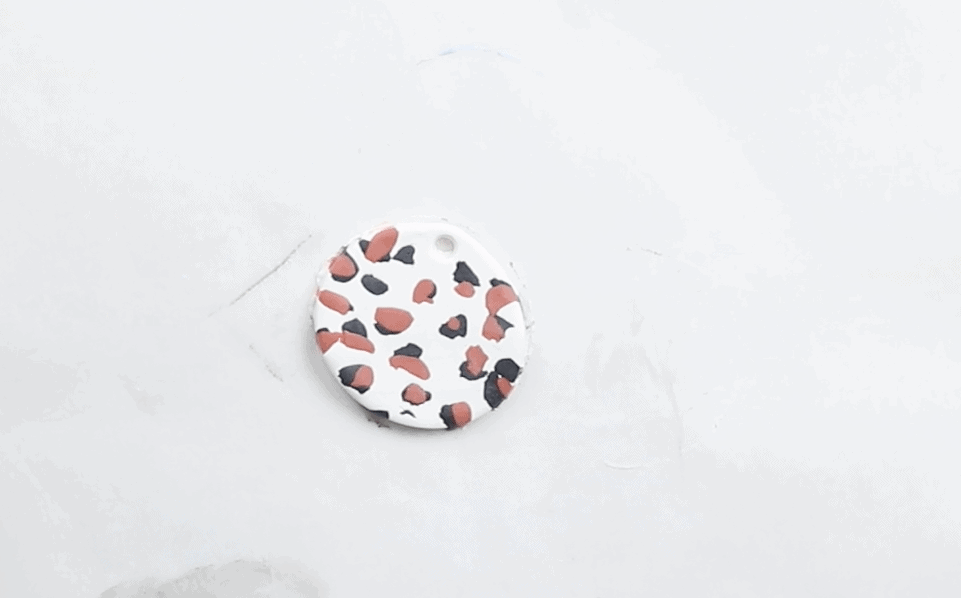
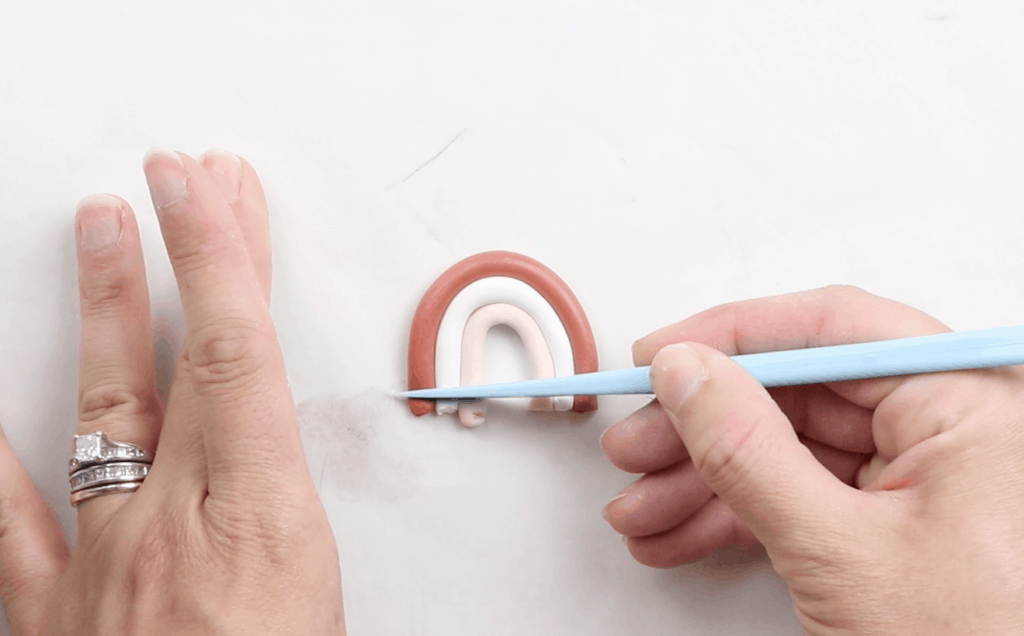
Next, using the blue cutter from the clay cutter that I linked above and right here. It’s time to make our hole, this is a very important step. You want to make sure the hole is big enough for a jump ring to fit through so it will be able to be attached to a keyring.
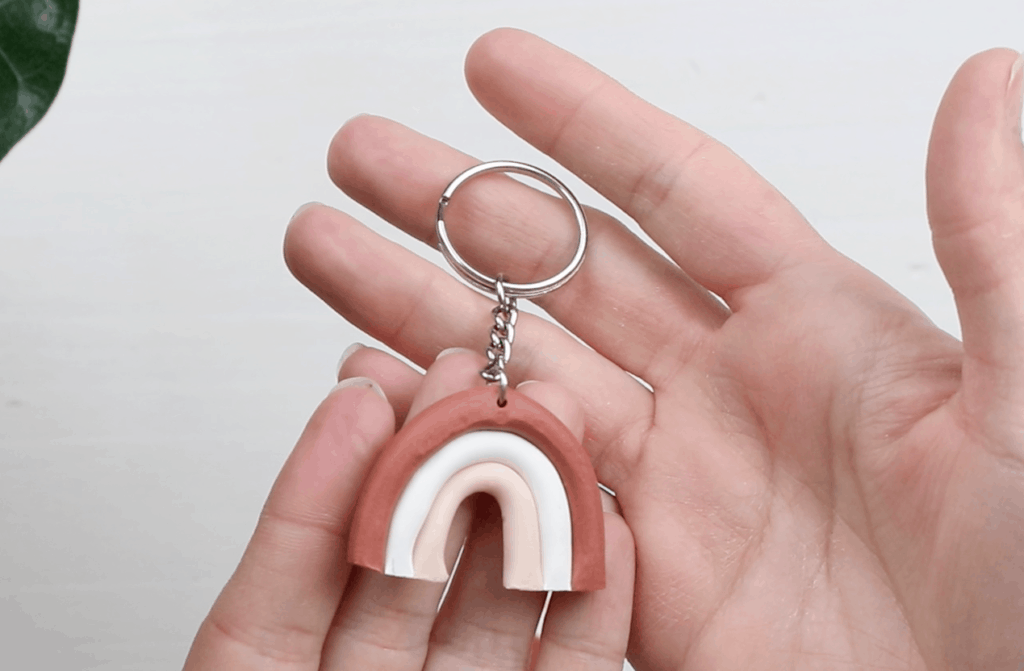
Next step is to make as many versions and designs as you would like! You can even make earrings, here is my tutorial for 5 trendy earring designs. Once you have all your clay pieces complete, it’s time to bake them in the oven. Because every clay manufacture has different baking directions, just follow the directions on your polymer clay packaging.
After you bake them and allow them to cool completely, you can use pliers to add your jumps rings and then attach the jump rings to the keychain of your choice.
WANT TO PIN THIS FOR LATER? HOVER OVER THIS IMAGE UNTIL THE PIN BUTTON APPEARS