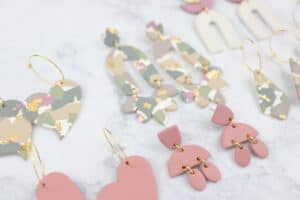
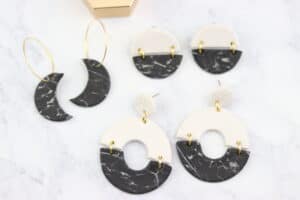
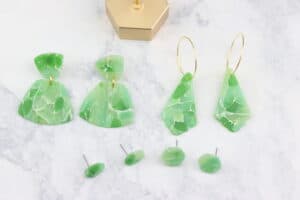
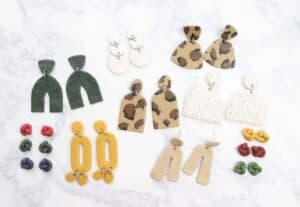
Join me as I share the entire process of how to make polymer clay earrings. These polymer clay earrings are fun, fast and easy to make and if you are wondering how to make polymer clay earrings, you have come to the right place.
What is Polymer Clay?
Polymer clay is a type of modeling clay that is made from vinyl. I love polymer clay because it stays soft until you bake it in an oven(your home oven works fine, but some people use a toaster oven if it can hold a consistent temperature). Unlike air dry clay, it doesn’t dry out so you can keep the left overs to use for another day.
I love how versatile polymer clay is. You can blend it to create custom colors, you can sculpt it, stamp it, create textures on it and even paint it. Some people like to cover their finished pieces in UV resin or polycrylic to create a beautiful glossy sheen, while others like to keep it matte.
Along with making polymer clay earrings, you can also use polymer clay to make ring dishes, roll it into beads, make pot trivets and so much more!
Thank you so much for stopping by! This post contains affiliate links, I receive a small amount of compensation if you choose to purchase from my links (for example – as an Amazon Associate I earn from qualifying purchases). I only link to products that I know and love.
What Brand Of Polymer Clay Is Best?
Not all clay brands are created equal. You will want to choose a high quality polymer clay that is suitable for jewelry making. You want your polymer clay to be soft enough to be workable – hard clay is not fun to work with.
Here are some of the best brand of polymer clay for making clay earrings:
- Sculpey Souffle. This is probably the most well-loved type of polymer clay by clay artists. This clay has a nice softness right out of the package, but it is also firm enough to hold details. Once the Sculpey Souffle clay is baked(properly), it is strong and flexible. Clay earrings made with Sculpey Souffle clay are durable and should last years with proper care.
- Sculpey Premo. This clay is not as soft as souffle, but it softens nicely once you condition the clay. Premo offers a nice variety of colors to choose from and once the clay is baked, you will have beautiful and durable clay earrings.
- Brands to avoid. Fimo clay has pretty bad reviews among the clay earring makers. Also sculpey III is not well suited for clay earrings – the baked pieces break far too easily. And any unbranded clay you find on amazon, is probably a bad idea.
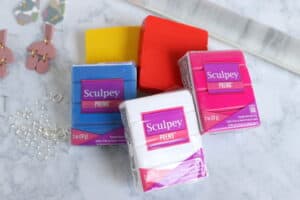
Sculpey’s Brand NEW Summer Colors
If you have been around here for very long then you know how much I love working with Sculpey polymer clay. The quality and consistency is impossible to beat. Sculpey is always coming out with new colors and keeping up with the trends. I am so excited to share with you three brand new colors for June 2023!
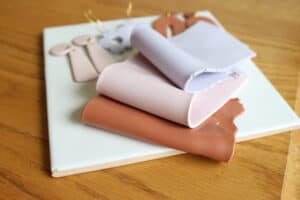
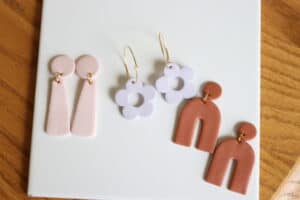
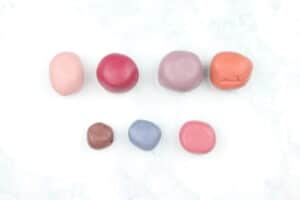
These new colors are Terra Cotta, Light Pink and Lavender. They are absolutely stunning and I love that I don’t have to spend a lot of time mixing to get these gorgeous results.
The new colors are in the Sculpey Premo line and I have to say it is one of my favorites. I love how the new colors pair so beautifully with the existing colors in the Premo line and the strength and flexibility of this clay makes it a favorite for polymer clay artists everywhere.
Don’t miss out on these gorgeous new colors! You can place an order through this link and check out all the other new products and colors that Sculpey has.
Clay Earrings Work Space
To protect your table, or whatever surface you are working on, it’s best to use a piece of parchment paper, a ceramic tile(yes, like the ones at lowe’s) or a piece of glass(I use a rectangle from an old picture frame).
Polymer clay can stain some surfaces, so having a dedicated work surface is helpful when making polymer clay earrings.
Before you begin making polymer clay earrings, wipe down your work surface, tools and hands to prevent lint or dust. I like to keep baby wipes near my workspace for this reason.
Let’s Talk Supplies
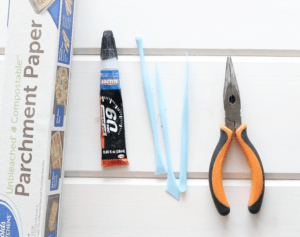
One of the things I love about making polymer clay earrings is that you don’t need a ton of supplies. When I first started, I used little medicine measuring cups and other random items around my house to cut shapes for my earrings.
Materials
- polymer clay, in various colors, especially the primary colors for easy mixing!
- earring backs, posts or hooks
- jump rings
- 60 second loctite glue, or gorilla glue gel XL, or sculpey bake and bond
- cardstock or printer paper to bake earrings on
Tools
- clay cutters, you can find my favorites here
- something to cut holes for your jump rings, I like to use the small cutters from this set or you can invest in a Dremel tool like this(I only recommend the dremel tool if you will be selling your earrings, otherwise a simple small cutter from that set I linked will suffice.)
- acrylic roller
- baking sheet, any will do
- tissue blades for removing clay from work surface
- jewelry pliers for putting together the earrings
- pasta machine(optional)
- oven thermometer
- flat work space, like a table or counter
- baby wipes for cleaning hands and work surfaces
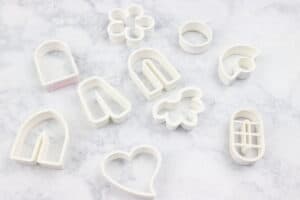
Polymer Clay Cutters
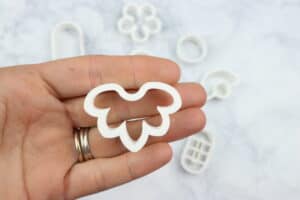
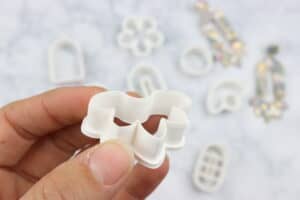
While we are on the topic of tools and supplies, let’s talk about clay earring cutters. Not all polymer clay cutters are created equal. If the cutters aren’t sharp, you won’t get good clean edges on your polymer clay earrings, which means you will need to spend extra time sanding(and no one wants that). Some of my favorite, go-to clay earring cutters have come from my friends at ThreeDGeek on Etsy.
They have fantastic cutters with sharp edges, hundreds of shapes to choose from and quick shipping! Head over to their Etsy shop to place an order and use the code “POLYMER15” to get 15% off your order of $20 or more!
Conditioning Polymer Clay
Conditioning the polymer clay is a very important step in the process of making polymer clay earrings. When you condition clay it is basically like mixing it thoroughly and getting the clay to an easily workable state.
How To Condition Polymer Clay
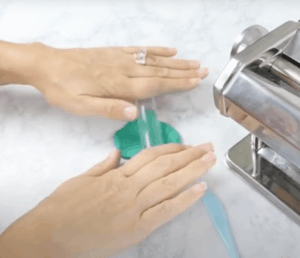
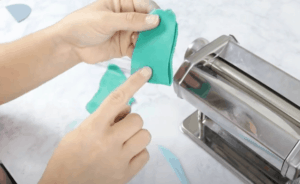
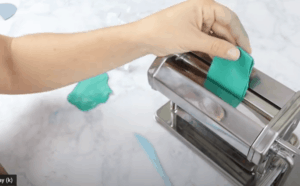
You can use your hands and an acrylic roller to condition the clay, or use a pasta machine to do this work for you. Polymer clay can be quite stiff in the beginning, so a pasta machine can help a lot with this.
To condition the clay, start by warming it in your hands and pressing between your thumb and pointer finger to flatten the brick a bit. If you are using a pasta machine, you can roll it through on the thickest setting a few times and then gradually decrease the thickness to further condition the clay.
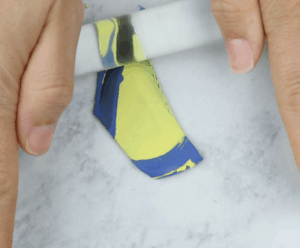
If you are using an acrylic roller, put the clay on your work surface and use the roller to roll out the clay. Then fold the clay in half and roll it out again. Repeat until the clay is warm, bendable(without cracking or crumbling) and a little shiny.
Pro Tip: It is very important to try to avoid introducing air bubbles into your clay during the conditioning process. So if you are using a pasta machine, fold your clay in half between each pass and make sure the open ends are up and the folded side is down towards the rollers in your machine. This will help to PUSH the air bubble up and out of your clay.
Polymer Clay Color Mixing
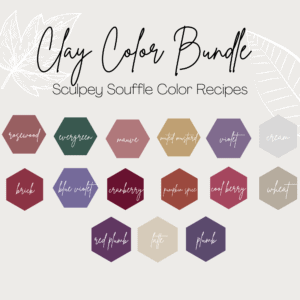
One of the best parts of working with polymer clay is how many color choices there are. Not only does Sculpey offer a ton of color variations right out of the package, but with some simple “color recipes” you can mix almost any color using just a few of the primary color clays.
My favorite color recipes are mine 😉 you can check them out here in my Etsy shop.
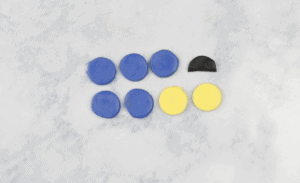
A color recipe is simply a formula for creating a certain color. For instance: 5 parts blue, 2 parts yellow and 1/2 parts black makes a pretty green color.
How To Make Polymer Clay Earrings
Now that we have talked about what type of clay is best, the tools you need, how to condition polymer clay and a little about color mixing, let’s dive into the details of how to make the polymer clay earrings.
- condition clay
- mix colors
- roll to 1/8″ thickness
- use cutters to cut shapes
- make holes for jump rings
- bake in 275 degree F. oven for 30 minutes to 1 hour
- allow to cool completely
- assemble earrings
- be proud of your creations!
Cutting The Clay
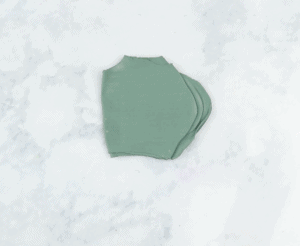
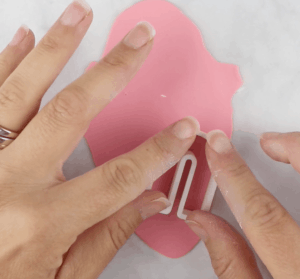
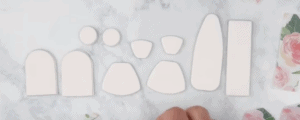
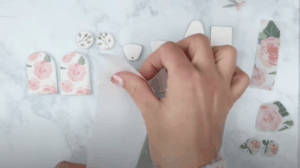
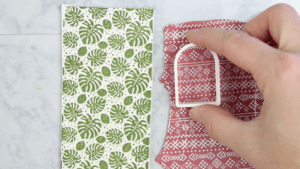
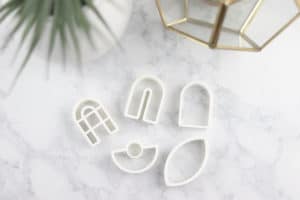 Once your clays are conditioned and ready to be worked with, it’s time to start cutting the polymer clay earring pieces! To do this you can use clay cutters like the ones I linked above, household items like small measuring cups and you can even create your own designs by drawing on cardstock and using an x-acto knife to cut the clay.
My favorite way to do this is using polymer clay cutters that are made for this. The sharper the edge is on cutter, the cleaner the cut will be. This will help to cut down on the amount of time you will need to spend sanding the edges of the earrings after they are baked.
If your pieces do have rough edges, don’t worry – that is totally fixable! The best time to do this is while the clay is still raw; just gently run your finger across the edge of the clay earrings and the excess clay should smooth out/come off.
If you are worried about fingerprints or the piece getting misshapen by handling it too much, you can sand them with sand paper or a buffing tool on a dremel once the pieces have been baked and are cooled.
Don’t forget! While the clay is raw, you need to make the holes for your jump rings, unless you plan to drill the holes after they bake. Make sure the holes are big enough for your jump rings to go through and keep the holes at the edges of your pieces!
Pro Tip: If your baked pieces have fingerprints or bits of lint or fuzz, dip a q-tip in acetone or rubbing alcohol and the imperfections will come right out!
How To Bake Polymer Clay Earrings
Preheat household oven to 275 degrees Fahrenheit and bake 30 minutes to 1 hour depending on thickness of clay earrings.
First off, to bake polymer clay earrings you do not need a special oven, your household oven is perfect(a microwave is not suitable for this, don’t try it). I highly recommend you get an oven thermometer because even newer ovens can have temperature issues – for instance my oven is new and when it tells me it has preheated to 275* F, it’s actually only 235*. It takes a few minutes longer to get to the true 275*.
Bake earrings on a baking sheet lined with cardstock or printer paper(this helps the backs of the earrings turn out nicer). Bake for 30 minutes to 1 hour depending on the thickness of the earrings.
The earrings will be flexible when you pull them out of the oven and you want that. Allow the clay earrings to cool at room temperature or dip them in cool water to speed up the process.
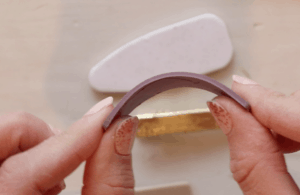
You can tell the earrings cured properly if they still have a good amount of flexibility once they cool off. They should bend and then bounce back to their original shape without cracking or breaking.
Don’t miss the Polymer Clay Earrings FAQ at the end of this post!
How To Drill Holes for Polymer Clay Earrings
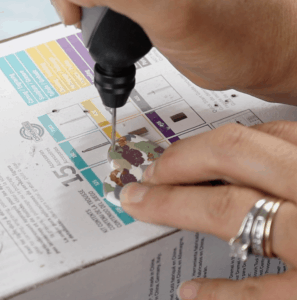
After your clay earrings have cooled completely, you can use a tiny drill bit to drill jump ring holes in the earrings. I like to use an empty box to drill on top of and with a steady hand, I slowly lower the dremel tool onto the surface of the earring. Make sure the holes are close to the edge of your pieces, but not too close.
How To Attach Earring Posts
This part can be tricky and many polymer clay beginners get frustrated when their earring posts fall off. Here are some ways you can ensure your posts are secured.
- Loctite 60 second glue, I have never had a post fall off with this, it is linked in the tools above.
- Gorilla glue gel XL
- Sculpey bake n bond. Put a dot of the glue on the back of the raw clay, press the earring post into it and then add another layer of bake n bond over top of the post. Smooth out the back n bond with a brush and then bake the earrings in the oven as usual.
Jump Rings
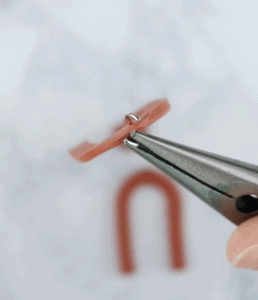
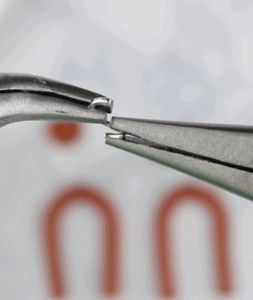
Adding jump rings to your polymer clay earrings are super easy! Using two pair of jewelry pliers, open the jump ring like shown in the photo below. Attach your pieces and then gentle twist the jump ring closed again. It’s as simple as that!
Polymer Clay Earrings Design Ideas
Simple Textured Arches
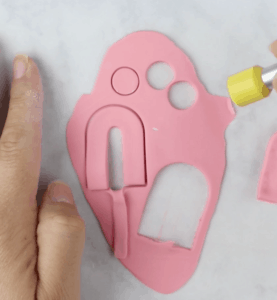
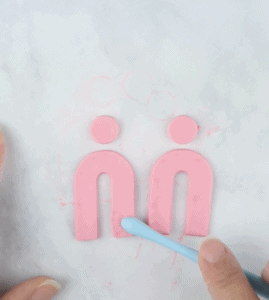
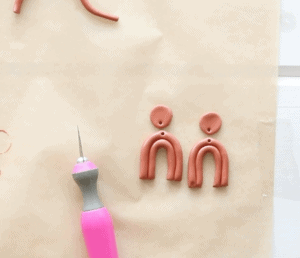
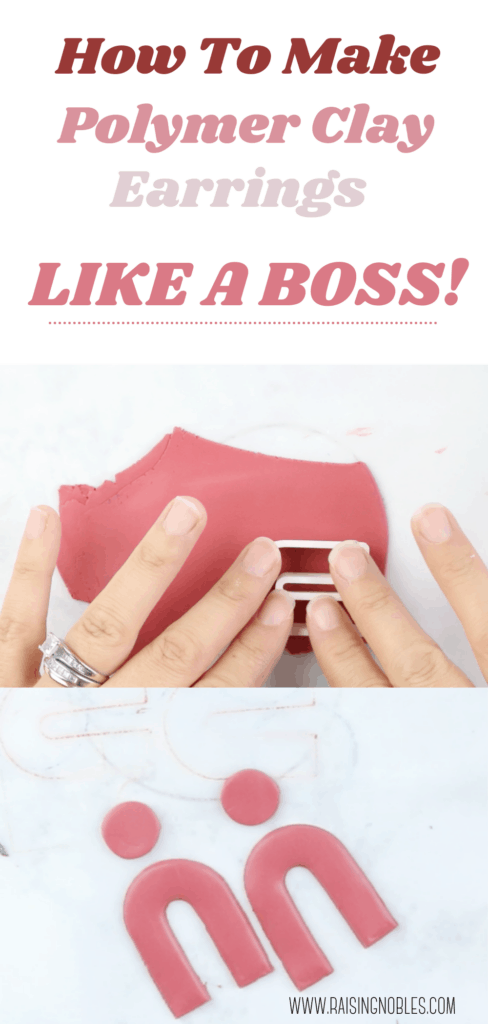
This design is really straight forward. Roll out the polymer clay to a uniform thickness of about 1/8″ and then use arched clay cutters and circular cutters to cut out the polymer clay earrings. You can add texture to the earring using a clay tool like the one in the photo below.
Boho Rainbow Clay Earrings
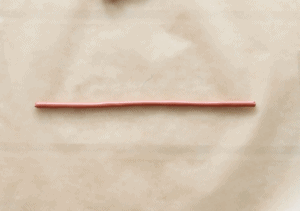
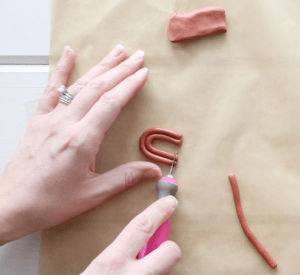
For the super trendy boho rainbow earrings, you can use a clay extruder or just roll the clay into a rope. Next, curve the pieces into a rainbow shape, adding as many layers as you would like(most commonly 2-3) and then use a tissue blade or x-acto knife to cut the ends to even lengths. Don’t forget to cut the holes for the jump rings before baking(and if using a dremel, cut the holes after the pieces are baked and cooled)
Polymer Clay Napkin Transfer Technique
This is an awesome technique using a simple paper napkin and transferring it onto the surface of the clay, check out the full tutorial here!
Silk Screens On Polymer Clay Earrings
This is such a fun way to add some fun and texture to your earrings. You can really transform boring clay into something beautiful with silk screens on polymer clay earrings.
Roll out the clay to 1/8″ and place the silk screen on the clay. Next, make a line of acrylic paint at one end of the clay and using a gift card(or something similar), grab the paint and glide it along the surface of the silk screen until everything is covered in paint. Remove the silk screen, bake as usual and then seal your pieces with polycrylic or something similar.
You can check out my favorite silk screens here: To purchase your own polymer clay silk screens click this link https://createalong.com/?aff=31 and use the code KRISTINFAN10 for 10% off your purchase!
Watercolor Technique
This technique is really beautiful and can be made with any color of acrylic paints. To do this technique you will need black and white clay, sculpey translucent clay and acrylic paints. You start by rolling out the black clay very thin and layering a thin piece of white clay over the top. Then using the paints, make strokes all over the white surface. Allow to dry.
Roll the translucent clay out as thin as you possibly can and lay that over the top of the dried painted slab. Roll everything together and then tear the pieces apart and create a new slab of torn pieces. Cut your pieces from that slab and bake as usual. Check out the full tutorial here.
I learned this technique from Jessama Tutorials.
Terrazzo Style Polymer Clay Earrings
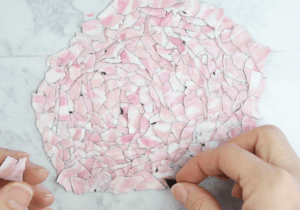
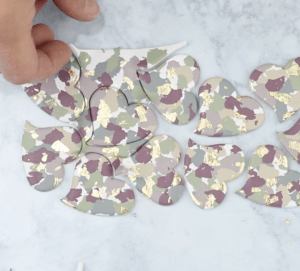
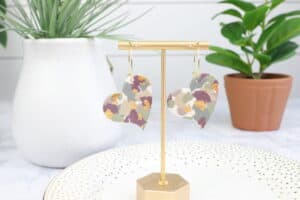
This style of terrazzo is one of my absolute favorites. It uses a few different colors of clay and gold leaf to create this beautiful look! I started with a thin layer of white clay, then bit by bit I added in my colors by ripping off pieces and gently pressing them into the white clay. Once I was happy with the placement of colors, I addedthe gold leaf to give it some sparkle. These are some of my absolute favorite earrings.
Here is a link to the full tutorial and if you would like a pair of these earrings, you can buy them here.
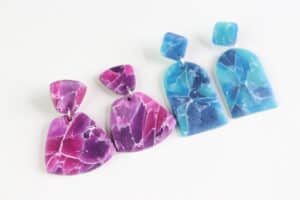
Marbled Polymer Clay Earrings
This marble technique uses just black clay and white acrylic paint! It’s so simple and you can find the complete tutorial here!
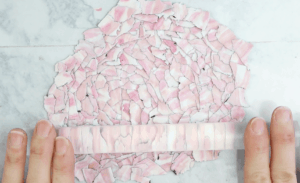
The basics of this technique is using black polymer clay and chopping it up with a tissue blade into small pieces. Then put some white acrylic paint on the pile of cut up black clay. With gloved hands, mix the clay so the white paint is covering the black clay. Once everything is adequately covered, begin forming the clay into a cane shape and allow to dry completely for a few hours or overnight. After everything has dried, cut your cane with the tissue blade and create a slab with the slices.
Faux Stone Clay Earrings
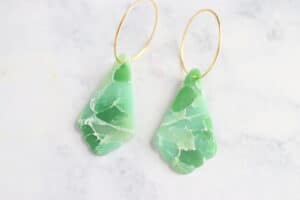
There are so many types of faux stones you can make with polymer clay. These faux-jade are some of my favorites! The full tutorial is here.
This technique is very similar to the marble technique, except it uses translucent clay and alcohol inks to color the clay. For this faux jade stone, I used 3 colors of alcohol inks to color the clay, then chopped them into small pieces and covered them in white paint. Mixed them and created a cane. Once everything dried I sliced the can and created my slab. Super easy.
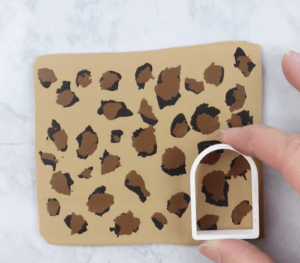
Leopard Print Earrings
Who doesn’t love some neutral leopard print? These leopard polymer clay earrings are super easy to make and the full tutorial is here.
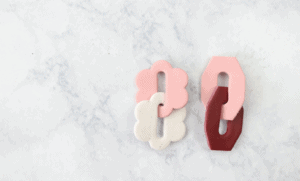
Interlocking Chains
These interlocking chain earrings are super fun too! So many people are curious about how to make them when they see them. Of course, I have a complete tutorial for you, right here.
Knotted Stud, Textured and Braided
As you can see, there are SO many variations and endless possibilities with polymer clay earrings. You can add texture to your clay with texture sheets, you can brand and twist the clay to create a sweater look and even make knots out of the clay. You can find all of those tutorials here.
Polymer Clay Earrings FAQs
How long do I bake polymer clay earrings? 30 minutes to 1 hour depending on the thickness of the earrings.
Which clay is best for clay earrings? Personally, my favorite clays are sculpey premo and sculpey souffle.
Do I need to seal the clay with a clear coat? No you don’t need to seal the clay, unless you are using paint on your pieces. Some people like to use UV resin or polycrylic to give the pieces some shine, but I think I prefer the matte look personally.
My clay earrings are brittle and breaking after baking, what did I do wrong? This could be a few different things. First, make sure your clay is conditioned well before baking. Second, make sure you are using a good clay, not sculpey III for example and lastly, make sure your oven is set to the correct temperature and then try again.
How do I remove fingerprints or fuzz from my clay earrings? After baking, you can dip a q-tip in acetone or rubbing alcohol and rub away those imperfections
More Polymer Clay Ideas:
Polymer Clay Keychains
Polymer Clay Hair Clips
Check out tons of polymer clay earring tutorials on my youtube channel, here!
Save this to your pinterest boards, so you can come back to it later!
Thank you for joining me as I walked you through all the steps of how to make polymer clay earrings. I hope you learned and ton and found a lot of inspiration to create your own polymer clay earrings!
