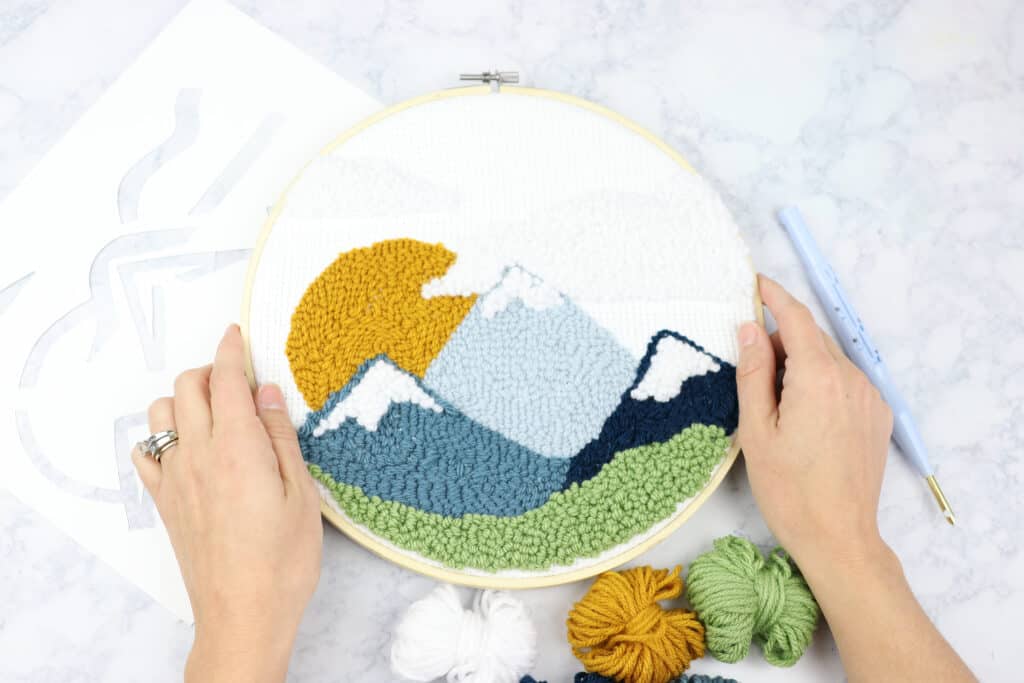
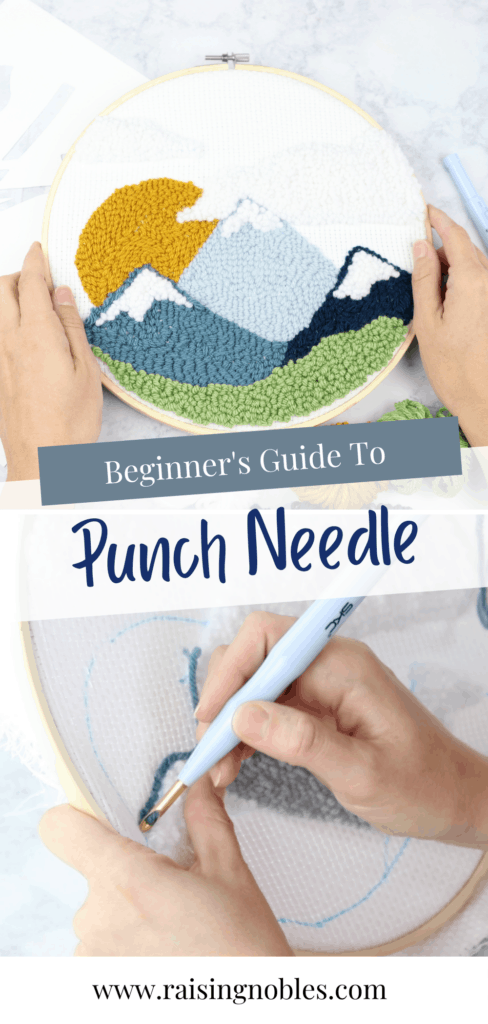
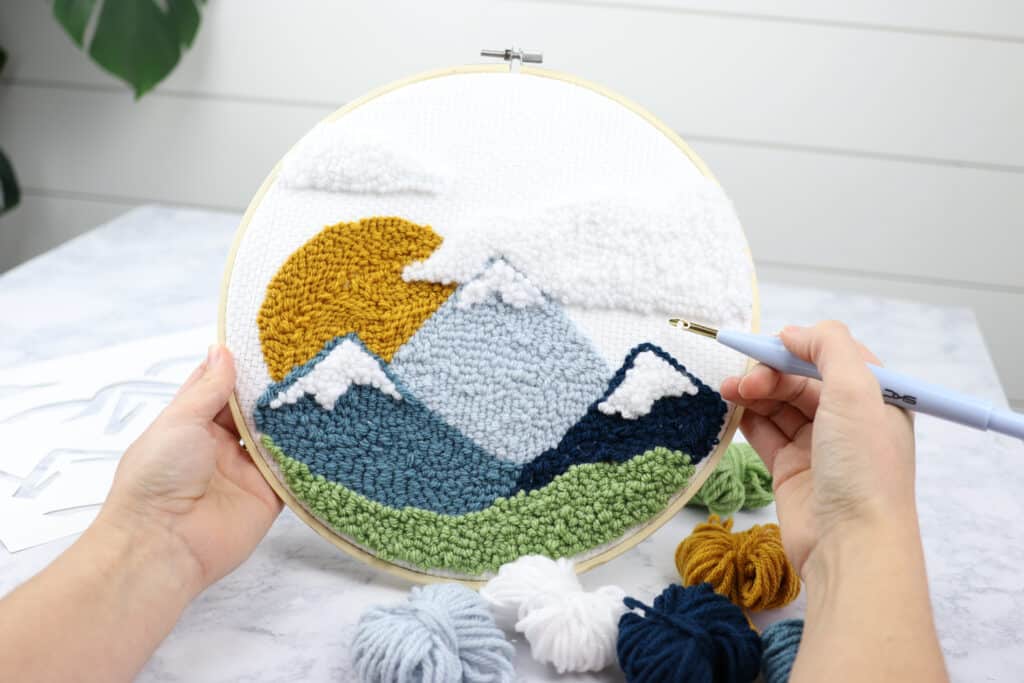
In this guide, I will be sharing all of my best tips and tricks to get started with punch needle. So many people are wondering how to use a punch needle and in this post, I will be walking you through every step. Punch needle is a simple handicraft and once you learn the technique, you will be able to make all sorts of projects like wall hangings, pillows and even rugs!
What Is Punch Needle Embroidery?
Punch needle is a form of needlework. To create a punch needle project, you hold a hollow needle threaded with yarn or embroidery floss and “punch” loops through a foundation cloth to create a design.
Punch needle projects come in all shapes, sizes and uses! You can use the punch needle technique to make everything from wall hangings, patches for clothing, pillows and even rugs!
This post may contain affiliate links, which means I make a small commission at no extra cost to you. As an Amazon Associate, I earn from qualifying purchases.
How Does A Punch Needle Work
The punch needle tool is hollow and when the yarn is threaded through the tool, you are ready to begin your project
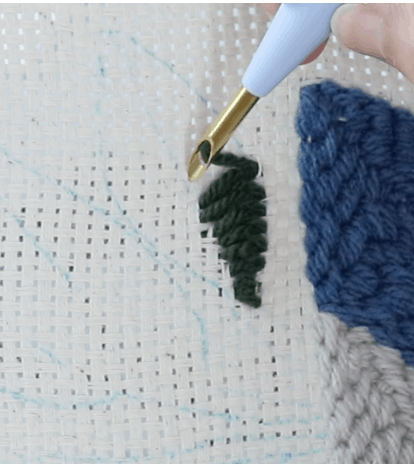
The needle tool forms a series of yarn loops into the foundation fabric. When you press the needle through the fabric and back up again, it pushes down a length of yarn that forms a loop on the other side.
The woven foundation fabric helps keep the stitches in place. And as you continue punching more loops and your design gets more full, the tension from all the loops will help hold your design in place. 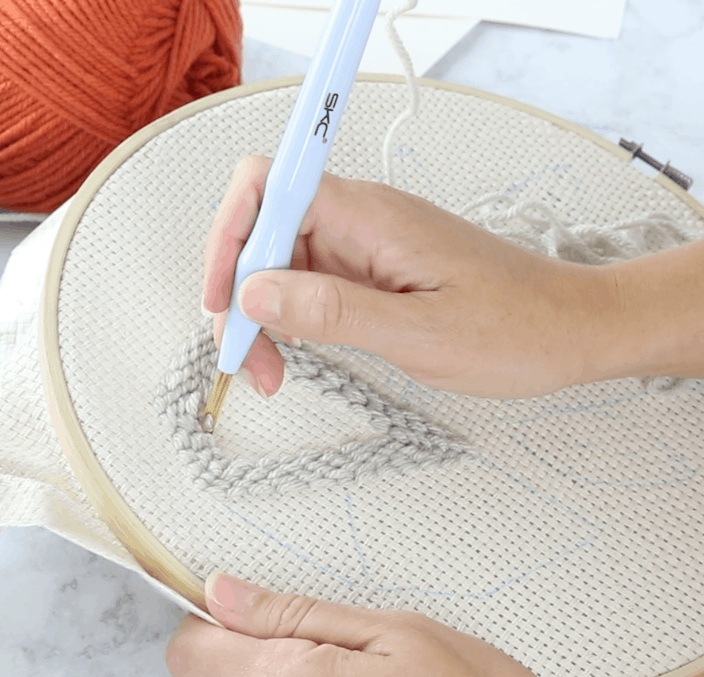
What Is A Punch Needle?
A punch needle is the tool used to complete punch needle projects. It is a hollow tool that the yarn or embroidery thread is threaded through.
When you punch the needle through the foundation fabric, it creates loops on the other side.
There are many different types of punch needles to choose from, I will go over the different types of needles in the next section.
Which Punch Needle Do I Choose?
As I mentioned above, there are quite a variety of punch needles available online. I’ll be sharing a few of the most popular ones.
Choosing the right punch needle depends on the project you are working on.
For wall hangings, using medium weight yarns, try this adjustable punch needle.
If you are looking to use chunky yarns for making pillows or rugs, try the oxford punch needle.
And lastly, if you are wanting to make more intricate designs using smaller threads or yarns, try one like this.
here are a few of the most popular ones:
- Oxford Punch Needle which works great with larger yarns, especially great for rug punching.
- Embroidery punch needle for smaller projects with embroidery thread
- This punch needle is a nice, all purpose one
Foundation Fabric
You can create punch needle designs on many fabrics, but there are a few in particular that I can recommend.
The most common choice of foundation fabric is monks cloth. Monks cloth is a woven fabric that is preferred by many punch needle artists.
You can also use linen or burlap. Both of those have a loose enough weave to work quite well for most punch needle projects.
If you are looking to create a punch needle rug, you will want to choose a more durable fabric, like rug warp.
Embroidery Hoop
Choosing something to hold your foundation fabric tight is an important step when learning how to punch needle. If you don’t choose the right embroidery hoop or frame, your fabric wont be held securely and it will make the punch needle process a lot more difficult.
It’s not uncommon for your fabric to need to be tightened while you are completing your project, but the tighter your hoop holds the foundation fabric, the better.
Here are some great hoops and frames to check out:
Punch Needle Tools and Supplies
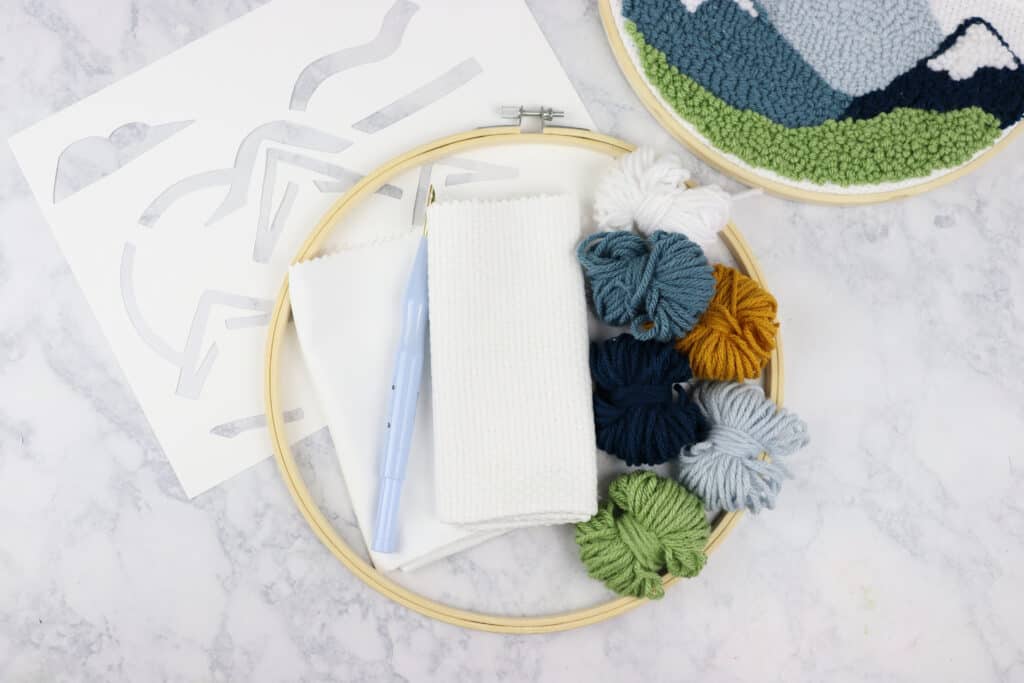
To get started with punch needle, you will need a few supplies. I went into more detail about each supply above, but to make it easy, I will list them all here.
Punch Needle Starter Kits
Instead of jumping all over the internet to purchase the various tools and supplies to get started with punch needle, you can choose to purchase a starter kit.
Punch needle starter kits generally come with everything you need to get started right away.
I offer these punch needle kits in my Etsy shop and they come with almost everything you need, except scissors and hot glue to finish your project.
If you already have some punch needle supplies and only want the patterns, I also sell the punch needle patterns in my Etsy shop.
I have multiple designs to choose from and you can check out the options here.
How To Thread a Punch Needle
Now that we had discussed all the supplies and tools you will need, let’s walk through the basics of getting started with your first punch needle project.
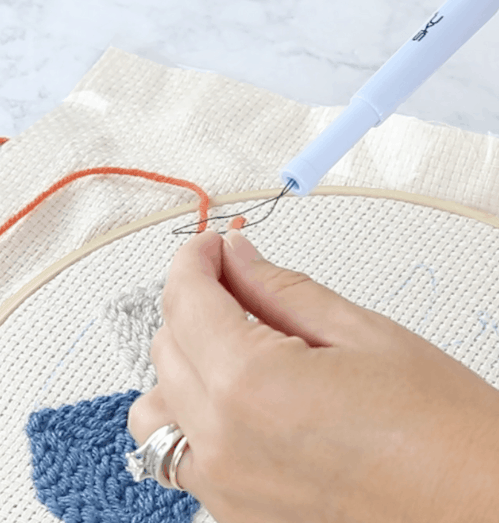
- Using the threader tool that hopefully came with your punch needle(if not, a doubled over floral wire works well), insert the threader into the eye of the punch needle and then down inside the hollow area of the needle.
- Once the threader loop is sticking out the end of the needle, you can thread your yarn or embroidery floss through the loop and then pull the threader from the tip of your needle out.
- You should now have the yarn running through the hollow punch needle and through the eye of the needle.
If you are using an Oxford needle, those are even easier to thread:
- Thread the yarn through the eye of the needle from back to front.
- While holding onto your yarn by the eye of the needle, use your other hand to grab the length of the yarn and pull it along the handle of the punch needle
- When you pull the yarn tight against the handle, the yarn should pop into the little slot.
Tracing the Pattern
If you want to use a pattern, then you will need to trace the pattern onto your foundation fabric.
In my Etsy shop, I sell punch needle stencils to make it very easy for punch needle crafters. Hundreds of people have used and love my patterns.
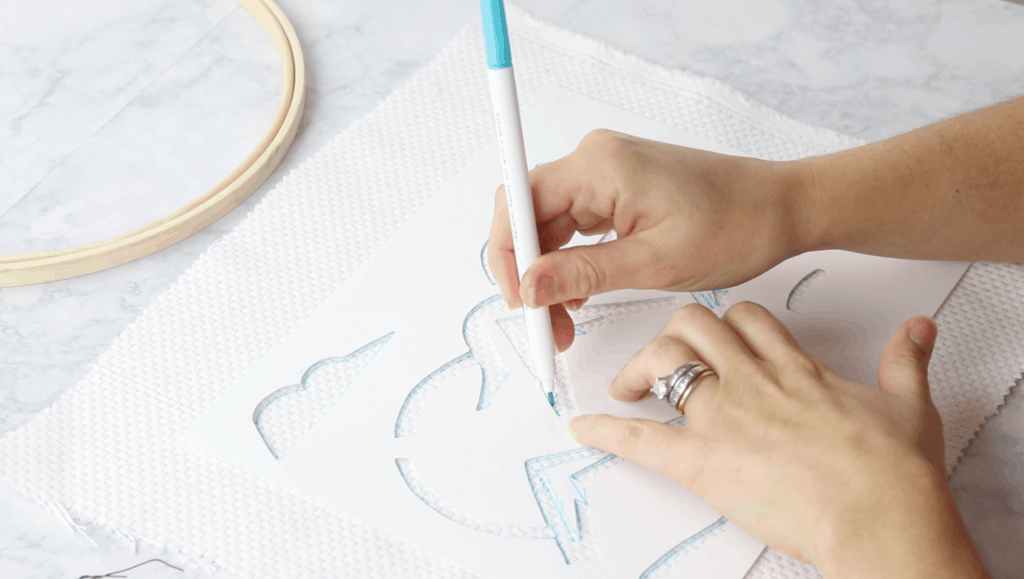
To trace a pattern like those in my Etsy shop, it’s quite simple and I like to use an erasable ink fabric marker so I can wipe off any visible lines when my punch needle project is complete.
- Lay your foundation fabric onto a flat surface
- Place your stencil on top of your fabric
- Using a felt tip marker(my favorite are these disappearing ones) trace your pattern onto your monks cloth.
If you are using a printed pattern, you will need to transfer that a little differently.
 Transfer Pattern Using a Light Box
You can use a light box to transfer your pattern:
- Place paper pattern on light box
- Place foundation fabric over the pattern on the light box
- Use a felt tip marker(like these) to transfer your pattern.
Transfer Pattern Using a Window
If you don’t have a light box, that’s okay! You can use a window or door to transfer your punch needle pattern:
- Tape paper pattern onto window
- Tape foundation cloth over paper pattern on window
- Use a felt tip marker(like these) to transfer the pattern.
Now we are ready to move on to the next step.
Stretching Foundation Fabric onto Hoop or Frame
Now that we have our punch needle threaded and our pattern transferred, it’s time to stretch our foundation fabric and get started!
If you are using a two piece embroidery hoop:
- Lay your plain hoop on a flat surface
- Place your foundation cloth with the pattern over top and centered on the bottom hoop.
- Place the top of your embroidery hoop over the fabric
- Tighten the closure on the top
- Lastly, go around and pull your fabric nice and tight all the way around the hoop
And now you are ready to get punching!
How To Punch Needle
We have done a lot of prep to this point and it’s time to get started punching. If you prefer learning via video, check out my in-depth video tutorial here.
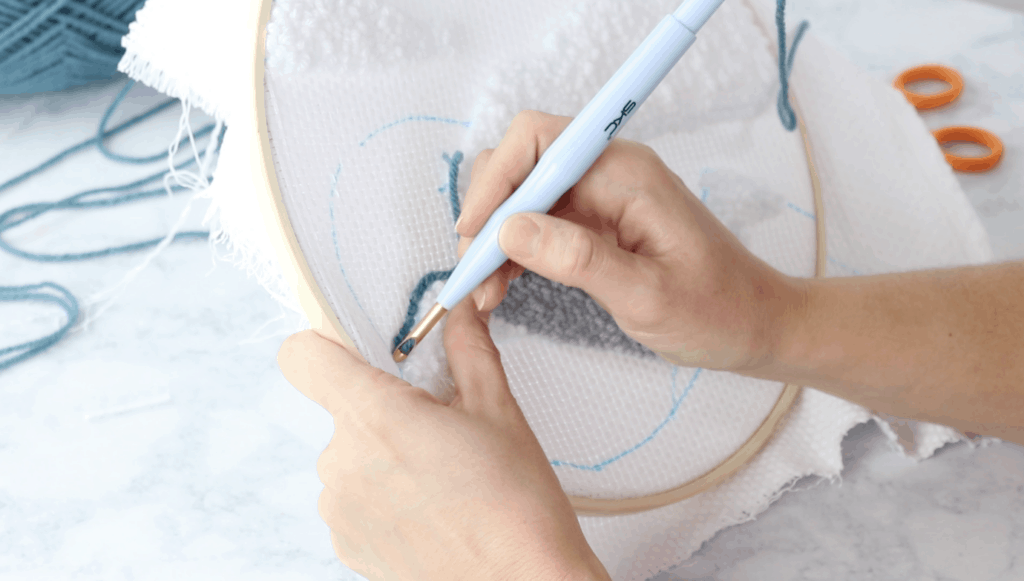
You will want to hold the needle tool like a pencil and you always want the opening of the needle facing the direction you are punching.
Pull out plenty of yarn before you begin, the punch needle project’s worst enemy is tension in the yarn. Don’t allow tension or else your stitches will come undone.
- Pick an area on the edge of your design and push the sharp tip of the needle through a hole in the fabric.
- Make sure you push your needle all the way until the wood or plastic on the handle touches the fabric. You will want to do that every time to ensure that all the loops are the same length.
- Once you have punched all the way down, pull the needle back up through the fabric but try to keep the sharp part touching the fabric
- Then move your needle forward a short distance and punch through again, all the way until the plastic or wood touches the fabric.
- And keep repeating this process, going all around the perimeter of your design
I have found that the best way to fill in a design is to start with the edges and then go in circles, slowly filling in the design in a nice predictable pattern.
Feel free to rotate your hoop as you go and turn corners and go around edges of your design.
How To Change Yarn Colors
Once you have completed part of your design and you wish to change colors, here is how you do that:
- Cut your current yarn off the needle, leaving a small tail and pull out the yarn from the needle. You can leave the tail, no need to place any knots in the yarn
- Simply rethread your punch needle with a new color
- Pull plenty of slack in your yarn
- Punch the needle back through the foundation cloth and continue your stitches just as before
Fixing Mistakes
Maybe you punched outside the lines or punched your loops too far apart. No problem! It’s easy to pull your stitches back out.
Gently tug on the yarn and you can restart where things went awry.
How To Finish Your Design
Once you are happy with your design, you can go ahead and trim the excess yarn tails so everything looks tidy.
My favorite way to finish wall hangings is using this technique:
You will need an extra piece of white fabric in the same size as your original foundation fabric.
- Remove your needle from the hoop
- Place the plain hoop on a flat surface
- Set the plain white fabric over the plain hoop
- Then set the needle project over top of the plain fabric
- Next, place the top embroidery hoop piece on top of the fabrics and tighten in place.
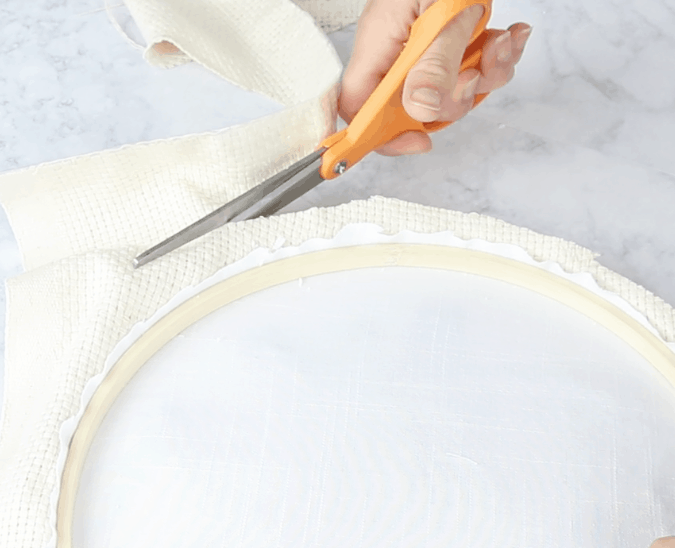
- Flip your project over and trim the excess backing cloth
- Trim down your foundation fabric so there is about 1/2” of trim
- Using hot glue, glue the monks cloth onto the embroidery hoop
If you are making a pillow, then you would sew your pillow together using your needle design.
I have never punched a rug, so check out this tutorial for details on that.
Punch Needle Common Mistakes and How To Fix Them
”My yarn keeps pulling out”
If you are having trouble keeping your yarn in the foundation fabric, there are two possible problems here,
Do you have plenty of slack in your yarn? Where the needle ends and your ball of yarn begins, there should be PLENTY of slack. If you don’t have slack there, your yarn will always pull out. Tension in the yarn is your enemy when trying to needle.
And secondly, it’s possible that you chose the wrong combination of foundation fabric, needle tool and yarn/thread.
If you chose a tightly woven linen for the foundation and a giant needle with tiny yarn, then you will want to try again.
Chunky needle = chunky yarn
Small needle = thin yarn or embroidery floss
If your foundation fabric has large holes, then you will want to use a large needle with chunky yarn.
Hopefully that makes sense.
“My yarn keeps getting twisted, what’s going on?”
You need to make sure that the opening to the needle is facing the direction you are moving on your project.
This will help keep things from getting twisted.
”Why are my punch needle loops not even?”
Are you punching your needle all the way through the fabric? Remember, the plastic or wood piece on your punch needle should touch your fabric each time you punch through.
Also make sure your stitches are even lengths apart.
And lastly, make sure you glide your needle over the fabric. If you pull your needle up too high then you will pull the loop on the back of the fabric.
Punch Needle Project Ideas
The punch needle technique can be used to create a wide variety of projects, here are some ideas to get you starter:
- Stuffed animals
- Christmas Ornaments
- Rugs
- Patches for clothing
- Sweatshirt designs
- Pillows
- Rugs
- Wall Art
- and much more!!
More DIY Projects You Will Enjoy:
- How To Make Polymer Clay Earrings
- Clip On Bow Tie Tutorial
- Reusable Sandwich Bags Tutorial
- DIY Beeswax Wraps
- How To Make A Chunky Knit Blanket
- How To Make A Chunky Knit PILLOW
I sincerely hope you enjoyed this in depth tutorial on how to punch needle.
How To Punch Needle
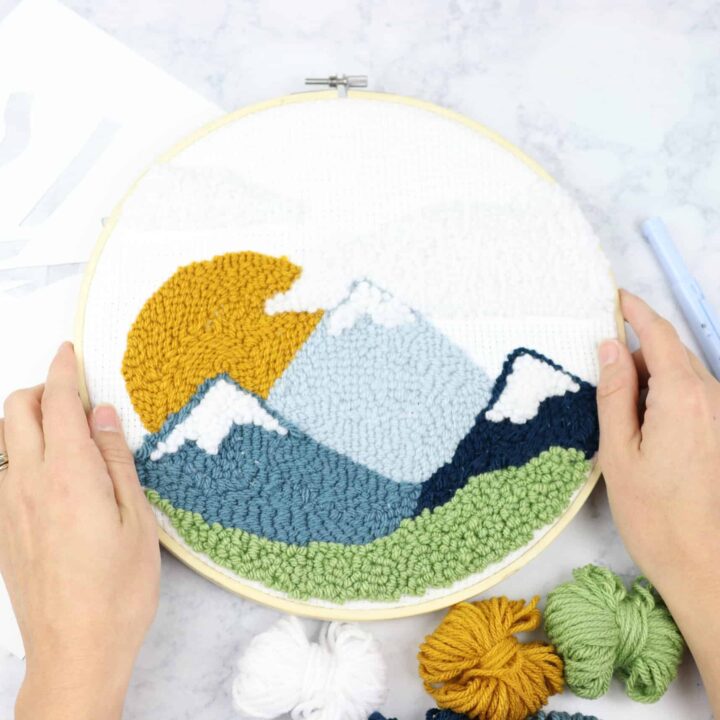
How to punch needle to create a wall art embroidery piece. I am sharing the best tips, tools and supplies so you can get started with punch needle right away.
Materials
- Monks cloth
- Yarn or Embroidery Floss
- Plain backing fabric
Tools
- Punch Needle
- Embroidery Hoop
- Scissors
- hot glue gun
- Pattern
Instructions
- Choose your pattern and transfer the patter onto foundation fabric
- Stretch your foundation fabric onto embroidery hoop
- Thread punch needle tool with yarn of choice
- Punch the needle through the fabric where you want to begin your design
- Make sure the needle goes all the way through the fabric until the wood or plastic piece is touching the foundation fabric
- Pull the needle back up through the cloth and keeping contact with the fabric, punch the needle through again a short distance from the first stitch
- Start by outlining the design and then fill in the shapes going in circles
- Clean up any extra threads to make it tidy
- Add your backing fabric and glue the fabrics to the frame
Notes
For a more detailed tutorial, check out my in depth video tutorial here on how to punch needle here.
